Sony A7R VI custom creative look presets for travel can help you capture a consistent, finished JPEG or HEIF look in-camera, then switch styles as your surroundings change. Build each look from a compatible Creative Look base, fine-tune its parameters, and save it for quick recall. Because launch-cycle details and compatibility can change, verify your camera’s menu options before relying on a recipe in the field.
What custom Creative Looks do for travel photography
A custom Creative Look is an in-camera color and tone treatment built by adjusting a compatible base look. For travel, saved looks can make it faster to move between a daylight portrait style, a vivid architecture treatment, and a night-street aesthetic without depending on a laptop or an editing session.
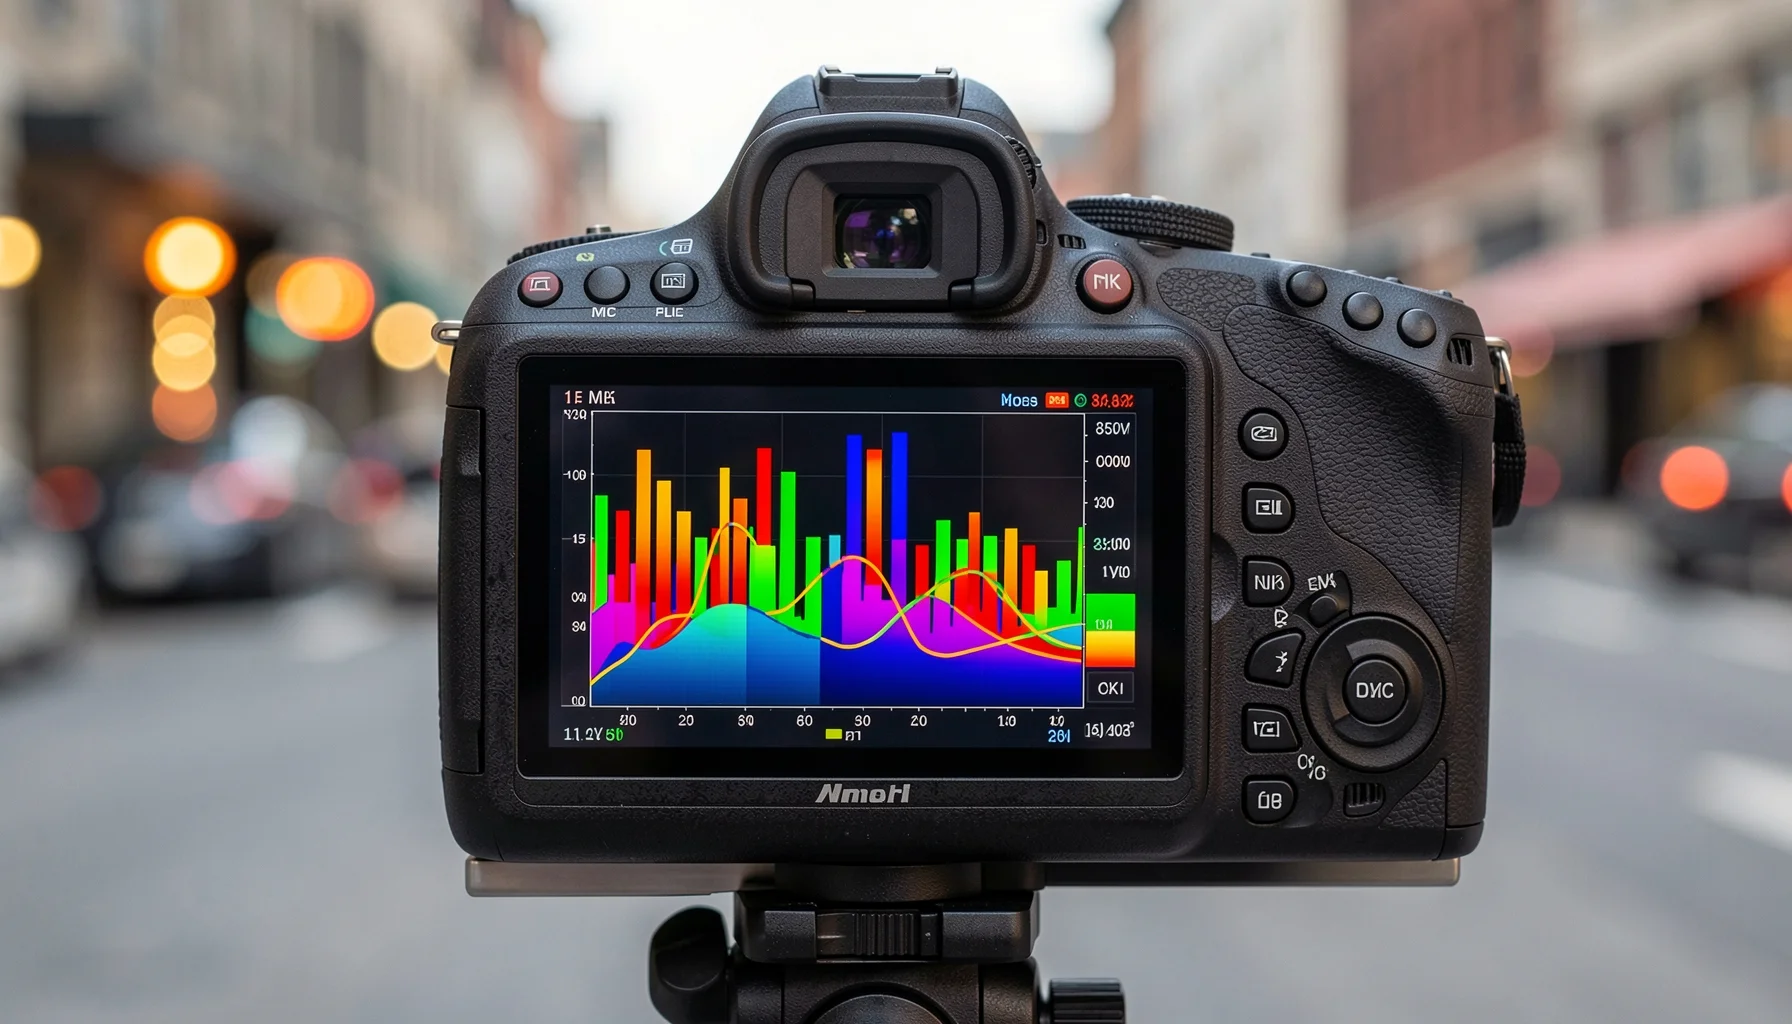 Sony A7R VI Custom Creative Look Presets for Travel - What custom Creative Looks do for travel photography
The in-camera processing architecture
Sony’s Creative Looks are the camera’s native image-processing system for shaping the appearance of photographs. Depending on the available options on a particular camera, adjustments include contrast, highlights, shadows, fade, saturation, sharpness, sharpness range, and clarity. A recipe combines a base look with specific adjustments to those controls.
The base profile provides a starting point rather than a film-stock guarantee. A recipe described as “Portra-inspired,” for example, is an interpretation intended to evoke a visual character; it does not make the camera reproduce the exact response of a particular film. The resulting appearance depends on the selected base, the parameter values, exposure, lighting, and the subject.
That distinction matters when you are planning a trip. A recipe is most useful as a repeatable starting point, not as a promise that every scene will look identical regardless of conditions. Record the settings and test them with the kinds of subjects you expect to photograph.
Why saved looks help when traveling
Travel photography moves quickly between different light sources, subjects, and locations. A saved daylight look can help maintain a consistent color approach for street scenes and architecture, while a separate night look can be ready for illuminated streets or interiors. Assigning configured looks to available custom controls or memory recalls can reduce menu navigation while you work.
The practical benefit is not simply “less editing.” It is a more deliberate capture workflow: decide which look suits the scene, select it, and make an exposure adjustment when the light requires one. Film Recipe Hub’s Sony resources focus on recipes, camera compatibility, and practical application so photographers can compare looks before building a travel setup.
If you are preparing for an upcoming launch cycle, treat early recipes as camera-specific guidance that needs verification. Check the camera’s own documentation and the compatibility notes attached to each recipe rather than assuming that a setting or saved profile transfers unchanged between Sony Alpha generations.
Creative Looks versus RAW flexibility
Creative Look processing is baked into JPEG and HEIF files. Those formats are convenient when you want a finished image straight out of camera, but the appearance is part of the rendered file. If you need greater flexibility for later processing, capture RAW as well.
With RAW files, Creative Look settings are retained as metadata that Sony Imaging Edge software can read. That gives you a reference for the intended rendering, but it is not the same as permanently baking the look into the RAW sensor data. For travel, the choice is a workflow decision: JPEG or HEIF for ready-to-share results, RAW for more latitude, or both when storage and file handling allow.
Technical workflow and recipe specifications
A travel recipe is a set of camera adjustments, not an interchangeable preset file for every Sony body. Confirm the available base looks and controls on your camera, then use the recipe’s exact values only when its compatibility information matches your model.
 Sony A7R VI Custom Creative Look Presets for Travel - Technical workflow and recipe specifications
How to read a Creative Look recipe
A useful recipe should identify its base look and the value for every parameter it changes. The base may be one of the listed options—ST, PT, NT, VV, FL, IN, or SH—when those options are supported by the camera. A recipe’s adjustments then specify how to shape contrast, highlights, shadows, fade, saturation, sharpness, sharpness range, and clarity.
Do not fill in missing values by guesswork. If a source lists only some adjustments, treat the remaining controls as unspecified, not as confirmed defaults. Film Recipe Hub credits recipe creators and provides sample photos where available; use those examples to understand the intended result, while remembering that sample exposure and light may differ from your own scene.
| Workflow element | What it controls | Travel use and verification |
|---|---|---|
| Base Creative Look | The starting profile, such as ST, PT, NT, VV, FL, IN, or SH where available | Confirm the base is present on your camera before entering a recipe |
| Contrast | Overall tonal separation | Check that important detail remains visible in bright skies and dark streets |
| Highlights | Treatment of brighter tones | Review reflective buildings, bright clouds, and sunlit faces |
| Shadows | Treatment of darker tones | Inspect shaded streets and interiors; some looks may make dark areas less readable |
| Fade | A faded tonal character | Evaluate against both bright daylight and subdued light before using it as a trip-wide default |
| Saturation | Color intensity | Check that signs, clothing, and skin do not become distracting or overly subdued |
| Sharpness, range, and clarity | In-camera detail rendering | Test on fine architecture, foliage, and textured subjects at your intended output size |
| JPEG or HEIF | Rendered image format with the look baked in | Choose when a ready-to-use look is the priority |
| RAW | Original image data with Creative Look settings retained as readable metadata | Choose when you want greater post-capture flexibility |
| Custom control or memory recall | Fast access to a configured look, where supported | Confirm the assignment and retrieval method on the camera before traveling |
A practical comparison of travel looks
Think in terms of scene role, not just film-stock name. A soft portrait-oriented interpretation may suit people in open shade, while a more vivid starting point may suit colorful markets or travel details. A cinematic night look can be useful around artificial lighting, but it should be tested in the actual kinds of scenes you expect to photograph.
For instance, a photographer might prepare a “Daylight Portra” interpretation for outdoor architecture and portraits, then a “Cinestill 800T” interpretation for night streets. These names describe intended aesthetics, not guaranteed color science. The camera’s actual rendering, the recipe settings, white balance, exposure, and mixed lighting all influence the result.
A reliable comparison uses the same subject and similar exposure conditions. Make a test frame with each candidate look, then compare skin, sky, shadows, and saturated colors. If one setting creates a distinctive result but fails in common travel conditions, reserve it for a custom slot rather than using it as your all-purpose look.
What to verify in an early recipe
During a camera launch cycle, separate confirmed camera behavior from assumptions carried over from earlier models. Check that the camera offers the stated base look and parameter controls, and verify the exact method for saving or recalling a configured look. Do not assume that a recipe file, menu path, or custom-slot assignment works identically across generations.
Compatibility notes are particularly useful when a recipe library covers multiple Sony Alpha bodies. Film Recipe Hub’s Sony recipe resources can help you identify the intended camera and recipe context. For hands-on planning, the Sony Recipe Builder provides a browser-based way to construct and visualize Creative Look settings; still confirm the camera’s own controls before applying them.
How to build and save a travel look
To implement a recipe, confirm compatibility, enter its exact values in the camera’s Creative Look controls, test the rendered result, and save or assign it for quick recall using the options your camera supports. Build and check each look before you leave, rather than relying on an untested setup in the field.
Step 1: Choose the job each look must do
Start with the scenes you expect to photograph most often. A simple travel kit might include a versatile daylight look, a more colorful option for markets or landscapes, and a restrained low-light look. You do not need a separate recipe for every location; a few clearly differentiated looks are easier to remember and apply consistently.
Choose a look based on the image you want, not solely on the name attached to it. “Portra” can suggest a softer portrait aesthetic, and “Cinestill 800T” can suggest a night-oriented character, but the recipe’s sample images and actual settings matter more than its label. If you are exploring a more cinematic direction, compare the approach in this guide to cinematic travel Creative Looks.
Step 2: Enter the recipe and confirm every value
Navigate to the camera’s Creative Look menu, choose the recipe’s base look from the options available, and set the listed parameters. Use the recipe’s actual values; do not substitute values from another camera model or infer unlisted adjustments.
Check the interface after entering the settings. Make sure the intended base is selected and that each specified adjustment matches the recipe. The exact menu labels or availability may vary by model and firmware, so use the camera’s documentation for the precise navigation path. This is especially important around a launch, when guidance based on older Alpha bodies may not reflect the new camera’s interface.
Step 3: Test, adjust exposure, and save for recall
Photograph a small test sequence that includes the subjects the look is meant to handle: skin, bright areas, shadows, and a range of colors. Review the JPEG or HEIF rendering, because that is where the Creative Look is baked in. If you also capture RAW, check that the files are being recorded as intended and remember that the look is metadata rather than a baked RAW transformation.
Travel recipes may need minor exposure compensation adjustments as dynamic range and lighting change. A look that pushes shadows or deepens blacks may lose detail in a dim alley, while a bright scene may call for a different exposure choice. Once the test is acceptable, save or assign the look to a supported custom control or memory recall. Test that shortcut before leaving; don’t assume a setting has been saved just because it appeared on screen.
Field technique, pitfalls, and launch-cycle planning
The most dependable travel setup uses a small number of tested looks, clear labels, and a routine for checking exposure in changing light. Recipes should support quick decisions, not replace evaluating the scene or checking the resulting image.
Match the recipe to the light
A recipe does not remove the need to respond to lighting. The same contrast and shadow settings can feel different in bright sun, open shade, a warm interior, or a street lit by artificial sources. In particular, be alert to looks that deepen shadows: they may create a pleasing, dramatic mood but reduce detail in dark areas.
Use exposure compensation as a scene-level adjustment rather than changing the recipe every time the light shifts. Review a test frame when the scene has high contrast or when preserving shadow detail matters. If a look only works under a narrow set of conditions, keep it as a specialized option instead of making it the default for the entire trip.
Mixed artificial lighting can also challenge a night-oriented aesthetic. A “Cinestill 800T” interpretation may be a useful starting point for illuminated streets, but the outcome depends on the actual lights, exposure, and recipe settings. Test it with the kinds of signs, lamps, and skin tones you expect to encounter.
Common setup mistakes and their fixes
Choosing by name alone: A film-stock reference is shorthand for an aesthetic, not a technical guarantee. Read the settings, study sample photos, and test the look on representative subjects.
Assuming settings transfer between models: Confirm compatibility and available controls for the specific camera. A setting documented for another Alpha generation may not be available or behave identically.
Forgetting the output format: A JPEG or HEIF carries the rendered look; a RAW file preserves original data and can retain the look as metadata for Imaging Edge. Decide which behavior you want before shooting, and check the camera’s recording setup.
Skipping the recall test: Saving a look and making it quickly accessible are separate tasks. Confirm the chosen custom control or memory recall actually brings up the intended setup. If the interface differs from an older camera, consult the camera documentation rather than following an assumed menu sequence.
Treating one exposure as universal: Scene brightness and contrast change throughout a trip. Check exposure in difficult light, especially when the recipe deepens shadows or compresses highlights.
A launch-cycle workflow for 2026 and beyond
For early adopters, the most valuable preparation is a verification process, not a speculative list of settings. During a camera launch cycle, look for confirmed compatibility, working menu instructions, and sample images made with the actual camera. Update your notes if firmware or documentation changes the available controls.
Film Recipe Hub’s role is to make recipes easier to discover and assess: the library organizes looks by camera and film-inspired style, provides settings and sample images where available, and credits the original creator. Its free browser tools include the Sony Recipe Builder for constructing and visualizing Creative Look settings. The tool can help plan a look, but it cannot confirm that every control exists on every camera; verify on the body.
This approach also works for a small photography team, family trip, or multi-day assignment. Keep the same recipe values and clear labels on each supported camera, then test the files and recall behavior on every body. Creative Looks are an image workflow feature, not a replacement for asset management or a guarantee of identical rendering across different cameras and lighting.
FAQ
Are Sony A7R VI Creative Look settings baked into RAW files?
Creative Looks are baked into JPEG and HEIF images. RAW files retain the original image data, while Creative Look settings are stored as metadata that Sony Imaging Edge software can read. That means the RAW file is not permanently transformed in the same way as a rendered JPEG or HEIF. If you want an immediately finished in-camera image, choose a rendered format; if you want more flexibility later, consider recording RAW as well.
Can I save different travel looks for daylight and night photography?
You can prepare different Creative Look configurations and assign them to supported custom controls or memory recalls for faster access, subject to the camera’s available options. A daylight portrait-oriented look and a night-street look can serve different purposes, but test both before relying on them. Confirm how your camera saves and recalls each configuration, and check that the selected look is active when you change shooting conditions.
Will a recipe made for another Sony Alpha camera work on the A7R VI?
Do not assume that it will. Compatibility depends on the camera’s available Creative Look bases and adjustment controls, and menu behavior can differ across generations. Compare the recipe’s stated camera compatibility with the options on your body. If a control or base look is unavailable, do not invent a substitute value; use a recipe documented for your model or test a clearly identified adaptation.
What should I do if a travel recipe makes shadows too dark?
First check exposure in the scene and review the rendered JPEG or HEIF, especially in shaded areas. Travel recipes can push shadows or deepen blacks, so minor exposure compensation adjustments may be appropriate as the dynamic range changes. If shadow detail remains difficult to retain, consider a different tested look for that lighting rather than assuming the same recipe will suit every scene. Keep RAW capture in mind when you want more post-capture flexibility.