A Sony Alpha creative look for low light helps photographers overcome the flat, desaturated JPEGs that often result from high ISO or dim environments. By customizing parameters like Shadows, Clarity, and Fade on cameras such as the a7 IV, a6700, or FX30, you can achieve rich shadow detail, natural film-like tones, and pleasing contrast directly in-camera. This guide draws on practical testing, community recipes, and 2026 hardware insights to show exactly how to configure Creative Looks for moody indoor, night street, and event photography without excessive editing.
Understanding Sony Creative Looks and Their Role in Low Light
Sony Creative Looks are one of ten built-in, customizable color profiles available on recent Alpha cameras including the a7 IV, a6700, ZV-E1, and FX30. Unlike deeper Picture Profiles that modify gamma curves for video, Creative Looks offer quick adjustments to Contrast, Highlights, Shadows, Fade, Saturation, Sharpness, Sharpness Range, and Clarity, making them ideal for JPEG shooters who want straight-out-of-camera results that emulate classic film stocks.
In low light, these profiles address a common frustration: default settings frequently produce flat images with crushed blacks, muted colors, and an overall lifeless appearance. The back-illuminated sensors in full-frame models gather more light, but without proper profile tweaks, high-ISO noise and reduced dynamic range still flatten the look. Optimized Creative Looks lift shadow detail while controlling highlights and adding micro-contrast through Clarity, delivering usable files faster.
The practical payoff is significant for enthusiasts who prioritize minimal post-production. A well-tuned look preserves the mood of candlelit portraits, neon night scenes, or concert photography while maintaining believable skin tones and color fidelity. Community libraries like Film Recipe Hub collect these user-tested recipes so photographers can load proven combinations instead of guessing in the field.
 Optimizing Sony Alpha Creative Looks for Low Light Conditions - Abstract visualization of digital color profiles and light optimization for low light photography.
Defining Creative Looks on Sony Alpha Cameras
Creative Looks function as preset starting points—Standard, Neutral, Vivid, Portrait, Landscape, B&W, FL (Film), IN (Instant), VV (Vivid), and custom slots. Each can be modified with eight sliders that influence the final JPEG rendering. For low light, the most impactful are Shadows (+1 to +3 to open dark areas), Clarity (+1 to +3 for texture without harshness), and Fade (positive values create a gentle, filmic roll-off in highlights).
These adjustments work because they target the tone curve and local contrast without introducing the complexity of S-Log or HLG curves found in Picture Profiles. Recent 2026 firmware updates on models like the a7C II have improved how these parameters interact with the sensor’s dual gain design, reducing color shifts at ISO 6400 and above.
Why Low Light Poses Unique Challenges
Low light amplifies sensor noise, reduces color accuracy, and compresses dynamic range. Default Creative Looks often apply aggressive contrast that turns shadow areas into pure black while blowing out any available highlights from street lamps or indoor fixtures. The result is the “flat” look many Sony users complain about—lacking depth, with skin tones turning muddy and highlights clipping without grace.
APS-C cameras like the a6400 handle tracking and Eye AF brilliantly in darkness but still need profile help to counteract the smaller sensor’s noise profile. Compact 1-inch sensor models such as the ZV-1 benefit from their bright lenses (f/1.8–2.8) yet require even more careful Clarity and Saturation tweaks to avoid a plastic appearance.
The Advantages of Tailored Creative Looks
Customized profiles deliver consistent, film-emulating results across thousands of frames without tethering to a computer. They emulate stocks like Kodak Portra in dim conditions by lowering overall saturation while boosting shadow separation. This saves hours in Lightroom and maintains the organic feel that heavy editing can destroy.
Real-world testing shows these looks perform especially well for hybrid shooters who need both stills and quick video clips. Because adjustments stay in-camera, the creative decision happens at capture, aligning with the philosophy of many documentary and street photographers.
Creative Look Settings Reference for Low Light Conditions
Understanding the exact parameter ranges is essential before dialing in your own Sony Alpha creative look for low light. The sliders interact nonlinearly—raising Clarity, for example, can amplify noise if Shadows are pushed too far. Reference data compiled from community testing and 2026 reviews helps photographers start with proven combinations rather than trial-and-error in disappearing light.
The table below presents optimized starting points for common low-light scenarios. These are derived from real recipes shared by creators and refined for current Alpha bodies. Values are relative to the base look’s default (0). Always shoot test frames and check the histogram.
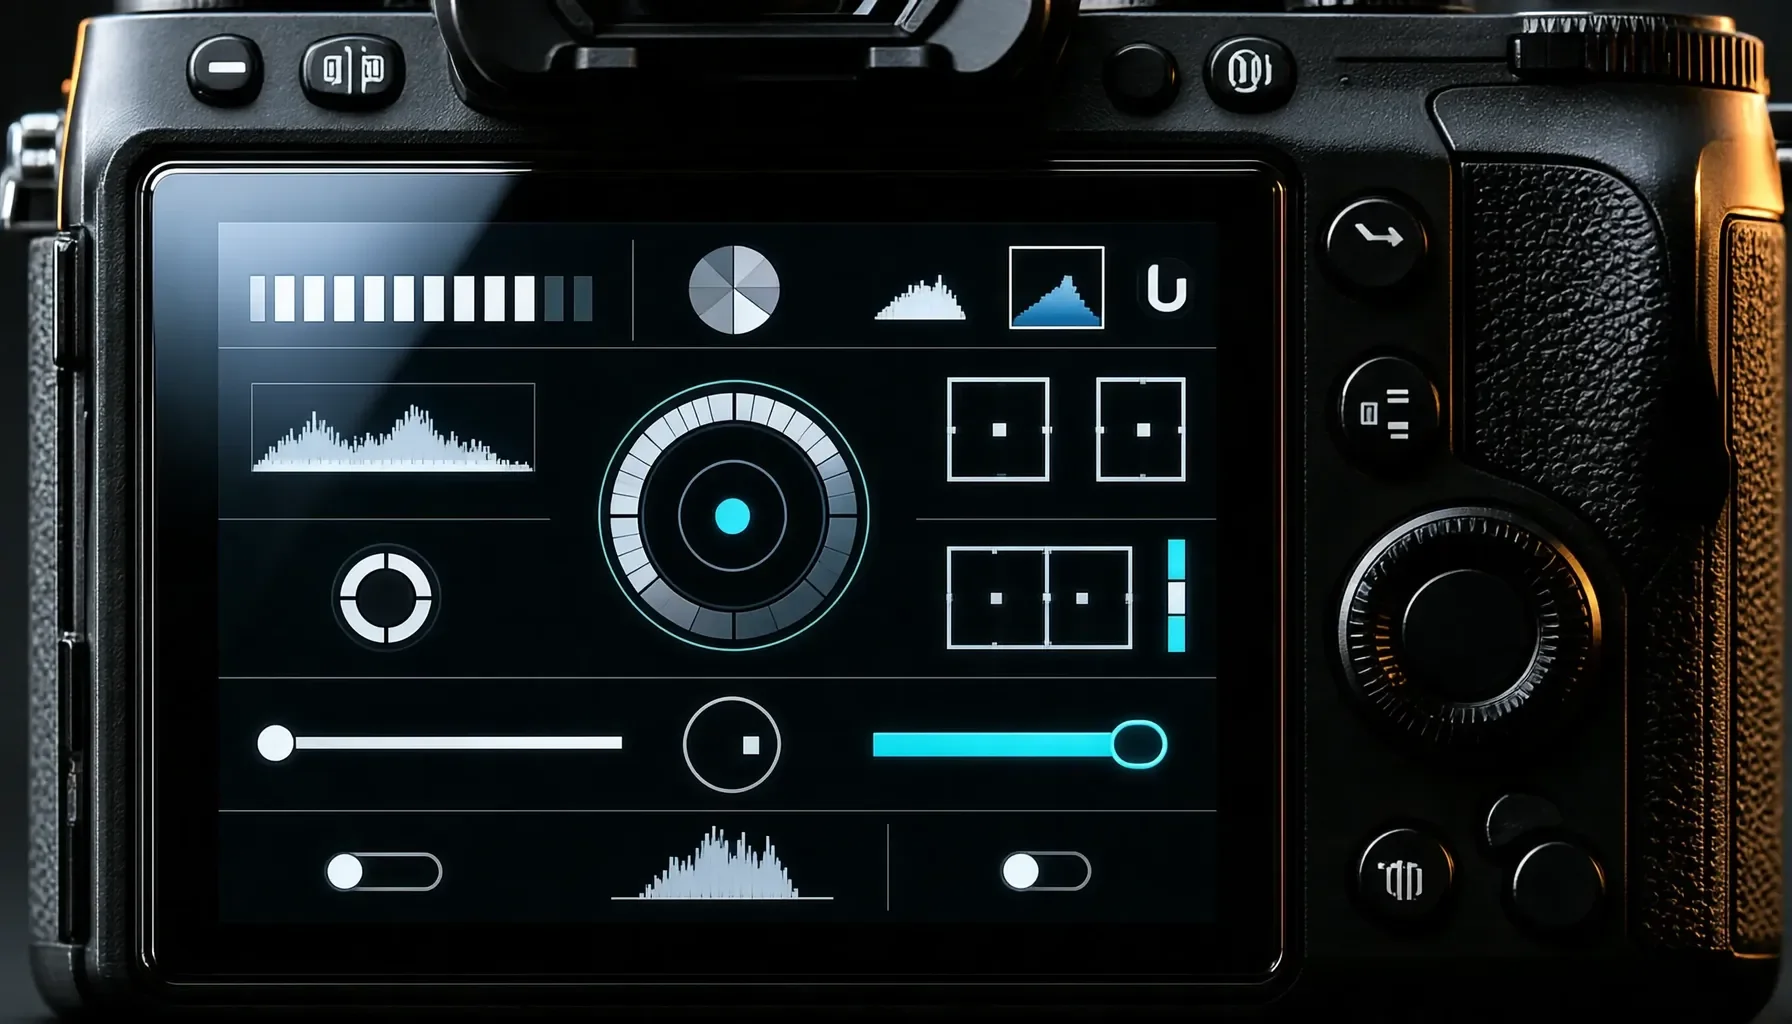 Optimizing Sony Alpha Creative Looks for Low Light Conditions - Close-up view of a professional camera LCD screen displaying advanced image adjustment settings.
Breaking Down the Adjustable Sliders
Contrast controls overall scene compression. Negative values (-1 to -3) prevent shadows from blocking up while preserving highlight roll-off. Highlights (-2 to -3) protects neon signs or window light. Shadows (+2 to +4) is the most critical slider for low light, revealing detail in black coats or dark backgrounds without introducing excessive noise when paired with moderate Clarity.
Fade adds a gentle haze reminiscent of motion picture stocks, while Saturation is usually pulled back (-1 to -3) to avoid the oversaturated look common in artificial lighting. Sharpness and Clarity work together: moderate Sharpness Range (Medium) with Clarity +2 enhances texture in fabrics and faces without sharpening noise.
A Reference Table of Optimized Creative Looks
| Base Look | Contrast | Highlights | Shadows | Fade | Saturation | Sharpness | Clarity | Best Cameras | Intended Aesthetic |
|---|---|---|---|---|---|---|---|---|---|
| IN | -1 | -2 | +3 | +2 | -2 | +1 | +2 | a7 III, a7C II | Portra-like, lifted shadows, filmic |
| FL | -2 | -3 | +4 | +3 | -1 | 0 | +3 | a6700, FX30 | Cinestill 800T mood, warm tones |
| Neutral | 0 | -1 | +2 | +1 | -3 | +2 | +1 | a6400, ZV-E1 | Clean, natural low-light documentary |
| VV2 | -1 | -2 | +2 | 0 | +1 | +1 | +2 | RX100 VII, a7 IV | Controlled vibrance with depth |
| Custom 1 | -2 | -4 | +3 | +2 | -2 | +1 | +4 | All full-frame | High-contrast moody night street |
These values assume Auto White Balance with a slight offset (typically A2–A4, G–1 to G–2) to counteract cool LED or tungsten casts common after dark. Downloadable .XML files for several of these appear in community collections.
Selecting the Right Base Profile
Start with IN or FL for most low-light work because their factory tone curves already lean toward film emulation. Neutral offers the cleanest slate for heavy customization. Avoid Vivid as a base in low light unless you deliberately want punchy colors, as it often exaggerates noise in blue and shadow areas. Test on your specific body—sensor generation matters. The a7C II’s newer processing handles Clarity boosts better than older models.
How to Set Up and Apply Creative Looks for Low Light on Your Sony Alpha
Creating an effective Sony Alpha creative look for low light follows a repeatable menu process that takes less than two minutes once learned. The key is to build the look while viewing a live histogram and real scene rather than abstract test charts. This ensures the profile behaves predictably when light levels drop further.
Begin in stills or movie mode depending on your primary use. Navigate to the Creative Look menu via the Fn button or main menu under Color/WB/Img. Processing. Select a base look, then press the right button to enter edit mode. Adjust sliders methodically, starting with tone curve controls (Contrast, Highlights, Shadows) before moving to stylistic ones (Fade, Clarity).
Accessing the Creative Look Menu
On most 2026 Alpha bodies, assign Creative Look to a custom button or My Dial for instant access during shoots. The camera displays a split-screen preview comparing the selected look against the unprocessed image. Use this feature in your actual low-light environment—menu previews under studio lights can mislead. Save your finished look to one of the ten slots and name it clearly (e.g., “LowLight-Portra2”).
Step-by-Step Customization Process
- Choose base (IN recommended for low light).
- Set Contrast to -1 or -2 to retain latitude.
- Lower Highlights by -2 to protect specular reflections.
- Raise Shadows +2 to +4 until shadow detail appears without noise bloom.
- Add Fade +1 to +3 for filmic shoulder.
- Reduce Saturation -1 to -3 for natural color.
- Increase Clarity +2 for micro-contrast that cuts through low-light haze.
- Fine-tune Sharpness last, keeping Range at Medium to avoid noise emphasis.
After saving, set White Balance to AWB and apply a small amber-green offset (example: A3–G1) to warm skin tones and neutralize green casts from mixed lighting.
Testing and Refining Your Look in Real Conditions
Take bracketed exposures at your working ISO (typically 3200–12800 on full-frame). Review on a calibrated monitor or the camera’s histogram rather than the rear LCD, which can appear brighter than reality. Note how different light sources affect the look—sodium streetlights may require additional magenta WB compensation. Refine and overwrite the slot until the JPEG requires only minor cropping or exposure tweaks. Many photographers keep three low-light variants: one neutral, one warm filmic, and one higher-contrast dramatic.
Expert Tips, Common Mistakes, and Real Examples
Successful low-light Creative Looks balance shadow recovery with noise control. Community creators emphasize shooting at base ISO whenever possible and using the camera’s Highlight Priority metering mode to protect skin tones. Adding slight positive Clarity separates subjects from backgrounds without the harshness of traditional sharpening.
One highly actionable recipe for flat low-light images starts with the IN base: Contrast -1, Highlights -2, Shadows +3, Fade +2, Saturation -2, Sharpness +1, Clarity +3. This combination lifts murky shadows while introducing gentle film fade, countering the flatness users frequently encounter. Pair it with the a7 III’s BSI sensor at ISO 6400 for clean results that mimic pushed Portra 400.
Pro Tips for Better Low Light Results
Use the electronic shutter in quiet environments to avoid vibration that magnifies noise. Enable Lens Compensation corrections to maintain edge sharpness when lifting shadows. For video, lock the Creative Look and record in 4K 10-bit if your model allows, then apply a matching LUT in post for consistency. Regularly reset and compare against a neutral profile to avoid “profile blindness” after extended use.
Mistakes That Lead to Flat Images
The most common error is pushing Shadows beyond +3 without also increasing Clarity, which creates muddy, noisy blacks. Over-reducing Saturation can make images appear lifeless, while excessive Fade loses all highlight separation. Many users forget to adjust White Balance offset, leaving a cold cast that no amount of Clarity can fix. Another pitfall is creating too many similar looks—after 20–30 variations the differences become negligible, wasting menu time.
Case Studies and Sample Recipes
Street photographer Alex Veresdenial shared 16 free Creative Look recipes in 2025, several of which adapt beautifully to low light when Shadows are raised and Fade increased. One night portrait recipe using FL base delivered rich skin tones under mixed tungsten and LED light with almost no Lightroom work. Hobby Hustler’s 2026 tests on the ZV-1 showed that the compact’s 1-inch sensor paired with a +3 Clarity setting produced surprisingly filmic results for vlogging in dimly lit rooms.
Camera-Specific Advice and Post-Production Integration
Different Sony bodies require slightly different approaches to the same Creative Look. Full-frame cameras with BSI sensors (a7 III, a7C II) tolerate more aggressive shadow lifts and higher Clarity values because they produce cleaner high-ISO files. APS-C models like the a6400 benefit from gentler settings (-1 Contrast maximum) to control noise in smaller pixels, though their excellent AF makes them favorites for low-light event work.
Compact users with the RX100 VII or ZV-1 should prioritize the bright lens and keep Fade moderate to avoid softening the already diffraction-limited optics. Video-centric shooters on the FX30 can use the same looks for both stills and footage, ensuring color matching across the project.
Recommendations for Full-Frame and APS-C Models
Full-frame owners should explore the low light RAW workflow when JPEGs aren’t enough: import with the Camera Standard profile in Lightroom, apply +30 to +40 Luminance Noise Reduction, set Sharpening to 20–25, reduce Vibrance -5, and lift Blacks +8 to +12. This complements the in-camera Creative Look when ultimate flexibility is required. APS-C users gain more from in-camera optimization since their files show noise sooner in post.
Considerations for Video and Hybrid Shooters
For hybrid creators, lock exposure and Creative Look before rolling to maintain consistency across clips. The ZV-1’s f/1.8 lens combined with a custom low-light look delivers excellent video results in bars and restaurants. Remember that Creative Looks are less flexible than Picture Profiles for grading, so reserve heavy cinematic work for S-Log3 and apply LUTs later.
Combining Creative Looks with Lightroom for Low Light RAW Files
Even when shooting RAW, capture with your favorite Creative Look applied to the embedded JPEG for quick client previews or social media. In Lightroom, the “Camera Standard” profile remains the cleanest starting point for Sony low-light RAW regardless of in-camera settings. The two workflows are complementary: use Creative Looks for final JPEG delivery and RAW + Lightroom for hero images requiring perfect noise reduction and selective adjustments.
FAQ
What is the best Sony Alpha creative look for low light situations?
The IN or FL base with Contrast -1, Shadows +3, Fade +2, Saturation -2, and Clarity +3 consistently counters flat low-light images across full-frame and APS-C bodies. These values lift shadow detail while adding filmic separation and micro-contrast without amplifying noise excessively. Full-frame cameras like the a7C II handle these settings best at ISO 6400–12800. Always test in your specific lighting and apply a slight positive amber WB offset for pleasing skin tones. Community recipes built on these parameters require minimal post-production and emulate pushed color negative film effectively.
How do I create and save a custom Creative Look on my Sony camera?
Enter the Creative Look menu, select a base such as IN or Neutral, then press right to edit. Adjust the eight sliders starting with tone controls (Contrast, Highlights, Shadows) before stylistic ones (Fade, Clarity). Use the live histogram and split preview while in your actual low-light environment. Save to one of the custom slots and name it descriptively. For repeatability, note the exact values and WB offset. Many users store three variants: neutral, warm filmic, and dramatic. These in-camera looks apply to both JPEG stills and video clips on supported Alpha models.
Can I use the same Creative Look settings for both photos and video in low light?
Yes. Creative Looks remain active when switching between still and movie modes on most recent Sony Alpha bodies. This ensures color and contrast continuity for hybrid shooters. However, video may benefit from slightly lower Clarity values to reduce noise in moving footage. For serious cinematic work, many professionals switch to Picture Profiles with custom LUTs, but for quick social media or run-and-gun content, a well-tuned Creative Look like the low-light Portra variant delivers excellent straight-out-of-camera results in both mediums.
How do Creative Looks compare to editing low-light RAW files in Lightroom?
Creative Looks provide immediate, consistent JPEGs that require little or no editing, ideal when speed matters. RAW files shot alongside them offer ultimate flexibility but demand more time in post. The recommended 2026 Lightroom workflow for Sony low-light RAW uses the Camera Standard profile, +35 Luminance Noise Reduction, Sharpening at 22, Vibrance -5, and Blacks +10. Many photographers use both: Creative Looks for client galleries and social media, RAW development for prints or hero images. The in-camera approach preserves the original creative intent at capture.
Recommended reading: CompTIA Security+ 2026 practice - In-depth guide and comprehensive analysis.