Fujifilm film simulation recipes are saved in-camera settings that shape JPEG color and tone, helping you create a finished, film-inspired look straight out of camera; see how to achieve authentic digital camera film looks in-camera. Each recipe combines a Film Simulation with adjustments such as white balance shift, grain, and highlight or shadow tone. Check camera compatibility, enter the settings, and troubleshoot film simulation settings if needed before saving them to a custom slot and shooting without relying on an editing preset.
What Fujifilm Film Simulation Recipes Are and How They Work
A Fujifilm film simulation recipe is a coordinated set of camera settings—not a software preset—that builds on the camera’s Film Simulation engine. Its purpose is to give JPEGs a chosen character at capture, from restrained color to contrasty black and white.
 Fujifilm Film Simulation Recipes: Ultimate 2026 Guide - What Fujifilm Film Simulation Recipes Are and How They Work
A recipe is more than a Film Simulation
A Film Simulation supplies a starting rendering; a recipe refines that rendering through other image-quality settings. Depending on the camera and recipe, these may include White Balance and its shift, Grain Effect, Color Chrome Effect, Dynamic Range, and Highlight and Shadow tones.
That combination matters. Two recipes can use the same Film Simulation and still produce visibly different results because their color balance, contrast, and texture settings differ. Conversely, a recipe associated with a film stock is an interpretation of its visual character—not a literal reproduction of the chemical process or a guarantee that every scene will look like a particular film scan.
Recipes are often described with familiar references such as Portra, Superia, or Tri-X. Treat those names as cues to the intended aesthetic. The actual look comes from the camera settings and the light, subject, exposure, and scene colors.
The in-camera workflow and the SOOC result
The appeal is a straight-out-of-camera (SOOC) workflow: choose a look before shooting, compose and expose, then review the camera’s rendered image. This can reduce the time spent making routine color and tone adjustments later, especially for travel, everyday photography, and sharing JPEGs soon after capture.
A recipe is not an editing application or a plugin. It is a set of values to enter in the camera’s image-quality controls. Film Recipe Hub publishes recipe cards and, where available, files or supporting information; each recipe credits its original creator. The library is community-driven and is not officially affiliated with Fujifilm.
Think of the recipe as a repeatable starting point rather than an automatic fix. It cannot make mismatched light consistent, rescue every exposure, or replace a deliberate choice about how a scene should feel.
Compatibility comes before the look
Settings and available controls can depend on camera model and sensor generation. A recipe intended for one generation may use options that are unavailable or behave differently on another. Before entering settings, check the compatibility information for the specific recipe and compare it with your camera.
For example, recipes may distinguish between X-Trans IV and X-Trans V generations. That distinction is more useful than assuming that any recipe labeled “Fujifilm” will transfer unchanged across every X-Series or GFX body. Also check whether a recipe calls for a Film Simulation or effect that your camera does not offer.
When a setting is unavailable, do not quietly substitute a different value and assume the result is identical. Note the difference, test it in your lighting, and keep the recipe’s original settings available for comparison.
How Recipe Settings Shape the Image
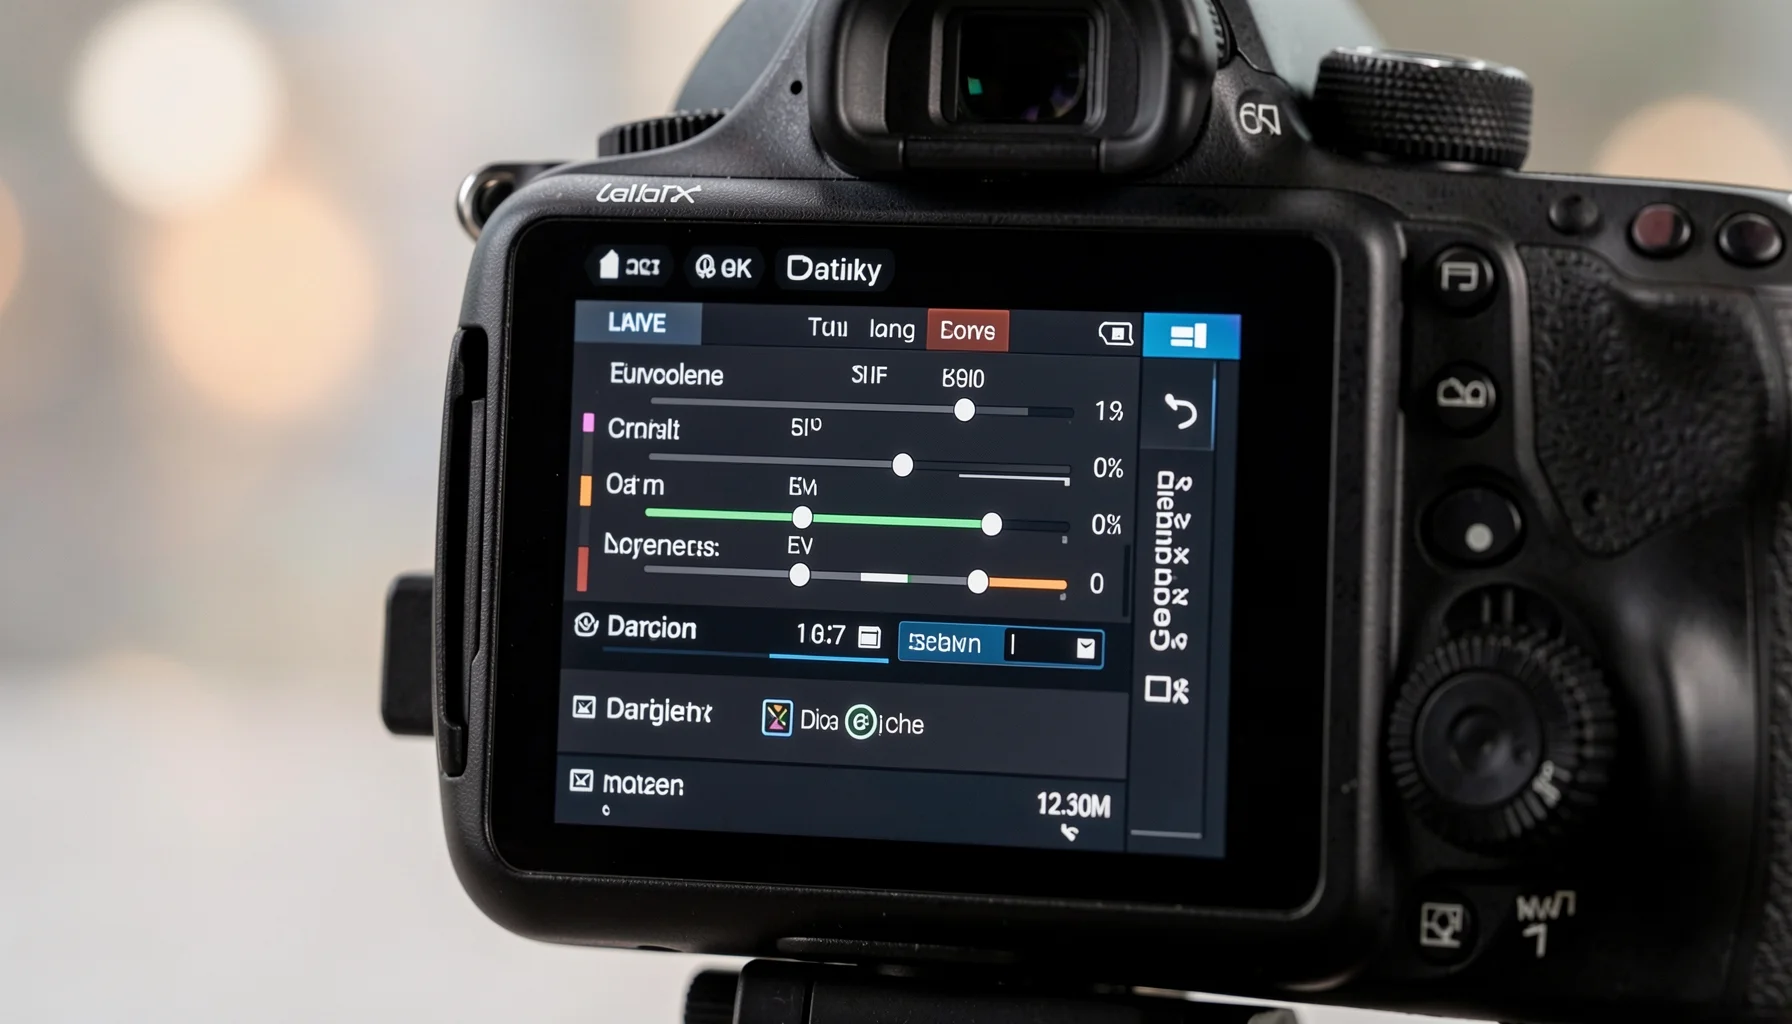
A recipe’s technical identity is the relationship between its settings, not a single slider or simulation name. Use the specification table below as a map of what to check and what each control contributes; the exact value must come from the compatible recipe card.
 Fujifilm Film Simulation Recipes: Ultimate 2026 Guide - How Recipe Settings Shape the Image
A practical settings reference
The table describes the setting categories used in recipe workflows. It does not prescribe universal values: those vary by recipe, camera compatibility, and desired rendering.
| Setting or element | What to check in the recipe | Practical effect to evaluate |
|---|---|---|
| Camera compatibility | Supported model or sensor generation, such as X-Trans IV or X-Trans V | Whether the listed controls and intended rendering apply to your camera |
| Film Simulation | The named base simulation, such as Classic Chrome or Nostalgic Neg | The starting color and tonal rendering for the recipe |
| White Balance | The specified white-balance choice | Overall color balance under the scene’s illumination |
| White Balance Shift | The recipe’s Red and Blue axis adjustments | Fine-tunes color character; small changes can alter the overall feel |
| Grain Effect | Whether grain is on or off, plus specified size and roughness when available | Adds a texture treatment to the rendered image |
| Color Chrome Effect | Strong, Weak, or Off where supported and specified | Affects the recipe’s color treatment in scenes with strong colors |
| Dynamic Range | The recipe’s specified setting | Part of the tonal rendering; follow the value rather than guessing |
| Highlight Tone | The specified value | Adjusts the rendering of brighter tones |
| Shadow Tone | The specified value | Adjusts the rendering of darker tones |
| Custom setting slot | The selected slot, such as C1–C7 on the described workflow | Makes a saved recipe easier to recall while shooting |
| Output and review | The intended JPEG workflow and your playback review | Confirms whether the rendered look suits the scene and your use |
Read the recipe as a system
Settings interact. A White Balance shift is not a generic “warmth” dial that behaves independently of the base Film Simulation and the light falling on the subject. Highlight and Shadow tones contribute to the overall contrast impression, while a grain treatment can change how texture reads. A recipe’s settings should therefore be entered as a set before you judge the result.
A useful way to evaluate a recipe is to inspect a few different visual areas:
- Neutral references: Look at walls, clothing, or objects that should appear neutral in the scene.
- Skin and familiar colors: Check whether people and common colors feel appropriate to the intended look.
- Bright and dark detail: Review highlights and shadows rather than judging only the midtones.
- Fine texture: Consider whether the selected grain treatment suits the subject and viewing size.
This is not a substitute for the recipe creator’s specifications. It is a practical check that helps you understand how those specifications behave in your own conditions.
Film simulations, recipes, and editing presets are different
A Film Simulation is a camera rendering option. A recipe combines a simulation with other camera settings to produce a more specific result. A Lightroom preset, by contrast, is an editing asset applied in Lightroom; it is not the same thing as a Fujifilm custom setting.
That distinction helps when browsing looks. Film Recipe Hub also hosts free Lightroom presets, including Fujifilm Pro 400H and Fujifilm Nostalgic Negative. These are editing resources, so they belong to a different workflow from manually entering a Fujifilm camera recipe.
If your goal is a finished JPEG at capture, start with an in-camera recipe and confirm camera compatibility. If your goal is to edit later, a Lightroom preset may be relevant. Neither approach removes the need to evaluate exposure, lighting, and the subject.
How to Choose, Configure, and Save a Recipe
The reliable workflow is to choose a look, verify compatibility, enter every listed setting, save it to a custom slot, and test it in the conditions where you plan to shoot. That sequence makes the result repeatable and helps you catch mismatches before an important session.
Step 1: Choose for the scene and intended mood
Start with the photograph you want to make, not only a film-stock name. A high-contrast black-and-white look may fit candid street scenes; a warm, nostalgic color rendering may suit travel or lifestyle images. The same recipe can feel different in open shade, direct sun, indoor light, or a scene dominated by strong colors.
Browse the Fujifilm recipe library by look, stock reference, or shooting context. Read the recipe card rather than relying on a thumbnail alone. Check the sample images, original creator attribution, listed settings, and camera compatibility. A sample shows one combination of subject and light; it is not a promise that your scene will match it exactly.
Before committing, consider how you will use the files. If you want images ready to share with minimal post-processing, an in-camera JPEG workflow is a natural fit. If you expect extensive later adjustments, treat the recipe as a capture rendering to evaluate, not as a replacement for your editing plan.
Step 2: Verify the controls, then enter the full recipe
Compare the recipe’s compatibility notes with your exact camera and sensor generation. Confirm that the Film Simulation and listed effects are available. Pay particular attention to White Balance Shift, Grain Effect options, Color Chrome Effect, and Dynamic Range; skipping or approximating one can change the result.
On the camera, open Edit/Save Custom Setting and enter the recipe values as written. Work through the card systematically:
- Set the specified Film Simulation.
- Set White Balance and its Red and Blue shift values.
- Enter the specified Grain Effect and Color Chrome Effect options, if listed and available.
- Set Dynamic Range, Highlight Tone, and Shadow Tone as specified.
- Review the settings once more against the recipe card.
Do not infer a value from a sample photo or invent a replacement for an unavailable control. If you need to adapt the recipe, preserve a note of what you changed so the result is not confused with the original configuration.
Step 3: Save, recall, and test in context
Save the completed settings to a custom slot. The workflow described for supported cameras uses C1–C7; select a slot that you can recognize and recall using the camera’s available controls, such as the Q-menu or dial where supported.
Take a short test sequence that includes the kind of light and subject you expect to photograph. Review the JPEG rendering on the camera, looking at color, tonal detail, and texture. If the result does not fit, first confirm that every value was entered correctly. Then change one variable at a time and record the change rather than adjusting several controls at once.
Treat the custom slot as a saved recipe, not a permanent commitment. Keep one slot for a known baseline if you want an easy reference, and identify other slots clearly in your notes. Slot organization is a personal workflow choice; the essential practice is being able to recall the intended settings consistently.
Pro Tips, Common Pitfalls, and 2026 Workflow Considerations
Recipes work best when you understand their limits as well as their settings. The most dependable approach in 2026 is still practical rather than numerical: verify compatibility, test in real light, and use a repeatable process for selecting and recalling looks.
Troubleshoot mismatches methodically
If your image looks unlike the recipe sample, begin with the settings, not with broad adjustments. Confirm the camera generation, Film Simulation, White Balance, shift axes, effects, and tone values against the recipe card. A missed shift or a substituted simulation can have a more noticeable effect than expected.
Then consider the scene. Light color, mixed lighting, subject color, and exposure all influence the appearance of a rendered JPEG. A recipe that looks balanced outdoors may feel different under indoor lighting. Compare images made under similar conditions before concluding that a recipe is unsuitable.
Common problems and practical responses include:
- The recipe option is missing: Recheck model and sensor-generation compatibility; do not assume the control exists on every camera.
- Colors feel unexpectedly different: Recheck White Balance and both shift axes, then test under a consistent light source.
- The image appears too contrasty or too flat: Confirm Dynamic Range and Highlight and Shadow Tone values before changing them.
- The look does not match the sample: Remember that the sample’s lighting and subject may differ; make a controlled test in your own conditions.
Match the recipe to the photographic job
For street photography, a high-contrast black-and-white recipe inspired by Tri-X can support a bold, graphic approach to candid moments. Look for clear separation between subject and background, and check that the selected rendering preserves the tonal detail you want. The name alone does not guarantee a particular level of contrast; use the listed settings and assess the result.
For travel and lifestyle work, a warm, nostalgic color recipe inspired by Portra 400 can help create a consistent starting look across a set of JPEGs. Consistency still depends on shooting conditions: a sequence made in changing light may need more attention than one photographed under stable illumination.
For learning, recipes are useful because they turn abstract camera controls into a repeatable experiment. Change one setting at a time after recording the original values. That makes it easier to observe how White Balance Shift or Highlight Tone affects a particular scene without losing the recipe you started with.
Team consistency and the 2026 outlook
For a small team, class, or recurring project, treat recipes as documented camera configurations rather than informal nicknames. Record the recipe name, creator, compatible camera generation, complete settings, and any deliberate changes. Agree on how custom slots are labeled or noted, then test the setup on each relevant body. This supports consistency without assuming different cameras render every setting identically.
In 2026, the practical value of an in-camera recipe remains its combination of repeatability, immediate review, and reduced routine editing. These are workflow benefits, not a promise of identical results across cameras or scenes. A careful user will still check firmware-supported controls, compatibility notes, and output under actual shooting conditions.
Film Recipe Hub’s role is to make community recipes easier to discover, compare, and use: the library includes settings, real sample photos, creator attribution, and downloadable files where available. It also covers other camera systems and offers browser-based tools for supported workflows. The site is independent and has no official affiliation with Fujifilm or other camera manufacturers.
FAQ
Are Fujifilm film simulation recipes the same as Film Simulations?
No. A Film Simulation is a camera rendering option, while a recipe combines that option with settings such as White Balance Shift, Grain Effect, Color Chrome Effect, Dynamic Range, and Highlight or Shadow Tone. The combination gives the recipe a more specific character. Two recipes can use the same Film Simulation but look different because their other settings differ. Check the complete recipe card rather than relying on the simulation name alone.
Will one Fujifilm recipe work on every Fujifilm camera?
Not necessarily. Compatibility can depend on the camera model and sensor generation, and some recipes use controls that may not be available on every body. Check the recipe’s compatibility notes before entering settings, including whether it is intended for a generation such as X-Trans IV or X-Trans V. If a control is missing, do not assume another setting is an exact substitute; document any adaptation and test the result.
How do I save a recipe for quick use?
On a supported camera, enter the values in Edit/Save Custom Setting, then save the configuration to a custom slot. The workflow described here uses slots C1–C7, with recall through the Q-menu or dial where supported. The exact controls available can vary by camera. Before shooting, verify the saved settings against the recipe card and make a test image so you know the slot contains the intended configuration.
Do I need to edit photos after using a Fujifilm recipe?
No. Recipes are designed to create a film-inspired rendering in camera, making them useful when you want finished JPEGs with less routine post-processing. You can still choose to edit images later; a recipe does not prevent a separate editing workflow. If you plan to make significant adjustments, evaluate whether the in-camera rendering fits that goal. For the most reliable SOOC result, test the recipe in your usual light and review the JPEGs before an important shoot.