Digital camera film looks are in-camera color and tonal treatments that evoke analog film while producing finished JPEG or HEIF files at capture. You can create them with a camera’s built-in image controls or a compatible recipe, then troubleshoot any setting issues as you adjust the settings for your camera and light. The result is a practical way to spend less time editing and share a considered look straight out of camera.
Understanding digital camera film looks
A digital camera film look is a set of image-processing choices made by the camera, not a film stock hidden inside the sensor. Recipes combine controls such as color, contrast, white balance, and grain—where supported—to shape the final image. The look can be applied as you shoot, making it useful for photographers who want more deliberate JPEGs without building an editing workflow.
 How to Get Authentic Digital Camera Film Looks In-Camera - Understanding digital camera film looks
What “film look” means in a digital workflow
Analog film has distinctive color and tonal characteristics, but a digital recipe is an interpretation, not a chemical reproduction. It works with the camera’s image-processing engine to influence how a digital capture is rendered. A recipe inspired by Kodak Portra, Fujifilm Superia, Ilford HP5, or another stock aims to suggest recognizable qualities; it does not make a digital sensor behave identically to that film under every light or exposure.
A recipe usually combines several settings rather than relying on one effect. White balance and its shift can influence the overall color balance; contrast and saturation affect the relationship between tones and the strength of color. Camera-specific controls may also include options such as grain or sharpening. The available controls and their names vary by manufacturer and model, so a recipe must match the camera system it was made for.
The in-camera architecture: settings, rendering, and output
The basic process has three parts: the sensor records the scene, the camera applies its image-processing settings, and the camera writes a rendered file. When you photograph in JPEG or HEIF, the selected recipe can shape the finished file directly. That is what makes the approach appealing for street, travel, event, and everyday photography: the image may be ready to share without a separate editing pass.
Recipes are delivered in different ways across camera systems. Fujifilm users apply custom film-simulation settings; Nikon users can enter values manually or load compatible Picture Control files such as .NP3 or .NCP. Sony, Ricoh, Panasonic Lumix, and Canon use their own systems for color looks and picture profiles. These formats and controls are not interchangeable, so a recipe should be checked against the specific camera and workflow before use.
Who benefits—and what the trade-offs are
In-camera looks suit photographers who enjoy the immediacy of a finished JPEG, want a consistent visual style, or find that editing every image slows them down. They can also be a useful way to learn: changing white balance, contrast, or saturation and then seeing the effect in a rendered image makes color decisions more tangible.
The trade-off is flexibility. A camera-rendered JPEG has already been processed, so it generally offers less latitude for major changes than a RAW file. A practical compromise is to record RAW alongside JPEG when the camera supports it and the project warrants that safety net. The JPEG gives you the intended look right away; the RAW file preserves an unrendered source for later interpretation.
How digital camera film looks are built
An in-camera recipe is a coordinated set of supported settings, not a universal preset that behaves identically on every camera. The table below compares common recipe workflows and clarifies what each one changes, how it is applied, and where compatibility needs attention.
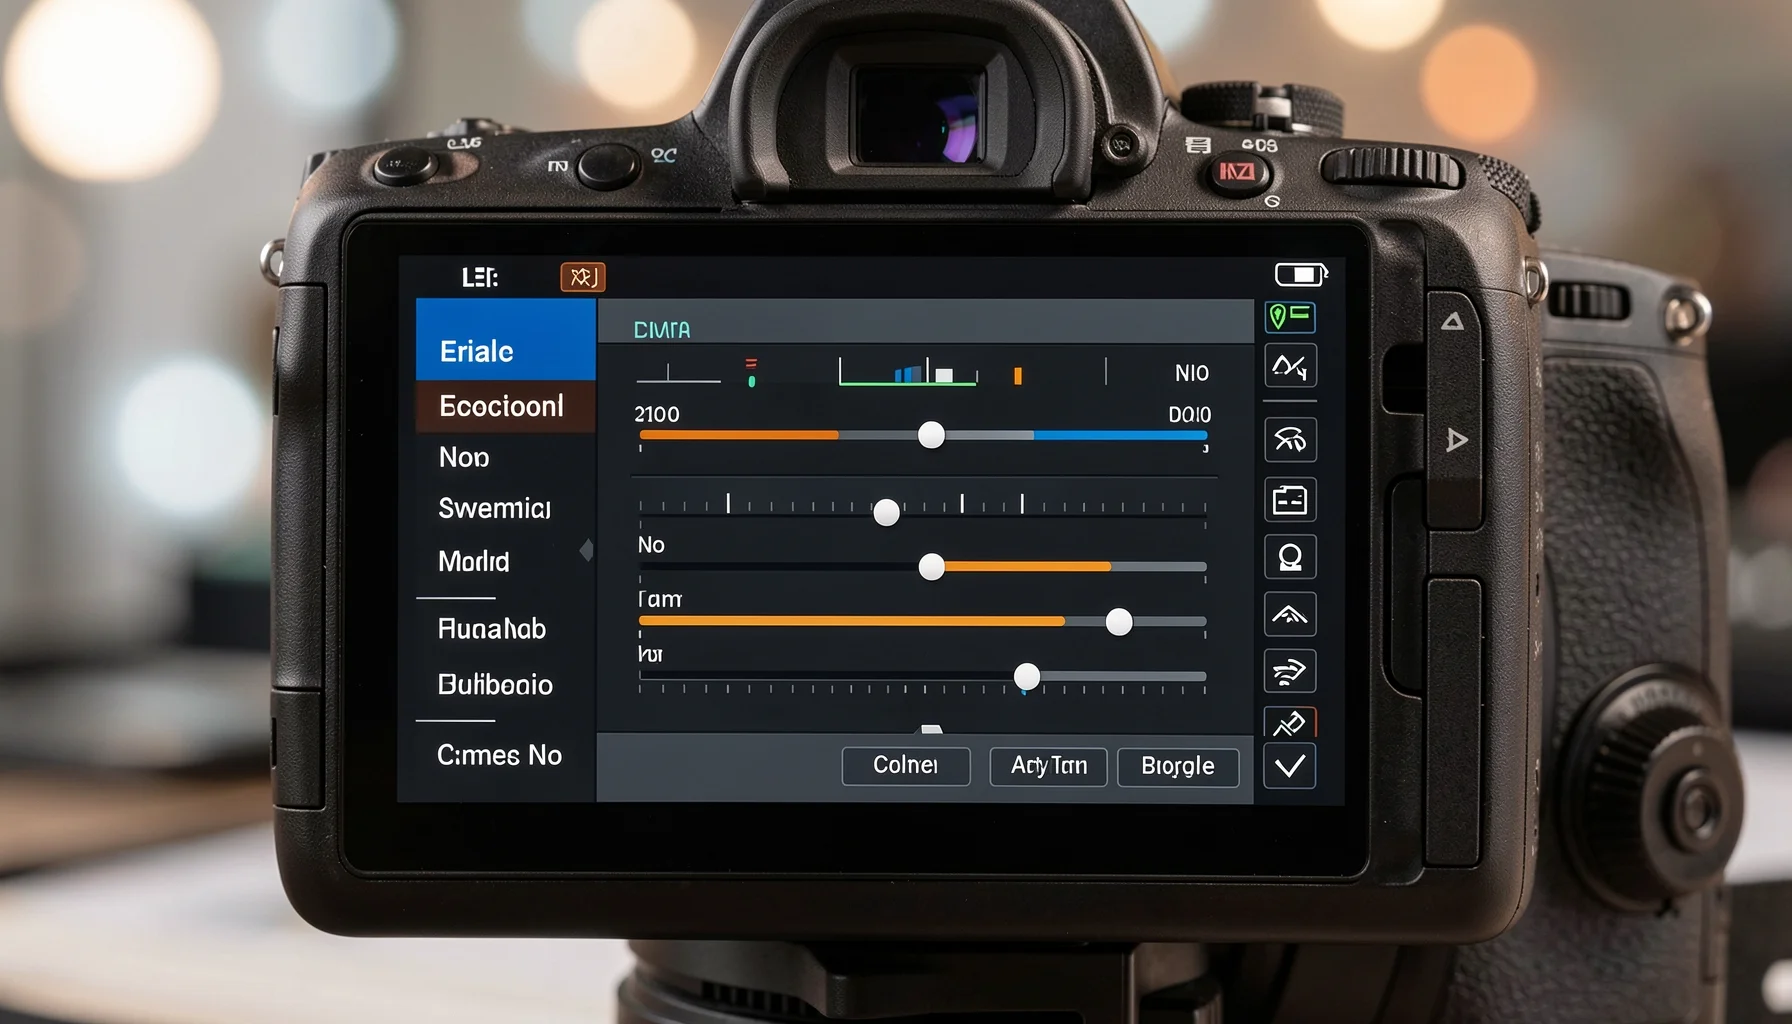 How to Get Authentic Digital Camera Film Looks In-Camera - How digital camera film looks are built
Recipe systems and compatibility at a glance
| Camera system | Recipe or profile format | Typical application workflow | Compatibility point to check |
|---|---|---|---|
| Nikon | Picture Controls; compatible .NP3 or .NCP files | Enter settings manually or transfer a supported file to a memory card and load it through the camera’s Picture Control management workflow | Confirm that the file type and recipe suit the camera model |
| Fujifilm | Film-simulation recipes using custom settings | Enter the recipe’s values in the camera’s available image settings | Recipes rely on the camera’s supported film simulations and controls |
| Sony | Creative Looks, Picture Profiles, or LUT workflows | Configure the relevant supported look or profile for the intended capture workflow | The recipe type and settings depend on the camera and whether the workflow uses a look, profile, or LUT |
| Ricoh GR | Image Control settings | Apply the supplied values using the camera’s image-control options | Confirm that the recipe is intended for the relevant GR camera |
| Panasonic Lumix | Photo Styles and LUTs | Choose and configure a supported Photo Style or LUT workflow | A Photo Style and a LUT are distinct parts of the workflow; check camera support |
| Canon | Picture Styles | Select or configure a supported Picture Style | Confirm the recipe’s compatibility with the camera and its available controls |
| Lightroom workflow | XMP preset | Apply the preset in Lightroom after capture | This is post-processing, not an in-camera recipe |
Why settings need to be camera-specific
Camera brands organize image rendering differently. The same goal—such as softer contrast, muted color, or a warm balance—may be reached through different controls, and one manufacturer’s setting name may not have an equivalent in another system. Even within a camera family, available options can depend on the model. Copying values from an unrelated recipe therefore does not guarantee a matching result.
Treat a recipe as a starting configuration with a defined compatibility range, not a universal formula. Read its listed camera models, required film simulation or picture-control base, and any notes about light or exposure. If a file is offered, make sure it is intended for your camera’s file-loading system. A correctly formatted file is not automatically compatible with every camera from the same brand.
Manual entry, file import, and editing alternatives
Manual entry is useful when the recipe lists camera settings but does not provide a downloadable profile file. Open the relevant image or picture-control settings on the camera, enter the values, and save them as a custom option if the camera allows it. This approach also makes it easier to understand the recipe: you can see which controls are being adjusted and change them deliberately later.
File import can be more convenient when the camera supports downloadable profiles. For supported Nikon Picture Controls, for example, the workflow can involve downloading a compatible .NP3 file, transferring it to an SD card, and loading it through the camera’s Picture Control management menu. By contrast, Lightroom XMP presets are applied after capture. They can be useful for photographers who want an editing-based option; Film Recipe Hub’s Kodak 2383 print-film preset is one such post-processing route, not an in-camera profile.
How to set up and use a recipe
The reliable way to implement an in-camera look is to confirm compatibility, enter or import the recipe, then test it in the light where you plan to shoot. A short test sequence helps you evaluate color and contrast before relying on the look for an event or a full day out.
Step 1: Match the recipe to your camera and goal
Start by choosing the camera system and the kind of look you want. A photographer seeking a soft portrait rendering may prioritize gentle contrast and natural skin tones, while a street photographer might prefer stronger color separation or a moodier monochrome treatment. These are creative goals, not guaranteed results: light, subject, exposure, and the camera’s rendering all affect the final image.
Check the recipe’s requirements before entering any settings. Note the intended camera model or compatible range, the required base simulation or picture style, and any special instructions. Recipes should include exact values and credit the original creator; avoid filling gaps by guessing. If a recipe does not specify a value or the camera lacks a named control, do not assume another camera’s setting is an equivalent substitute.
Step 2: Enter settings or load a supported file
For manual setup, use the camera’s relevant custom settings or picture-control menu and enter the recipe values exactly as provided. Depending on the camera system and recipe, those may include controls such as contrast, saturation, hue, grain, or white balance shift. Save the configuration under a recognizable custom name if that option is available, so you can return to it without re-entering the values.
For a downloadable file, follow the camera’s supported import process rather than treating it like a general-purpose image file. Nikon users, for example, can use compatible Picture Control files and load them through the camera’s Picture Control management workflow. Other systems use different settings or formats. Do not rename a file to make it appear compatible, and do not assume that a profile for one brand can be loaded into another.
Step 3: Test, review, and adapt to the scene
Take a small set of test images in the light you expect to encounter. Include a face, a neutral surface, and a colorful subject if they are relevant to your work. Review the JPEG or HEIF rendering on the camera and, when possible, on a calibrated or familiar display. Look for practical issues: skin that appears too warm, shadows that lose useful detail, or saturated colors that distract from the subject.
If the recipe permits adjustments, change one setting at a time and compare results. This preserves a clear understanding of what each change does. A white-balance shift can have a broad effect on color, while a contrast adjustment changes how tones separate; changing several controls together makes it harder to identify the source of an unwanted result. For an important assignment, consider recording RAW alongside JPEG if your camera and storage workflow allow it.
Pro tips, common pitfalls, and the 2026 outlook
The best recipe is not necessarily the most dramatic one; it is the one that remains useful across the subjects and conditions you actually photograph. Careful testing, accurate attribution, and a simple backup workflow help make an in-camera look dependable rather than limiting.
Make the look work across changing light
A recipe can appear different in open shade, direct sun, indoor tungsten light, and mixed lighting because the scene itself changes the color reaching the camera. A white-balance choice that gives a pleasing warmth outdoors may exaggerate orange tones indoors. Test in the conditions you expect to shoot, and consider maintaining separate custom recipes for distinct uses if your camera supports them.
For portraits, inspect skin before judging the recipe by a colorful background. For landscapes, check whether strong greens or skies become distracting. In street photography, decide whether consistency across varied scenes matters more than matching every frame to a specific reference image. These checks do not require a universal numerical benchmark: there is no single percentage or setting that makes a look authentic across different cameras and lighting.
Solve common setup and rendering problems
If the result does not match the sample, check the recipe’s stated camera compatibility and required base profile first. Confirm that every value was entered correctly and that the camera is actually using the intended custom setting. A recipe can also look different because the sample was made in different light, with a different exposure, or on a camera model with different rendering options.
If the colors feel too strong, the shadows look blocked, or skin tones seem off, avoid changing several settings at once. Make one small, documented adjustment, shoot a comparison, and decide whether it improves the files you need. Keep an unmodified version of the recipe when possible. For a different visual direction, photographers who like the imperfect flash aesthetic can compare it with this disposable-camera flash preset, while remembering that an XMP preset is applied in Lightroom rather than in camera.
A practical 2026 perspective: consistency over claims
In 2026, an in-camera recipe remains a practical workflow choice, not a guarantee of film equivalence or a shortcut to a particular percentage improvement in speed or engagement. The useful benchmark is operational: does the camera produce files you are comfortable sharing, does the look hold up across your intended subjects, and does the workflow reduce editing without compromising the assignment? These questions can be answered with a small, repeatable test rather than unsupported industry-wide statistics.
For a team, school, or photo group, consistency starts with documentation. Record the camera model, recipe creator, exact settings, file type, and any known limitations. Test the recipe on every camera intended for use instead of assuming identical output across brands or models. Film Recipe Hub is an independent, community-driven library: recipes credit their original creators, and the site is not affiliated with camera manufacturers. Its practical role is to help photographers find sample images, compatible settings, and supported files—not to promise identical results on every camera.
FAQ
These answers cover the most common questions about choosing, loading, and using in-camera film recipes. Compatibility and results depend on the camera system, recipe, and shooting conditions.
Choosing a look and understanding compatibility
Are digital camera film looks the same as shooting actual film?
No. An in-camera recipe uses a digital camera’s image-processing controls to suggest the color and tonal character associated with a film stock. It does not reproduce the physical response of film under every exposure or lighting condition. The result depends on the camera model, settings, subject, and light. Treat a named film recipe as a creative interpretation and evaluate its sample images and test results rather than expecting an exact chemical or optical match.
Can I use the same recipe on Nikon, Fujifilm, Sony, Ricoh, Lumix, and Canon cameras?
Usually not as a direct settings transfer. Each system uses its own controls, profile formats, and supported workflows. A Fujifilm film-simulation recipe, for example, is not a Nikon Picture Control file, and a Lightroom XMP preset is not an in-camera profile. Look for a recipe made for your camera system and check any model requirements. Similar visual goals may be possible across brands, but the settings and results are not automatically interchangeable.
Loading recipes and getting dependable results
Do I need to edit photos after applying an in-camera recipe?
No. The purpose of an in-camera recipe is to create a rendered JPEG or HEIF with the selected look applied at capture, which may be ready to share without further editing. You can still edit the file if needed, but substantial changes may be less flexible than working from RAW. If you want both an immediate finished image and an unrendered option, consider recording RAW alongside JPEG when your camera and workflow support it.
How can I tell whether a recipe or downloadable file is safe to use with my camera?
Check the recipe’s stated camera compatibility, file format, and loading instructions before transferring or entering anything. Use only files intended for the camera’s supported Picture Control or profile workflow; do not assume a file works because it comes from the same manufacturer. For manual recipes, enter only the values that are actually provided and supported by your camera. When details are missing, contact the recipe’s credited creator or choose a clearly documented alternative.