The best compact camera color profiles for travel in 2026 are the ones that give you a dependable look in the light and locations you actually photograph, while keeping JPEGs ready to share straight from the camera. There is no single profile that suits every trip: a restrained everyday color look, a warm travel palette, and a monochrome option can cover very different scenes without requiring a laptop or extensive editing.
Why in-camera color profiles matter for travel
In-camera color profiles shape how a camera renders a JPEG, affecting its color and overall look before you share the image. For compact-camera users who want strong travel photos without a post-processing routine, a carefully chosen profile can make an everyday camera feel more personal and help keep a set of images visually consistent.
 Best Compact Camera Color Profiles for Travel 2026 - Why in-camera color profiles matter for travel
What a camera profile can—and cannot—do
A profile is a rendering choice, not a replacement for good exposure or a guarantee that every scene will look alike. Depending on the camera system, the available options may be called film simulations, Picture Controls, Creative Looks, Photo Styles, or Picture Styles. Custom recipes can combine a camera’s available settings to produce a particular color character.
The practical benefit is speed. A JPEG rendered with a suitable in-camera look may be ready to share without opening editing software. That matters when you are traveling light, transferring images to a phone, or simply prefer spending your time photographing rather than adjusting files afterward.
Profiles do not make every camera interchangeable. Names, controls, file types, and compatibility vary by system and model. A recipe designed around a particular camera’s options may not transfer exactly to another body, even if both cameras come from the same manufacturer. Check the stated camera compatibility before relying on a recipe for a trip.
Why compact-camera travelers are seeking ready-to-share color
Compact cameras are popular with travelers who want capable photography in a smaller, simpler setup. Cameras such as the Fujifilm X100VI, Ricoh GR IV, and Sony RX100 VII illustrate different approaches to compact photography; they do not share one common profile system. The useful question is not simply which look is popular, but which look fits your camera and the scenes you expect to shoot.
A recipe can also reduce decision fatigue. If you have chosen a reliable color profile for daylight scenes and a separate monochrome option, you can spend less time changing settings between street scenes, architecture, food, and portraits. Film Recipe Hub’s library organizes community-created looks across camera systems and includes sample photos, settings, and creator credits to help photographers assess a recipe before trying it.
What makes a travel profile useful
A travel-ready profile should suit more than one appealing sample image. Look for a recipe that fits your preferred color character, works with the camera’s available options, and makes sense for the light you expect to encounter. A strong fit for bright outdoor scenes may not be the right choice for dim interiors or mixed lighting.
Before you leave, test the profile on subjects you often photograph: a person, a street scene, greenery, a meal, and a building with bright and shadowed areas. Review the results on your camera and, if possible, on the device where you normally share images. A look that feels pleasing in a single sample may be less effective across a whole day’s photographs.
Compare travel looks and recipe formats
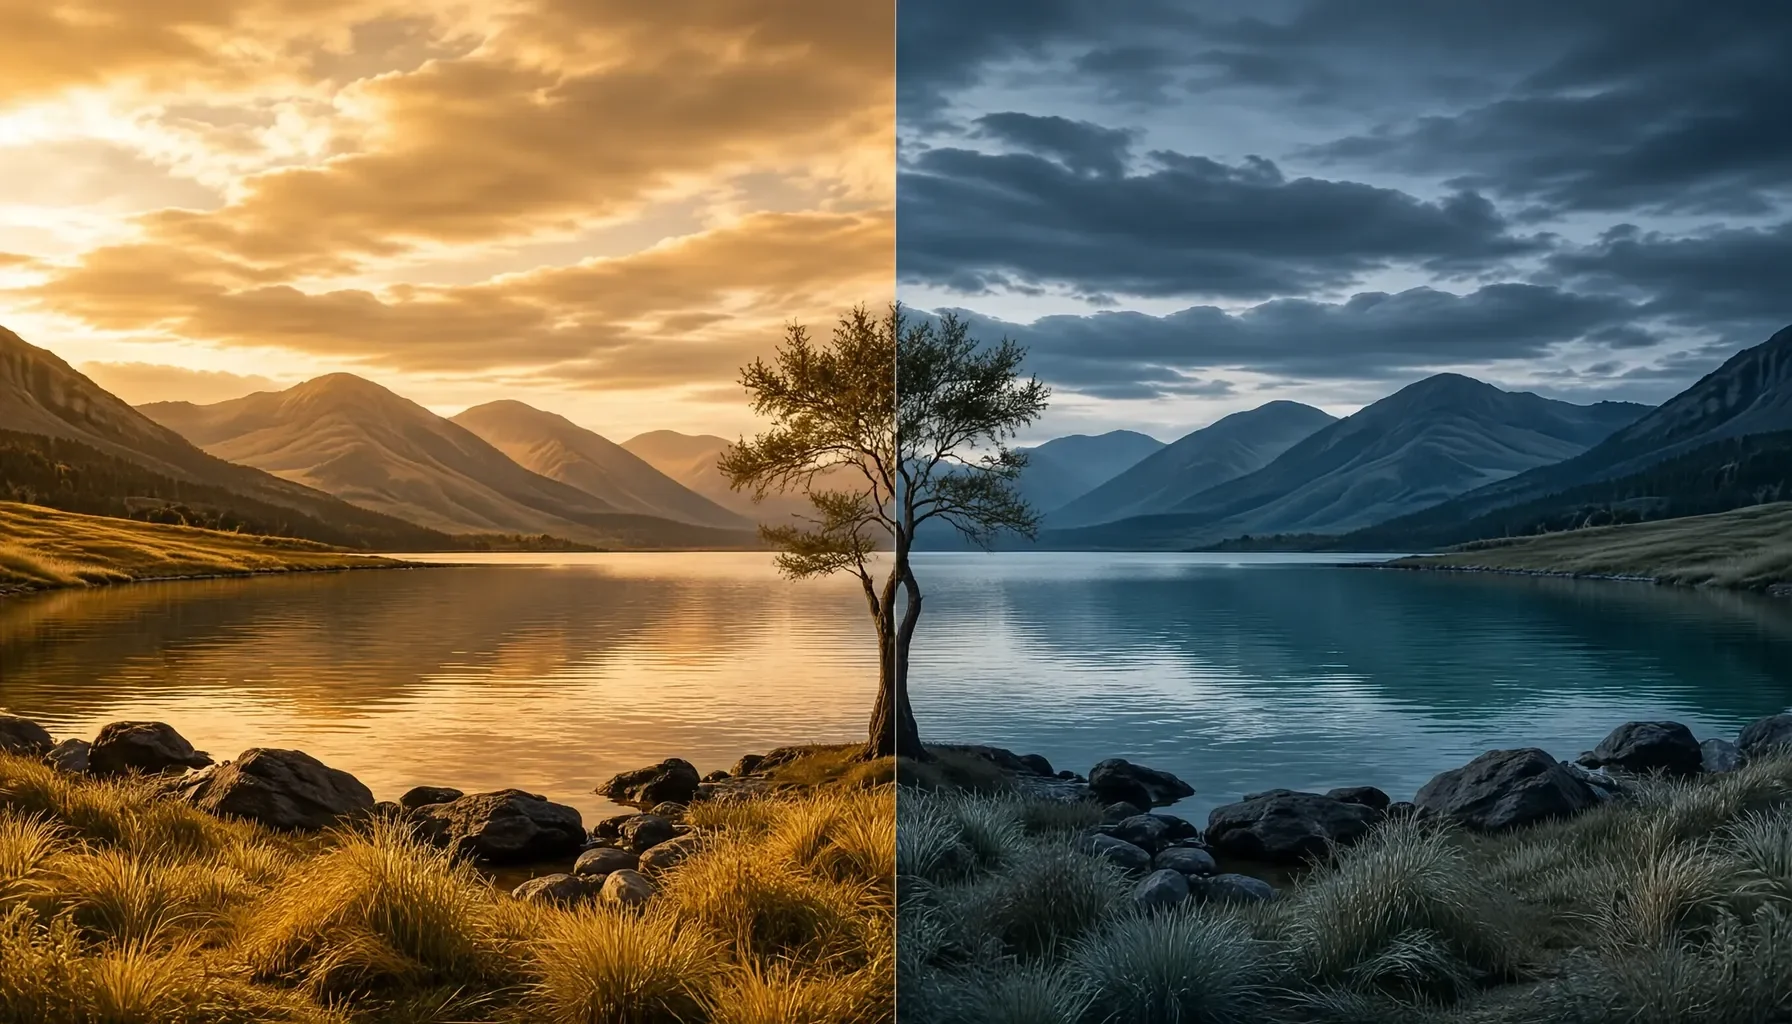
The most useful comparison is between the look you want, the camera system you use, and how you plan to work with the files. The table below maps common travel situations to profile traits and practical checks; it does not prescribe universal settings, since exact options depend on the camera and recipe.
 Best Compact Camera Color Profiles for Travel 2026 - Compare travel looks and recipe formats
Match a look to the scene
| Travel need | Profile direction to explore | Before choosing, check |
|---|---|---|
| A flexible look for varied daylight | A restrained color recipe intended for everyday use | Whether it keeps colors pleasing across people, streets, and scenery |
| A warm, nostalgic travel mood | A recipe inspired by a warm film aesthetic, such as Portra | How it renders skin, bright scenes, and shade on your camera |
| Vivid landscapes or colorful markets | A more expressive color look, such as an Ektar-inspired recipe | Whether the extra color suits food, signs, greenery, and skin tones |
| Night streets and illuminated signs | A night-oriented look, such as a Cinestill 800T-inspired recipe | How the recipe behaves in your camera’s low-light conditions |
| High-contrast street scenes | A monochrome recipe, including a Tri-X-inspired look | Whether the contrast retains the detail you want in highlights and shadows |
| A camera-specific, ready-to-load workflow | A recipe made for your system and model | Compatibility, installation method, and whether a downloadable file is available |
These film names describe aesthetic directions, not a promise that a digital recipe will reproduce a particular film stock exactly. Results depend on the camera, the recipe’s settings, lighting, exposure, and the subject. Treat a sample as a guide to the intended look, then test the actual recipe on your camera.
Match the recipe format to your camera
| Camera system | Common profile or recipe format | Useful preparation |
|---|---|---|
| Nikon | Picture Controls; downloadable files may use .NP3 or .NCP |
Check the recipe’s Nikon compatibility and installation instructions |
| Fujifilm | Film-simulation recipes using custom camera settings | Confirm the recipe’s required options are available on your model |
| Sony | Creative Looks, Picture Profiles, or LUTs | Check which type of profile the recipe uses and whether it matches your intended workflow |
| Ricoh GR | Custom image settings | Verify the recipe is intended for your GR model and how settings are entered |
| Panasonic Lumix | Photo Styles or LUTs | Confirm the recipe format and compatible camera workflow |
| Canon | Picture Styles | Check model compatibility and whether the recipe provides manual settings or a file |
| Lightroom workflow | XMP presets | Confirm the preset is intended for Lightroom rather than direct in-camera use |
A file format is not a universal recipe container. An XMP preset, a Nikon Picture Control file, and a Sony LUT serve different workflows and should not be treated as interchangeable. When a recipe is not downloadable for your camera, its written settings may still be useful if the camera offers equivalent controls, but do not assume every value has a direct match.
Choose a profile for the whole trip, not one photo
For a varied itinerary, start with a versatile everyday recipe and add a second look only if you have a clear reason to switch. For example, a daylight color recipe could cover a walking tour, while a monochrome option gives you a distinct choice for graphic street scenes. Carrying too many recipes can make quick shooting slower rather than easier.
If you want to compare systems or styles, Film Recipe Hub’s guide to compact-camera color profiles for travel offers a starting point. Use any recommendations as a shortlist, not a substitute for checking the recipe’s camera compatibility and testing it with your own subjects.
Set up and test your travel profile before departure
A reliable travel setup begins with choosing a compatible recipe, configuring the camera, and testing it under representative conditions. Preparing at home gives you time to catch an unavailable setting, an installation issue, or a look that does not fit your trip.
Step 1: Choose a recipe that matches your camera
Start by selecting your camera system and model, then narrow your search by the look or use case you want. A recipe page should make it clear which camera or profile system it targets, what settings it uses, and whether it includes a downloadable file. Look for sample photos and the original creator’s credit as part of your evaluation.
Film Recipe Hub’s camera sections cover Nikon, Fujifilm, Sony, Ricoh, Lumix, and Canon. The underlying system matters: a Fujifilm film-simulation recipe is not a Nikon Picture Control, and a Sony LUT is not the same thing as a Ricoh GR setting.
Step 2: Enter settings or load the supported file
Follow the instructions for the recipe and your camera. Some workflows involve entering the listed settings in a custom menu slot; others use a supported file or profile format. Do not guess at a setting or substitute a menu option just because its name sounds similar. If an option is missing from your camera, check the compatibility notes or select a recipe made for your model.
For Nikon, the free NP3 Generator can turn a reference photo into a Nikon Picture Control file. The site also provides a Picture Control Editor and a Lightroom-to-Nikon converter. These are system-specific tools; they do not create a universal file that can be installed on every compact camera.
Step 3: Test a small set of travel scenes
Make test JPEGs in the kinds of conditions you expect to encounter. Include daylight, shade, a face, colorful objects, a bright sky, and a night scene if night photography matters to you. These examples reveal more than a single attractive landscape because they show how the look handles different colors and lighting.
Review the results at normal viewing size as well as on the camera screen. Check for details you care about, such as whether skin looks natural to you, whether shadows appear too dark for your taste, and whether bright areas retain the character you want. These are evaluation questions, not universal pass-or-fail standards.
Step 4: Make the setup easy to use on the road
Once you are happy with the recipe, save or register it using the method your camera supports, then confirm you can select it quickly. If the camera offers custom settings or slots, use a label or note that helps you remember which look you assigned. The exact menu path and available slots differ by model, so rely on your camera’s instructions rather than a generic procedure.
Take a few test photos after saving the setup. This simple check confirms that the recipe is active and gives you a chance to correct a missed setting before you are away from your usual workspace. Keep a note of the recipe name and settings in case you need to restore them.
Get better results and avoid common recipe mistakes
A profile is most dependable when you treat it as part of a shooting workflow rather than a fix for every lighting problem. Testing, exposure, and sensible recipe selection can help you get consistent JPEGs; none of them removes the need to respond to changing scenes.
Look beyond the recipe’s sample images
Sample photos show what a recipe can look like in particular conditions, not what it will produce in every location. A color style that appeals in an outdoor scene may feel different under indoor lighting, and a strong monochrome look may not suit every subject. When comparing examples, note the scene and light as well as the colors.
Film Recipe Hub’s practical recommendation is to test a recipe on varied subjects before adopting it for a trip. Compare photographs made with your candidate profiles under similar conditions, rather than judging one recipe from a sunny landscape and another from an indoor portrait. That makes it easier to distinguish the profile’s character from the effect of different light or subjects.
Avoid treating film references as exact film matches
Names such as Portra, Ektar, Superia, Cinestill 800T, and Tri-X can help communicate the look a creator is aiming for. They should not be read as a guarantee of identical color or behavior. A digital recipe works through the options available in a specific camera system, and its result depends on the camera and scene.
Use the name to decide whether the general direction interests you, then inspect the recipe’s own images and settings. If you prefer subtle color, a highly expressive recipe may not suit your everyday photographs. If you want a distinct monochrome character, test whether the recipe’s contrast works for the types of light and subjects you actually shoot.
Keep your workflow simple when conditions change
A travel day can move from open shade to bright streets to a dim restaurant. Instead of changing several recipe settings on the fly, begin with a tested everyday option and switch profiles only when the scene genuinely calls for a different look. Pay attention to exposure and lighting; a profile cannot compensate for an image that is too bright, too dark, or poorly suited to the subject.
A common mistake is to choose a recipe solely because it looks striking in a thumbnail, then discover it is not compatible with the camera or does not fit most of the trip. Another is to assume a downloaded file applies directly to every model. Confirm compatibility, installation steps, and the intended file type before packing.
Choose a profile setup for your kind of trip
The right setup depends on what you photograph, how much time you want to spend adjusting settings, and whether you prefer a consistent look or variety. For most travelers, a small, tested selection is easier to use than a large collection of untried recipes.
For first-time recipe users
Begin with one versatile color recipe for the camera you already own. Read the compatibility details, enter the settings or load the supported file, and make test photos before you travel. This keeps the learning curve manageable and helps you see how an in-camera profile affects your own JPEGs.
If you are still comparing options, browse your camera system’s section and look for sample images that resemble your subjects. Prioritize clear instructions and a creator credit over a dramatic recipe name. A dependable recipe that suits your everyday photography is usually more useful on a trip than several profiles you have not practiced using.
For travelers who want a distinct film-inspired look
Choose a recipe whose intended aesthetic fits the trip. A warmer, more nostalgic direction may suit a personal travel journal, while a more vivid look may appeal if you often photograph colorful street scenes or landscapes. A monochrome recipe can offer a different way to approach graphic buildings and street moments.
Keep the look’s purpose in mind. If you want one visual character across a set of images, avoid switching styles without a reason. If you do want variation, decide in advance when you are likely to use each option and test the transition between them. That makes your choices feel deliberate rather than accidental.
For phone-first sharing and minimal editing
If your goal is to share images quickly, focus on the camera’s JPEG workflow and the profile’s results at the size you usually view and send photos. Test whether you like the color before you leave; a recipe that only looks good after adjustments is not serving the no-heavy-editing goal.
Carry a note of the profile name and setup steps, and confirm the camera can return to the selected look after other settings are changed. If you work across more than one device, remember that in-camera recipes and Lightroom presets are separate workflows. Film Recipe Hub also has a travel recipe guide for exploring camera-ready looks by travel use.
FAQ
What is the best color profile for a compact travel camera?
There is no single best profile for every camera, traveler, or scene. Choose a recipe that is compatible with your model and suits the subjects and lighting you expect to photograph. A versatile everyday color look is a sensible starting point; you can add a more distinctive color or monochrome option if you have a clear use for it. Test your shortlist on real scenes before relying on it during a trip.
Can I use the same recipe on Nikon, Fujifilm, Sony, Ricoh, Lumix, and Canon cameras?
No. These systems use different profile features and formats, including Nikon Picture Controls, Fujifilm film-simulation recipes, Sony Creative Looks or LUTs, Ricoh GR settings, Lumix Photo Styles, and Canon Picture Styles. Even within a camera brand, model compatibility can matter. Check the recipe’s stated system and camera requirements, then follow its instructions. Do not assume that a downloadable file or a set of settings will transfer unchanged between brands.
Do film-inspired recipes make JPEGs look exactly like film?
No. Film-inspired recipe names describe an intended aesthetic, not a guarantee of an exact film-stock match. A recipe uses the controls available in a particular camera system, and the resulting JPEG is affected by the camera, settings, exposure, lighting, and subject. Use sample photos to judge whether you like the general direction, then test the recipe on your own camera. It may be ready to share without heavy editing, but its look will not be identical in every scene.
Should I use an in-camera recipe or a Lightroom preset for travel?
Use an in-camera recipe when you want the camera to render a JPEG with your chosen look at capture. A Lightroom XMP preset belongs to an editing workflow and is not the same as a camera profile file. Your choice depends on whether you want to minimize post-processing or prefer to adjust images afterward. If you need a camera-ready result, check that the recipe is compatible with your camera and test it before departure.