The best travel camera recipes for 2026 are camera-specific color settings that help you capture consistent, film-inspired JPEGs in changing travel light. Choose a recipe for the camera you own and the scenes you expect to shoot, then test it before your trip. With the right in-camera look, you can spend less time editing and more time photographing.
What travel camera recipes are and how they work
A travel camera recipe is a set of in-camera image settings designed to produce a particular color and tonal look in your photos. The useful recipe is not simply the one with the most appealing name; it is the one that suits your camera, light, subjects, and preferred way of working.
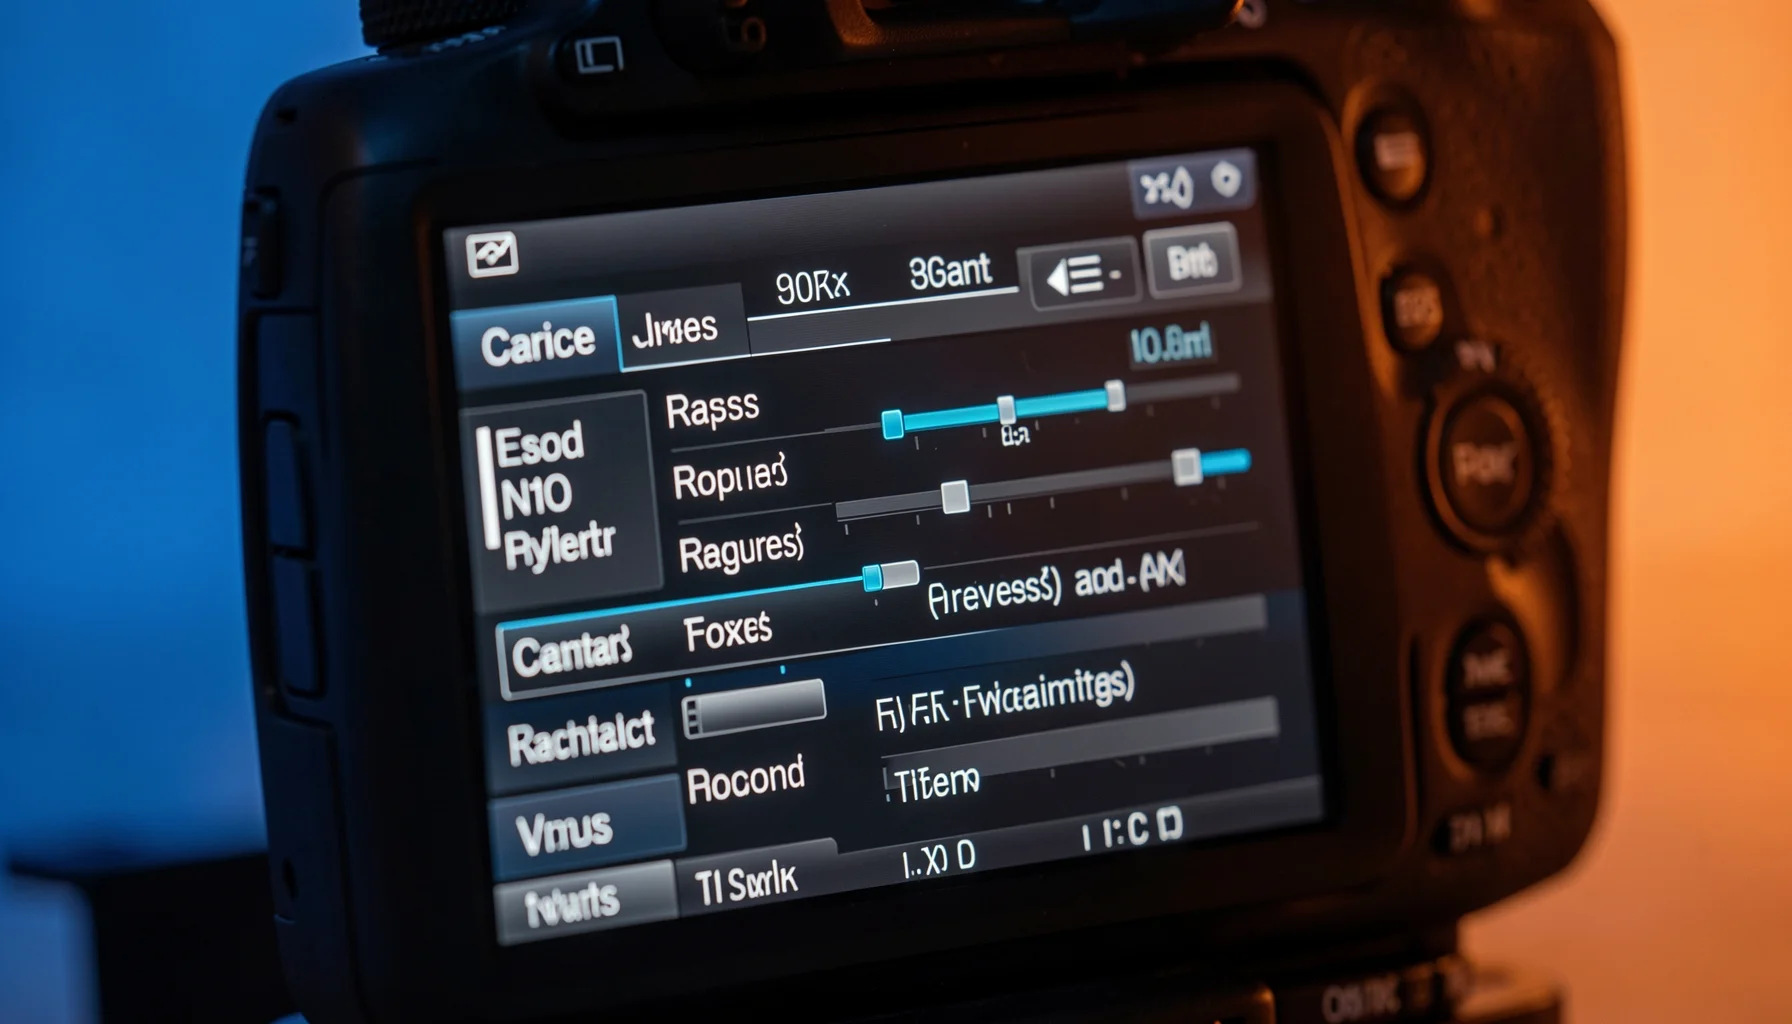 The Best Travel Camera Recipes for 2026: Film Looks on the Go - What travel camera recipes are and how they work
A practical definition of a travel recipe
A recipe adjusts how a camera renders an image, often aiming for a recognizable film-inspired result such as warm, gentle color, vivid travel-postcard tones, or a monochrome look. Depending on the camera system, the settings may be saved as a Fujifilm film-simulation recipe, a Nikon Picture Control, a Sony Creative Look or Picture Profile, a Ricoh GR recipe, a Panasonic Lumix Photo Style, or a Canon Picture Style.
These options are not interchangeable. Each camera brand has its own controls, compatible file formats, and loading process. A recipe created for one camera or system should not be assumed to work on another.
The goal is a straight-out-of-camera look: a finished-looking JPEG produced by the camera, rather than a look that depends on extensive editing later. A recipe can also help make a series of travel photos feel more consistent, even when you move between streets, landscapes, interiors, and portraits.
Why travel light calls for flexible color
Travel photography often means moving quickly between different lighting conditions. A bright beach, a shaded market, a hotel room, and a city street after sunset can all challenge the same fixed look. A recipe that feels pleasing in one scene may render another too warmly, too contrasty, or with colors that distract from the subject.
Think of recipes as creative starting points, not automatic exposure or white-balance solutions. The camera still needs suitable exposure, focus, and a sensible response to the actual light. A look that handles muted overcast colors well may not be the best choice for bright midday scenes or mixed indoor lighting.
When selecting a recipe, consider the subjects you photograph most, the amount of contrast you enjoy, and whether you want skin tones, architecture, foliage, or night scenes to take priority. Film Recipe Hub’s travel camera recipe guide can help you compare looks with travel use in mind.
How the recipe ecosystem differs by camera
The available options depend on your camera brand. Fujifilm photographers can build recipes around film simulations and camera settings. Nikon photographers can use Picture Controls, including downloadable .NP3 or .NCP files where available. Sony users may work with Creative Looks, Picture Profiles, or LUT-related workflows, while Ricoh, Lumix, and Canon provide their own in-camera color tools.
Film Recipe Hub brings these camera-specific resources together with sample photos, exact settings, creator credits, and files where available. Its library is community-driven, and it is not affiliated with camera manufacturers. The central workflow is straightforward: identify your system, choose a compatible recipe, inspect its settings and examples, and load or enter it using the appropriate guide.
Compare recipes by camera system and workflow
The best way to compare travel recipes is to look at the camera format, how the look is applied, and what you need to do to use it. These differences affect compatibility and setup—not whether one brand’s approach is universally better.
 The Best Travel Camera Recipes for 2026: Film Looks on the Go - Compare recipes by camera system and workflow
Camera-system comparison
| Camera system | In-camera recipe format or feature | Typical way to use a recipe | What to verify |
|---|---|---|---|
| Nikon | Picture Controls; downloadable .NP3 or .NCP files where available |
Load a supported file or enter the listed settings manually | Camera compatibility and the correct file type |
| Fujifilm | Film-simulation recipes and custom settings | Configure the recipe in the camera’s available settings | The camera’s supported film simulation and setting options |
| Sony | Creative Looks, Picture Profiles, and LUT-related workflows | Apply the compatible look or follow a camera-specific LUT guide | Which Sony feature and workflow the recipe requires |
| Ricoh GR | Camera-specific recipes | Enter the settings supported by the relevant GR model | Model compatibility and available controls |
| Panasonic Lumix | Photo Styles and LUTs | Apply a compatible Photo Style or follow the LUT workflow | The intended feature and compatible camera |
| Canon | Picture Styles | Select or configure a supported Picture Style | Camera support and the recipe’s required settings |
| Lightroom | XMP presets | Apply the preset in Lightroom rather than in-camera | This is a post-processing workflow, not an in-camera JPEG recipe |
The table describes broad workflow categories, not guaranteed compatibility for every camera model. Check the recipe’s own notes before downloading a file or entering settings. Where the creator or library lists a specific model, treat that information as more useful than a general brand match.
What makes a recipe travel-ready?
A travel-ready recipe should be easy to understand, practical to use, and suited to your shooting habits. Look for real sample photos that show how the look handles more than one kind of subject. A single attractive example may not reveal how the recipe behaves with foliage, bright skies, faces, or deep shadows.
Consider these questions before choosing:
- Does the look match the way you want your trip to feel in pictures?
- Are the settings available on your camera?
- Is there a downloadable file, or will you need to enter settings manually?
- Do the examples include scenes similar to the places and light you expect?
- Does the recipe creator explain its intended use or limitations?
A named film inspiration, such as Portra, Ektar, Superia, Cinestill 800T, or Tri-X, communicates a creative direction. It does not guarantee that a digital recipe reproduces film exactly, or that the same settings behave identically across camera systems. Use the samples and exact settings to make an informed choice rather than relying on the name alone.
In-camera recipes versus Lightroom presets
An in-camera recipe affects how the camera renders an image, commonly for a JPEG workflow. A Lightroom preset is applied in Lightroom during post-processing and is typically provided as an XMP file. Both can support a consistent visual style, but they fit different workflows.
Choose an in-camera recipe when you want to review finished-looking JPEGs as you shoot and keep editing light. Choose a Lightroom preset when you prefer to adjust images after the trip or want a preset-based editing workflow. Some photographers use both approaches, but they should not confuse a Lightroom preset with a camera-loadable recipe: an XMP file is not an .NP3 or .NCP Picture Control.
Choose, install, and test a travel recipe
A reliable setup begins with the camera, not the look’s name. Confirm compatibility, follow the right brand-specific instructions, and test the result in representative light before relying on it during a trip.
A four-step setup workflow
Step 1: Start with your camera system. Visit the relevant brand section—Nikon, Fujifilm, Sony, Ricoh, Lumix, or Canon—and narrow your choices to recipes intended for your camera type. If a recipe lists supported models, use that information to guide your selection.
Step 2: Review the settings and examples. Read the recipe details, inspect its sample photos, and note whether it uses a downloadable file or requires manual entry. Check creator credits and any compatibility notes. If important information is missing, do not assume a setting or file will work on your model.
Step 3: Load the file or enter the settings. For supported Nikon Picture Controls, download the provided .NP3 or .NCP file when available and follow the Nikon installation guide. For other systems, use the relevant instructions to configure the camera’s available controls. Film Recipe Hub’s guides section offers practical context for in-camera setup.
Step 4: Test, then save or adjust. Photograph a few scenes that resemble your planned use: daylight, shade, a face, and an indoor scene if those are part of your trip. Compare the resulting images on your camera or computer. Keep a record of the recipe name and settings so you can return to the same look later.
Test for the conditions you will actually encounter
A short test is more informative than choosing a recipe from its title alone. Photograph the same subject in direct sun and open shade, then compare how the look renders color and contrast. Include a person if skin tones matter to your travel work, and check how the recipe handles bright surfaces and darker areas in the frame.
Pay attention to what you want to preserve. A high-contrast look may suit bold architecture but make shadow detail less prominent. A restrained palette may work well for a quiet street scene but feel subdued in a colorful market. These are aesthetic trade-offs, not signs that a recipe is universally good or bad.
If your camera supports saving custom settings, consider keeping a small selection for distinct use cases rather than trying to make one recipe suit every scene. Name or record each setup clearly. This makes it easier to switch intentionally and avoids relying on memory when you are shooting quickly.
Keep the travel workflow simple
Before departure, confirm that your chosen recipe is available on the camera and that you know how to select it. If you need a file, verify that it is the right format and has been loaded successfully. If the recipe requires manual configuration, compare your entered values against the published settings.
A simple field routine can help:
- Choose the recipe that suits the scene and desired mood.
- Check exposure and focus before concentrating on color.
- Review an important frame when the light changes substantially.
- Switch recipes or use a more neutral look when the current treatment no longer suits the subject.
- Keep notes if you make changes you may want to repeat.
No recipe replaces sound exposure decisions or good timing. The benefit is a more intentional rendering choice, not a guarantee that every frame will need no further attention.
Get dependable results and avoid common mistakes
Travel recipes work best when treated as repeatable creative tools rather than fixed promises. Sample images, model compatibility, and a few deliberate tests help you avoid surprises when light or subject matter changes.
Common pitfalls and practical fixes
Choosing by film name alone: A recipe named after a familiar film stock is a creative reference, not a technical guarantee. Review its sample photos and settings to understand the look you will actually get.
Assuming all models are compatible: Camera features vary by system and model. Confirm whether a recipe’s settings or downloadable file apply to your camera before planning to use it on a trip.
Using one look for every scene: A recipe that suits a bright coastal view may not flatter a dim interior or a portrait under mixed light. Keep alternatives if your camera supports them, and be willing to switch.
Skipping the installation check: A downloaded file is useful only if the camera can load it and the recipe is active. Test the workflow at home, not at the start of a once-in-a-lifetime outing.
Expecting a recipe to fix exposure: A color profile cannot compensate for a poorly exposed image or an unsuitable composition. Check the scene and exposure independently of the chosen look.
Example: moving from a bright street to an indoor market
Imagine photographing a sunlit street in the morning, then stepping into a market with shaded stalls and mixed interior light. A vivid recipe may emphasize the street’s signs and painted buildings, but the same treatment could make the market’s color feel too strong. A softer or more restrained look may be more comfortable for that scene, depending on the camera and recipe.
The useful response is not to invent a universal setting change. Instead, compare recipes that are already documented for your camera, inspect real examples, and test how each handles similar light. If you prefer a consistent visual diary, keep one recipe across the trip and accept that some scenes will be less ideally matched. If scene-by-scene rendering matters more, select from a small, tested set.
This example illustrates why compatibility and sample images matter more than broad claims about a recipe being “perfect for travel.” The right choice depends on your subjects and taste.
How should you evaluate a recipe before relying on it?
Evaluate the recipe with a repeatable test rather than a single favorite frame. Photograph a comparable scene with the candidate look and, if practical, a more neutral camera rendering. Check color, contrast, faces, highlights, and shadows at the size you usually review images.
A useful evaluation checklist is:
- Consistency: Does the recipe produce a look you can recognize across several scenes?
- Flexibility: Can you use it for the kinds of subjects you expect to photograph?
- Compatibility: Are the settings or file confirmed for your camera?
- Workflow: Can you select or apply it quickly without disrupting how you shoot?
- Preference: Do you enjoy the result enough to use it, even when it is not a perfect match for every scene?
Film Recipe Hub presents recipes with exact settings and sample photos where available, and credits their creators. That gives photographers a basis for comparison; it does not remove the need to test a look on their own camera.
Travel recipe planning in 2026: tools, outlook, and FAQs
In 2026, camera shoppers are still looking for ways to make travel photography more convenient and personal. A practical recipe workflow connects that interest to real shooting: choose a compatible look, test it in travel-like light, and know how to change it when a scene calls for something different.
A useful strategy for travel photographers
Travel camera recipes are most useful when they reduce friction without limiting your choices. Before a trip, build a small, camera-specific shortlist based on your subjects: perhaps a restrained look for everyday scenes, a more vivid option for colorful places, and a monochrome choice if you enjoy black-and-white work. These are selection categories, not universal recipe prescriptions.
Keep your selection manageable. Too many untested choices can make it harder to work quickly, while one inflexible look may not suit every kind of light. Prioritize documented settings, relevant examples, and clear installation instructions. Save a note with the recipe name and any setup details you need to reproduce it.
Film Recipe Hub supports this kind of practical preparation through its recipe library and browser tools. Nikon users can explore the NP3 Generator to turn a reference photo into a Nikon Picture Control, alongside tools such as the Picture Control Editor, Lightroom-to-Nikon converter, and Sony Recipe Builder. These tools support specific workflows; they do not replace checking camera compatibility.
What Film Recipe Hub sees ahead
The 2026 opportunity is not a promise that every camera will produce the same film look. It is the growing usefulness of camera-specific resources that make settings easier to find, understand, and test. As photographers compare cameras for travel, recipe examples can help them think beyond sensor specifications and consider the finished JPEG workflow they want.
Film Recipe Hub’s approach is deliberately practical: recipes are community contributed, creator credits matter, and camera support should be clear. The library spans Nikon Picture Controls, Fujifilm film-simulation recipes, Sony Creative Looks and related profiles, Ricoh GR recipes, Panasonic Lumix Photo Styles and LUTs, Canon Picture Styles, and Lightroom XMP presets. These formats serve different workflows and should be selected accordingly.
The main strategic takeaway is to evaluate the whole process: find a recipe, verify it for your system, install or enter it, and test it in conditions relevant to your trip. Browse recipes by camera brand, use a tool where it fits your workflow, and share a look if you have a useful recipe to contribute.
FAQ
What are the best travel camera recipes for 2026?
There is no single best recipe for every traveler or camera. The strongest choice is a camera-compatible look with clear settings, useful sample photos, and a rendering style that suits your subjects and preferences. Compare recipes for your specific system, then test them in the light you expect to encounter. A recipe inspired by a film stock can suggest a mood, but its name alone cannot confirm how it will look on your camera.
Can I use the same recipe on Nikon, Fujifilm, Sony, and Canon cameras?
Usually, you should not assume that one recipe transfers directly between camera brands. Nikon Picture Controls, Fujifilm film-simulation settings, Sony Creative Looks or Picture Profiles, and Canon Picture Styles use different features and workflows. Check the recipe’s intended camera system, file type, and compatibility notes. Even when two recipes share a similar creative description, their settings are not automatically equivalent across brands or models.
Do I need to edit photos after using an in-camera recipe?
An in-camera recipe is intended to help the camera produce a particular look, often in JPEG images, so it can reduce the amount of editing you want to do. It does not guarantee that every photo will be finished exactly as you prefer. Exposure, scene lighting, and personal taste still matter. Lightroom XMP presets are different: they are applied in Lightroom as part of a post-processing workflow.
How do I install a travel recipe on my camera?
The steps depend on your camera system and on whether the recipe has a downloadable file. For supported Nikon Picture Controls, a recipe may be provided as an .NP3 or .NCP file; other recipes may require entering settings manually or using a brand-specific feature. Start with the correct camera section, check compatibility, and follow its installation guide. Test the recipe before your trip to confirm it is loaded and working as expected.