For soft, film-inspired portraits on the Ricoh GR III, start with Positive Film as the base Image Control, then refine saturation and white balance for the light and skin tone in front of you. The camera saves these adjustments as in-camera JPEG settings, so you can make a consistent look straight out of camera without relying on a Lightroom edit.
What portrait film recipes do on the Ricoh GR III
A Ricoh GR III portrait recipe is a customized JPEG configuration: it combines a base Image Control with adjustments to color, contrast, sharpness, gradation, and white balance. For portraits, the goal is usually to keep skin tones inviting and highlights gentle while preserving enough definition to make the subject feel present.
 Ricoh GR III Film Simulation Settings for Portraits - What portrait film recipes do on the Ricoh GR III
A recipe is a look, not a film simulation mode
The phrase “film simulation” is often used broadly for digital settings that evoke the color and tone of analog film. On the GR III, those looks are built from the camera’s Image Control system; the camera does not need to contain an exact digital copy of a particular film stock for a photographer to create a film-inspired JPEG.
A Kodak Portra 400-style portrait look, for example, is commonly associated with warm skin, slightly muted shadows, and pastel-like highlights. On the GR III, a practical starting point is Positive Film, followed by careful adjustments to saturation and white balance. The result is an interpretation, not a guarantee of a one-to-one match with a particular film stock or scan.
This distinction matters because the same recipe can look different across lighting conditions, exposure, and subject matter. Treat a recipe as a repeatable starting configuration, then judge the result on the camera’s actual JPEGs.
The controls that shape the portrait
The GR III offers six base Image Control modes: Auto, Vivid, Neutral, Monochrome, High Contrast B&W, and Sepia. Custom adjustments work on top of the selected base. The available JPEG controls include contrast, saturation, sharpness, gradation, and three-axis white-balance offsets for red, green, and blue.
For portraits, these controls affect different parts of the image:
- Saturation influences color intensity, including the overall impression of skin and clothing.
- White balance and its R/G/B offsets shift the color balance. Small changes can have a visible effect on skin.
- Contrast and gradation influence how tones transition from shadows through midtones to highlights.
- Sharpness affects edge definition, which can make facial detail feel more pronounced.
A gentle portrait look is not simply “less contrast” or “more warmth.” It is a balance among these controls and the light falling on the subject.
Why Positive Film is a useful starting point
Positive Film is a practical base for a warm, polished portrait recipe because it provides a color foundation that can be refined with saturation and white-balance compensation. It should be treated as a starting point rather than an automatic portrait preset: the best adjustments depend on whether the light is warm, cool, direct, or shaded.
The GR III’s adjustable values allow experimentation within defined ranges: contrast, saturation, and sharpness run from −5 to +5, while white-balance offsets run from −9 to +9. Gradation can be set to Hard, Normal, or Soft. These ranges describe what the camera permits; they do not prescribe a universal Portra recipe.
For a softer, airier portrait, a Soft Daylight approach can also work: reduce sharpness and use positive key adjustments to create smoother tonal transitions. Since exact recipe values are not established here, avoid treating any one setting combination as a verified formula.
Technical specifications and portrait-setting choices
The GR III’s portrait look is built from adjustable JPEG controls, not from a single fixed “portrait film” switch. The table below separates the camera’s documented control options from practical portrait considerations, so you can tune a look without mistaking a general starting point for a guaranteed recipe.
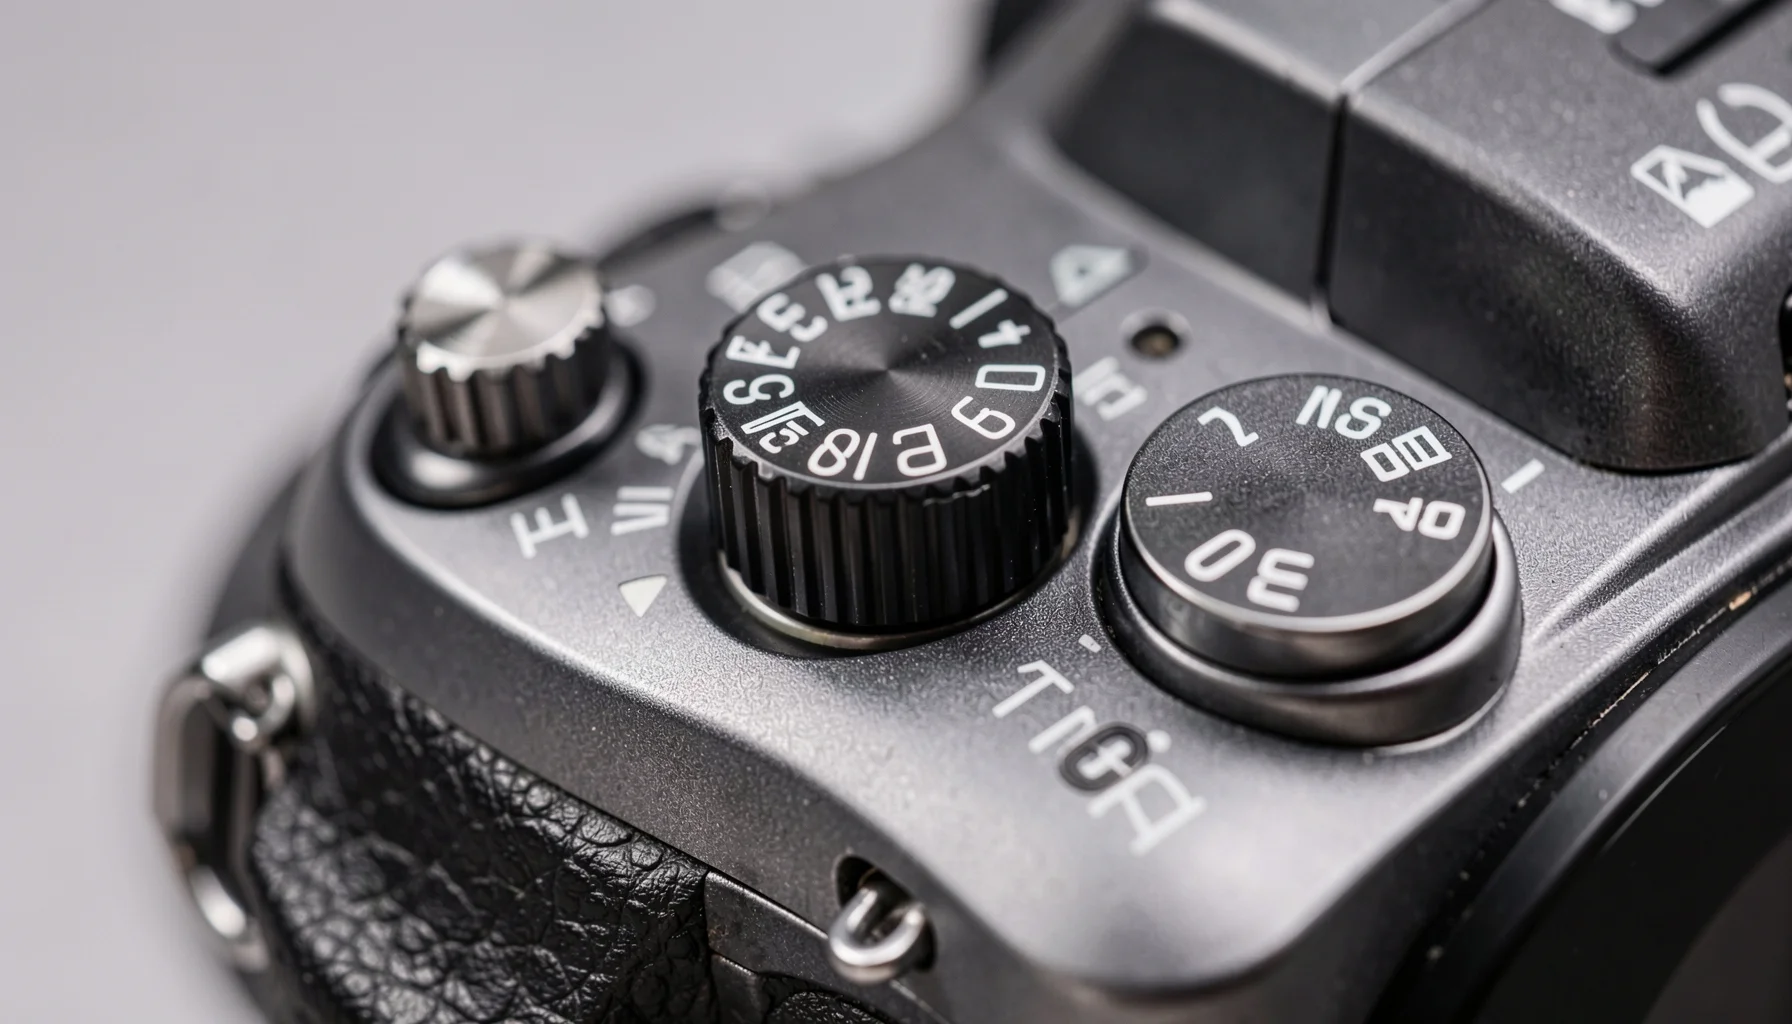 Ricoh GR III Film Simulation Settings for Portraits - Technical specifications and portrait-setting choices
GR III controls at a glance
| Control | Available options or range | Portrait use |
|---|---|---|
| Base Image Control | Auto, Vivid, Neutral, Monochrome, High Contrast B&W, Sepia | Use Positive Film as a practical color starting point for a Portra-inspired look |
| Contrast | −5 to +5 | Adjust the perceived separation between light and dark areas |
| Saturation | −5 to +5 | Refine color intensity; evaluate skin and clothing together |
| Sharpness | −5 to +5 | Control edge definition; lower values can support a softer look |
| Gradation | Hard, Normal, Soft | Select the tonal transition character that suits the light |
| White-balance offsets | Red, green, and blue axes; −9 to +9 | Fine-tune color balance for the scene and complexion |
The table gives the camera’s available controls, not a complete recipe. Film-inspired names such as “Portra 400” describe an aesthetic target; they do not supply exact settings by themselves.
Matching a portrait look to light
A recipe that feels flattering in soft daylight may not behave the same way under warm indoor lamps. The camera settings remain the same, but the light changes the color arriving at the sensor. That is why it is useful to decide what the portrait should feel like before changing several controls at once.
For a warm, gentle look, begin with Positive Film and review saturation and white balance. For a lighter, airier result, consider a Soft Daylight approach with reduced sharpness and positive key adjustments. These are descriptions of the intended treatment, not manufacturer-defined presets with fixed values.
In mixed or artificial light, check a test JPEG rather than assuming that a white-balance adjustment will correct every color cast. If skin looks too warm or too cool, make a small change and compare the next frame. Record what you change so you can distinguish the effect of one setting from another.
Choosing the right base for the subject
Portraits do not always need color. Monochrome or High Contrast B&W can suit a street portrait when the expression, geometry, or contrast of the scene matters more than color. Neutral may be a better starting point when you want a restrained color rendition. Vivid is available, but strong color is not automatically flattering; check skin tones and clothing rather than judging only the background.
The base mode establishes the general rendering, while the adjustments refine it. For a color portrait, start with one base, make a small number of deliberate changes, and test the result. Switching bases and changing every slider at once makes it harder to understand what produced a pleasing—or unflattering—result.
How to set up and save a portrait recipe
A reliable GR III portrait workflow is simple: choose a look, enter the settings, test it on the subject and light, then save the configuration for quick access. The camera supports custom profiles that can be switched using the Fn button or ADJ lever.
A practical step-by-step setup
- Choose the visual target. For warm, soft color portraits, use a Portra-inspired direction. For an airy daylight feel, consider a Soft Daylight approach. Decide whether you want gentle color, a restrained palette, or monochrome before editing settings.
- Select a base Image Control. Positive Film is a common starting point for a warm portrait look. Choose another available base if it better suits the intended color or tonal character.
- Adjust one control at a time. Work with contrast, saturation, sharpness, gradation, and white-balance offsets. Keep the changes modest enough that you can see what each control contributes.
- Photograph a test frame. Include the subject in the light you expect to use. Review the JPEG for skin, highlight transitions, and color casts.
- Refine and save. Make a further adjustment only when you can identify what needs to change. Store the result as a custom profile in the camera.
- Set up quick access. Assign the profile to the Fn button or ADJ lever so you can switch to it without rebuilding the settings during a shoot.
This workflow is more dependable than copying a recipe label without checking the conditions in which you will use it.
Testing and refining without guesswork
Use the same subject and similar framing when comparing test frames. If you change saturation, white balance, and contrast at the same time, it becomes difficult to tell which change improved the portrait. A controlled comparison makes the camera’s JPEG rendering easier to learn.
Review three areas in particular:
- Skin: Does it look natural for the person and the light, rather than simply warm?
- Highlights: Are bright areas on the face retaining a gentle transition?
- Shadows: Do they feel suitably soft, or have important details become too subdued?
If the color feels wrong, consider the light before pushing the recipe further. If the image feels harsh, inspect contrast, gradation, and sharpness individually. The goal is not to force every scene into one fixed appearance; it is to create a useful saved look and know when to adapt it.
Loading a recipe file
The camera can also be used with recipe files through the GR Film Recipes app workflow described in the supplied guidance. That workflow is to export a .grf file, copy it to the root directory of a FAT32-formatted SD card, and select Load Recipe in Setup menu > Image Sync Settings.
Because menu wording and app behavior can depend on the relevant software and camera setup, check the current instructions that accompany the app and file. If you prefer not to use that workflow, the camera’s controls can be entered manually and saved as a custom profile.
Portrait results, common pitfalls, and compatibility
The most dependable portrait recipe is one that suits the light, skin, and intended mood—not merely a film-stock name. Make a test frame, inspect the JPEG, and refine only the controls that address a visible problem.
Common problems and practical fixes
Skin looks too orange or too cool. Check the scene’s light and white-balance settings before making large saturation changes. The R/G/B offsets allow fine adjustments, but a shift that helps one lighting condition may not suit another.
Faces look too crisp. Sharpness is adjustable from −5 to +5. A softer daylight approach may benefit from reduced sharpness, but do not lower it automatically: the right amount depends on the portrait and the detail you want to retain.
Highlights feel abrupt. Consider whether the chosen gradation and contrast suit the light. The camera offers Hard, Normal, and Soft gradation; test the alternatives in the actual scene rather than assuming one is best for every face.
The result looks inconsistent from scene to scene. A saved profile holds a repeatable set of settings, but it cannot make different light sources identical. Keep a test frame in changing conditions and be prepared to switch profiles or refine the recipe.
GR III and GR IIIx: what carries over
Recipes are generally compatible across the Ricoh GR III and GR IIIx, but the two cameras have different lenses: 28mm on the GR III and 40mm on the GR IIIx. That difference affects framing and working distance, which can change how a portrait feels even when the JPEG settings are the same.
Do not interpret general compatibility as a promise that every portrait will look identical. Subject distance, composition, and light remain important. When moving a recipe between the two models, test it on the kind of portrait you intend to make and consider how the different angle of view affects the framing.
For focused advice on camera settings and portrait workflows, see Film Recipe Hub’s guide to Ricoh GR III film simulation settings for portraits.
Using a recipe as a starting point, not a guarantee
A recipe can make a JPEG workflow more consistent, but it cannot replace choices about exposure, light, expression, or composition. The same warm palette that flatters a portrait in open shade may become excessive in already-warm indoor light. The same soft tonal treatment that suits a quiet headshot may lack the punch wanted for a more graphic street portrait.
A practical habit is to save a preferred portrait profile and keep another profile available for a different look, such as monochrome. The GR III supports multiple custom profiles and quick switching through the Fn button or ADJ lever. That makes it easier to respond to a scene without rebuilding a look from scratch.
Saving time and choosing a durable workflow
For photographers who want finished-looking JPEGs, an in-camera recipe can reduce the need for individual edits and make a consistent look easier to repeat. The most useful long-term approach is to document the recipe’s purpose, test it in relevant lighting, and treat community benchmarks as context rather than as proof of a universal setting.
What efficiency claims do—and do not—tell you
A supplied industry source, frameandfocal.com, reports that its December 2023 survey’s five most-used recipes included Kodak Portra 400 at 22.3%, Ilford Delta 100 at 18.7%, Fujifilm Velvia at 15.1%, Kodak Ektachrome E100 at 12.4%, and Agfa APX 400 at 9.6%. These figures describe the source’s reported usage data; they are not a measure of portrait quality or a forecast for all GR III photographers in 2026.
The same source reports an average saving of 14.7 minutes of post-processing per image compared with RAW workflows. That figure should be read as a reported benchmark, not a guaranteed personal saving: editing habits and delivery requirements vary. In-camera JPEG recipes are most relevant when the photographer values a ready-to-share look. RAW capture remains relevant when later tonal and color adjustments are part of the intended workflow.
A practical 2026 outlook for GR III portraits
In 2026, the durable value of a recipe is its repeatability and clarity, not a trend label. A well-documented portrait profile should state its base Image Control, every adjustment, the lighting it was tested under, and whether it was made for GR III or GR IIIx. This makes it easier to reproduce the result and understand why it changes across scenes.
Film Recipe Hub’s perspective is that useful recipe libraries should pair exact settings with real sample photos and clear compatibility notes. The source materials also describe professional recipe validation with an X-Rite ColorChecker Passport and spectrophotometers against physical film scans. Such methods can support color comparison, but they do not remove the effects of lighting, exposure, or individual preferences.
Building a repeatable portrait library
Keep profile names descriptive enough to guide use: for example, distinguish a warm portrait look from a soft daylight look or a monochrome option. When you revise a recipe, note what changed and why. This is more useful than keeping several profiles with similar names and no explanation.
For each profile, record:
- The intended subject and lighting.
- The base Image Control and all adjusted values.
- Whether it was tested on the GR III, GR IIIx, or both.
- A representative JPEG showing the intended result.
This simple record helps you choose a recipe quickly, revisit a look later, and share it with other photographers without implying that one configuration will suit every person or scene. Explore more camera-specific profiles through Film Recipe Hub’s Ricoh recipe collection.
FAQ
What is a good Ricoh GR III starting point for portraits?
For a warm, film-inspired color portrait, Positive Film is a practical starting Image Control. From there, refine saturation and white-balance offsets based on the person and the light. A Portra-inspired look commonly aims for warm skin, slightly muted shadows, and gentle highlights, but those are visual goals rather than fixed camera values. Make a test frame before saving a profile, because the same settings can render differently under different lighting.
Does the Ricoh GR III have a built-in Kodak Portra 400 mode?
The GR III’s listed base Image Control modes are Auto, Vivid, Neutral, Monochrome, High Contrast B&W, and Sepia; Kodak Portra 400 is not one of those named base modes. A Portra-inspired result is created by customizing the camera’s JPEG controls, often starting with Positive Film and refining color and white balance. The name describes an aesthetic direction, not an exact in-camera reproduction of a particular film stock.
Are portrait recipes compatible with the Ricoh GR IIIx?
Recipes are generally compatible across the GR III and GR IIIx, but the cameras use different lenses: 28mm on the GR III and 40mm on the GR IIIx. The JPEG settings may transfer, while framing and working distance affect the portrait’s appearance. Test the profile on the camera and subject distance you plan to use. Compatibility does not guarantee identical-looking photographs across different lenses, lighting conditions, or compositions.
How do I save and quickly access a portrait recipe?
Enter the desired Image Control and adjustments, test the JPEG, then save the configuration as a custom profile in the camera. The GR III supports quick switching through the Fn button or ADJ lever, which can help when moving between portrait and other shooting looks. If loading a .grf file through the GR Film Recipes app, follow its current instructions; the supplied workflow describes a FAT32 SD card and the camera’s Load Recipe option.