A Nikon Zf monochrome recipe for street portraits is a custom Picture Control that shapes black-and-white JPEGs in camera, so you can review a finished look without relying on computer editing. The most useful starting point is a monochrome profile, then deliberate adjustments to filter effect, contrast, clarity, sharpening, and brightness. There is no single setting that suits every face or light, so build and test the look around your subjects and shooting conditions.
What a Nikon Zf monochrome recipe does for portraits
A monochrome recipe is a saved configuration of Picture Control settings, not a separate film simulation or editing preset. On the Zf, it can give your JPEGs a consistent tonal character while leaving you free to concentrate on timing, expression, and light.
The Zf’s black-and-white controls
The Nikon Zf has a dedicated physical black-and-white switch. In B&W mode, the camera limits the available Picture Controls to Monochrome, Flat Monochrome, and Deep Tone Monochrome. These profiles are useful starting points, but each gives you room to shape the final rendering with adjustable parameters.
That switch makes the camera particularly suited to deliberate monochrome shooting: you can commit to a black-and-white view while working, rather than deciding later whether color or monochrome better serves a frame. Still, consider what you want the image to communicate before choosing a profile. A portrait with gentle facial detail may call for a different tonal approach from a figure framed against a bright shop window.
Why monochrome works for street portraits
Removing color can make a viewer pay closer attention to expression, gesture, texture, and the relationship between a person and their surroundings. Filter Effects also give you a way to influence how colors translate into grayscale. For example, the selected filter can change the relative brightness of colored features and backgrounds, affecting separation and contrast.
There is no guaranteed “portrait filter” that improves every face. The effect depends on the colors in the scene and on how those colors translate to monochrome. A useful approach is to test a filter while photographing a real subject in the actual light, then compare the rendering of skin, clothing, and background.
A recipe is a starting point, not a universal preset
A recipe published for street portraits can help you understand a creator’s intended look, but it may not suit every lighting condition or subject. Hard sunlight, open shade, and a dim street can produce very different tonal relationships even with the same Picture Control settings.
For portraits, prioritize a readable face and a clear relationship between subject and background. A high-contrast look may give a scene impact, but it can also make shadows dominate facial detail. If you want a more specific starting point, compare this guide with the community’s Nikon Zf monochrome recipe for street portraits and judge the sample images against the light you expect to shoot in.
Choose a profile and settings for your street portraits
The best base profile depends on the tonal character you want, while the other parameters let you refine that character. Use the table as a decision aid: it describes what each control is for without prescribing unsupported numeric settings.
 The Perfect Nikon Zf Monochrome Recipe for Street Portraits - What a Nikon Zf monochrome recipe does for portraits
Compare the three monochrome starting points
Monochrome is a straightforward base for building a custom black-and-white look. Flat Monochrome and Deep Tone Monochrome offer alternative starting points; the latter is associated with bold, high-contrast street looks. None is automatically the right choice for every portrait. Make the selection based on the level of separation and tonal intensity you want, then evaluate it with a face in the frame.
A high-contrast street aesthetic can emphasize rich blacks and reflective midtones, but the same treatment may be less flattering or less useful when the subject’s face falls into deep shadow. When in doubt, compare profiles in the same light and framing instead of relying on a name or a sample made under different conditions.
Picture Control settings and their practical effects
| Control or option | What it changes | Street-portrait use | What to watch for |
|---|---|---|---|
| Monochrome | Provides a black-and-white base Picture Control | A neutral starting point for shaping a personal recipe | Review tonal separation in the actual scene |
| Flat Monochrome | Offers another monochrome base profile | A starting point when you want to develop a different tonal character | Do not assume the profile alone determines the final look |
| Deep Tone Monochrome | Offers a monochrome base associated with bold tonal treatment | Useful to test for striking street scenes and strong separation | Check that important facial detail remains readable |
| Filter Effects | Simulates the effect of color filters, including yellow, orange, red, and green | Adjusts how colored subjects and backgrounds translate into black-and-white contrast | The effect depends on the colors in the scene |
| Toning and saturation | Adds a tint, such as sepia or cyanotype, with adjustable saturation | Use when you want a tinted monochrome interpretation rather than neutral grayscale | Keep the tint intentional and assess it in the resulting image |
| Contrast | Adjusts tonal contrast | Helps shape the relationship between lighter and darker areas | Strong contrast can make shadow detail harder to read |
| Brightness | Targets midtones while preserving highlight and shadow detail | Can refine how the face reads without treating it as a simple exposure control | Check the full tonal range, not just the face |
| Clarity | Adjusts contrast in the mid-range detail | Can emphasize texture and facial structure | Too much emphasis may distract from expression |
| Sharpening | Adjusts fine-detail sharpness | Helps define fine detail in an in-camera JPEG | Assess skin, hair, and clothing together |
Balance character with facial detail
For a street portrait, a strong tonal signature should support the person rather than compete with them. Look at the eyes, cheek shadows, hair, and background separately. A dramatic black point may suit a graphic scene, while a portrait with subtle expression may benefit from a less forceful treatment that keeps facial transitions easier to read.
Clarity and sharpening are not interchangeable: clarity changes mid-range detail contrast, while sharpening affects fine detail. If skin texture becomes too prominent, reconsider the amount of detail emphasis rather than assuming the picture needs more contrast. Brightness is also distinct from general exposure adjustment; Nikon describes it as targeting midtones while preserving highlight and shadow detail.
Build and save a recipe on the Nikon Zf
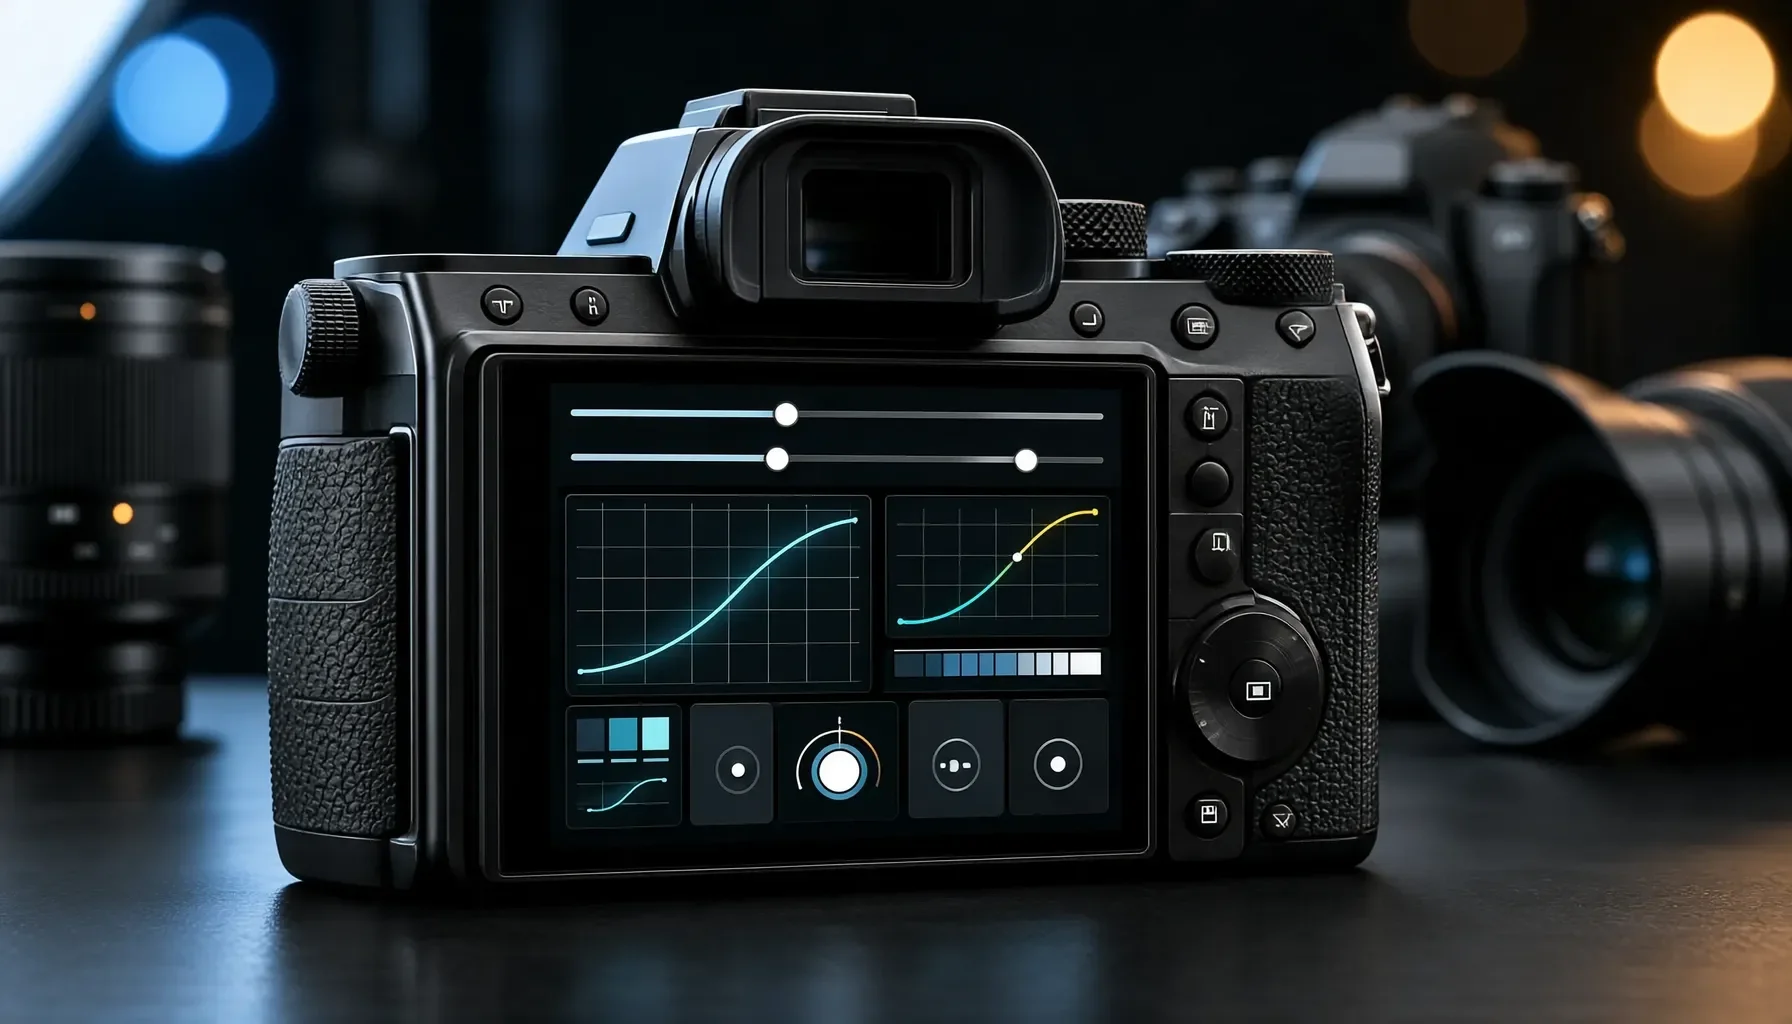
You can create a recipe in the camera by selecting a monochrome base, adjusting its parameters, and saving the modified Picture Control. Work in small, purposeful changes, and make test frames before relying on the result for an important portrait.
 The Perfect Nikon Zf Monochrome Recipe for Street Portraits - Choose a profile and settings for your street portraits
Step-by-step setup in the camera
- Open Set Picture Control in the photo shooting menu or video recording menu, as appropriate to your workflow.
- Choose a monochrome base: Monochrome, Flat Monochrome, or Deep Tone Monochrome.
- Adjust the parameters you want to change, such as contrast, brightness, or Filter Effects. The sub-command dial can make adjustments in 0.25 increments.
- Take a test image of a person or a scene with comparable light, then review facial detail, background separation, and the overall tonal balance.
- Save the modified configuration. Nikon indicates modified Picture Controls with an asterisk (*), making it easier to recognize that the control has been changed.
The steps are simple, but the test frame is essential. A recipe that looks effective on a high-contrast street scene may not preserve the same sense of detail on a face in open shade. Make adjustments with a specific observation in mind—for example, “the background overwhelms the subject”—rather than changing several controls at once.
Refine one variable at a time
When a test portrait misses the look you want, identify the problem before changing settings. If the subject blends into the background, test a Filter Effect that changes the tonal relationship between the colors present. If the face feels too harsh, reassess contrast and detail emphasis. If the midtones are not rendering as intended, consider brightness.
Changing one variable at a time makes comparisons more useful. Keep the subject, framing, and light as consistent as possible between test frames. This is especially important for Filter Effects: a filter’s impact depends on the colors in the scene, so comparing images made in different surroundings can lead to the wrong conclusion about the setting.
Use NX Studio when you want a deeper refinement
Nikon’s Flexible Colour feature in NX Studio can be used to further refine looks and upload them back to the camera. This gives you another route if you prefer to work on a look beyond the camera’s Picture Control adjustments.
Keep the intended result in mind: the goal is a repeatable in-camera rendering you can use in the situations where you shoot. Whether you tune settings on the camera or refine them in NX Studio, evaluate the resulting portrait files in real light and with real subjects. A display preview is helpful, but it cannot tell you how a look will perform across every street, face, or background.
Get better results in changing street conditions
A portrait recipe is only one part of the image. The subject’s position relative to light and background can make a larger difference to the final look than a small adjustment to a Picture Control.
Common mistakes and how to correct them
- Using a dramatic profile without checking the face. Deep Tone Monochrome can suit a high-contrast street aesthetic, but the scene still determines whether facial details remain clear. Check the face and shadows in your test image.
- Treating Filter Effects as universal. The available effects simulate color filters, but their result depends on the colors in front of the camera. Test them with the clothing and background you actually expect to photograph.
- Increasing detail emphasis without a purpose. Clarity and sharpening affect different kinds of detail. If skin texture starts drawing attention away from expression, review those settings rather than adding more contrast.
- Changing multiple controls at once. This makes it harder to tell which change improved the portrait. Adjust one setting, make a comparison frame, and note the result.
- Expecting a recipe to fix difficult light. A saved Picture Control cannot make every light source or background work equally well. Use your position, framing, and timing to give the subject clearer separation.
These checks are practical, not prescriptive: a gritty portrait may benefit from visible texture, while a quieter expression may call for restraint. Let the intended mood guide your choices, then confirm the face remains legible in the finished JPEG.
A simple field test for a new look
Before using a new recipe for a full walk, make a short comparison in a location with the kind of portraits you plan to shoot. Photograph a person against a background with visible tonal variation, then inspect how the face, clothing, and surroundings translate into monochrome. If possible, make comparison frames with different base profiles or Filter Effects while keeping the light and composition similar.
The point is not to find a universally perfect frame. It is to learn whether the recipe’s character is useful for your own work: does it separate a face from a busy backdrop, preserve the facial detail you value, and deliver the mood you intended? Record the configuration that gives you the most dependable result, and make further changes only when you can identify a specific limitation.
Street and portrait examples to compare
For a bold, graphic scene, test Deep Tone Monochrome and review whether the dark areas strengthen the composition without swallowing important facial detail. For a portrait where expression matters more than a dramatic background, compare the other monochrome bases and judge the transition between the face and its shadows. These are tests, not fixed recipes: lighting and scene colors affect the result.
The community’s Nikon Zf monochrome recipe settings guide offers another reference for exploring deep contrast. Compare its intended look with your own test portraits rather than copying settings without checking compatibility with your subject and light.
Adapt the recipe to your camera and shooting style
The Zf is the central use case here, but the broader Nikon recipe ecosystem includes other models. Compatibility depends on camera support for Nikon’s relevant recipe features, so confirm that a specific workflow suits your body before relying on it.
If you are new to in-camera JPEGs
Start with one monochrome base and a restrained set of adjustments. Make test portraits and learn what Filter Effects, contrast, brightness, clarity, and sharpening each contribute before trying to combine several changes into a signature look. This makes the results easier to understand and repeat.
A practical first goal is consistency, not complexity. Choose the rendering you prefer for the subjects you photograph most often, save it, and see how it behaves across more than one location. You can always return to Set Picture Control and refine the modified control later.
If you already have a preferred film-inspired look
Treat your existing preference as a visual target rather than assuming that a Nikon Picture Control will match another camera’s rendering exactly. The Zf’s monochrome controls let you shape a black-and-white result, while Filter Effects can change how scene colors appear in grayscale. Compare sample portraits under similar conditions to assess whether the tonal character is close to what you want.
For example, community interest includes Acros-style interpretations and high-contrast street looks. These are aesthetic goals, not guaranteed camera profiles. Evaluate the shadows, highlights, and facial tones in your own images before deciding whether the recipe works for your subjects.
If you use another compatible Nikon Z camera
Recipes are generally compatible with other Nikon Z cameras that support Imaging Recipes and Flexible Colour, including the Z6III, Z5II, Z50II, and Z8. Do not assume every recipe or workflow transfers unchanged to every body: verify the supported features and loading method for your model.
For shooters comparing cameras, the same creative principles still apply: choose a base monochrome profile, adjust the available controls with a clear purpose, then test the result on a real portrait. Film Recipe Hub’s Nikon library can be a starting point for exploring camera-specific looks, but always check the stated compatibility and creator information for an individual recipe.
FAQ
What is the best Picture Control for Nikon Zf street portraits?
There is no single best base for every street portrait. The Zf offers Monochrome, Flat Monochrome, and Deep Tone Monochrome in B&W mode, and each can be a starting point for a different tonal direction. Choose based on the light, background, and expression in your scene. Make a test portrait and assess facial detail and subject separation before settling on a look.
Does the Nikon Zf let me use color Picture Controls in B&W mode?
When the Zf’s dedicated black-and-white switch is set to B&W, the available Picture Controls are restricted to Monochrome, Flat Monochrome, and Deep Tone Monochrome. You can still shape a monochrome look through supported adjustments such as Filter Effects, toning, contrast, brightness, clarity, and sharpening. This makes the switch a clear way to commit to black-and-white shooting, with the selected profile and settings determining the JPEG’s character.
How do Filter Effects change a monochrome street portrait?
Filter Effects simulate the influence of color filters such as yellow, orange, red, and green on monochrome contrast. Because colors in the scene are translated into grayscale, the effect can change the relative brightness of a subject or background. The result depends on the colors in front of the camera, so a filter that helps separate one subject may behave differently with another. Test it in the light and surroundings you plan to photograph.
Can I use Nikon Zf monochrome recipes on other Nikon Z cameras?
Many Nikon recipes are generally compatible with cameras that support Imaging Recipes and Flexible Colour, including the Z6III, Z5II, Z50II, and Z8. Compatibility is not a guarantee that every recipe or transfer workflow will work identically on every body. Check the recipe’s stated camera support and confirm the relevant features on your camera before a shoot. The Zf’s dedicated B&W switch is a specific part of its shooting experience.