To install .NP3 files on a Nikon Z6 III, copy the file to a camera-formatted memory card, then import it through the camera’s Custom Picture Control menu. You can also import the file with Nikon NX Studio or Nikon Transfer Utility 2. Once loaded, select the profile in the camera to use its color and tone settings for a straight-out-of-camera look.
What .NP3 files do on the Nikon Z6 III
An .NP3 file is a Custom Picture Control file for compatible Nikon cameras, including the Nikon Z6 III. It stores a set of image-rendering adjustments that can help you create a consistent color and tonal look in-camera, rather than applying the look later in editing software.
 Step-by-Step: How to Install .NP3 Files on Your Nikon Z6 III - What .NP3 files do on the Nikon Z6 III
How a Custom Picture Control affects your images
A Custom Picture Control adjusts the way the camera renders a photograph, including its color, tone and saturation. The goal might be a film-inspired atmosphere, a muted palette or another consistent JPEG look. The profile applies in-camera; it is not a film simulation in the sense of recreating the chemical process of film, and it does not change the underlying sensor.
This is useful if you want finished-looking JPEGs straight out of the camera, or want a repeatable starting point for your photos. Results depend on the scene and light: a profile that looks balanced in soft daylight may render differently in strong sunlight or under mixed indoor lighting. Treat a recipe as a rendering choice to test, not a guarantee that every image will look identical.
Confirm the file and camera are compatible
The Z6 III supports .NP3 files. Nikon identifies .NP3 as a Custom Picture Control format designed for compatible Z-mount mirrorless cameras, as well as the D6 and D780. It is distinct from other Nikon Custom Picture Control file types, so check the extension before copying a download.
Do not assume that every profile file found online is an .NP3 file or that every Nikon camera supports it. If you download from a community library, check the profile’s stated camera compatibility and any accompanying settings or sample images. Film Recipe Hub’s Nikon library can help you find profiles and see examples before deciding which look to try.
Know where the profile appears in the camera
After importing a file, look for it in the camera’s Picture Control selection area. The standard path is Photo Shooting Menu > Set Picture Control > Flexible Color. On firmware 2.01 or later, this menu area may instead be labeled Imaging Recipe.
The menu wording is the main difference to keep in mind when following instructions written for another firmware version. If the profile does not appear under the label you expect, check the camera’s firmware and look for the corresponding renamed menu item before concluding that the import failed.
Choose an import method and prepare the file
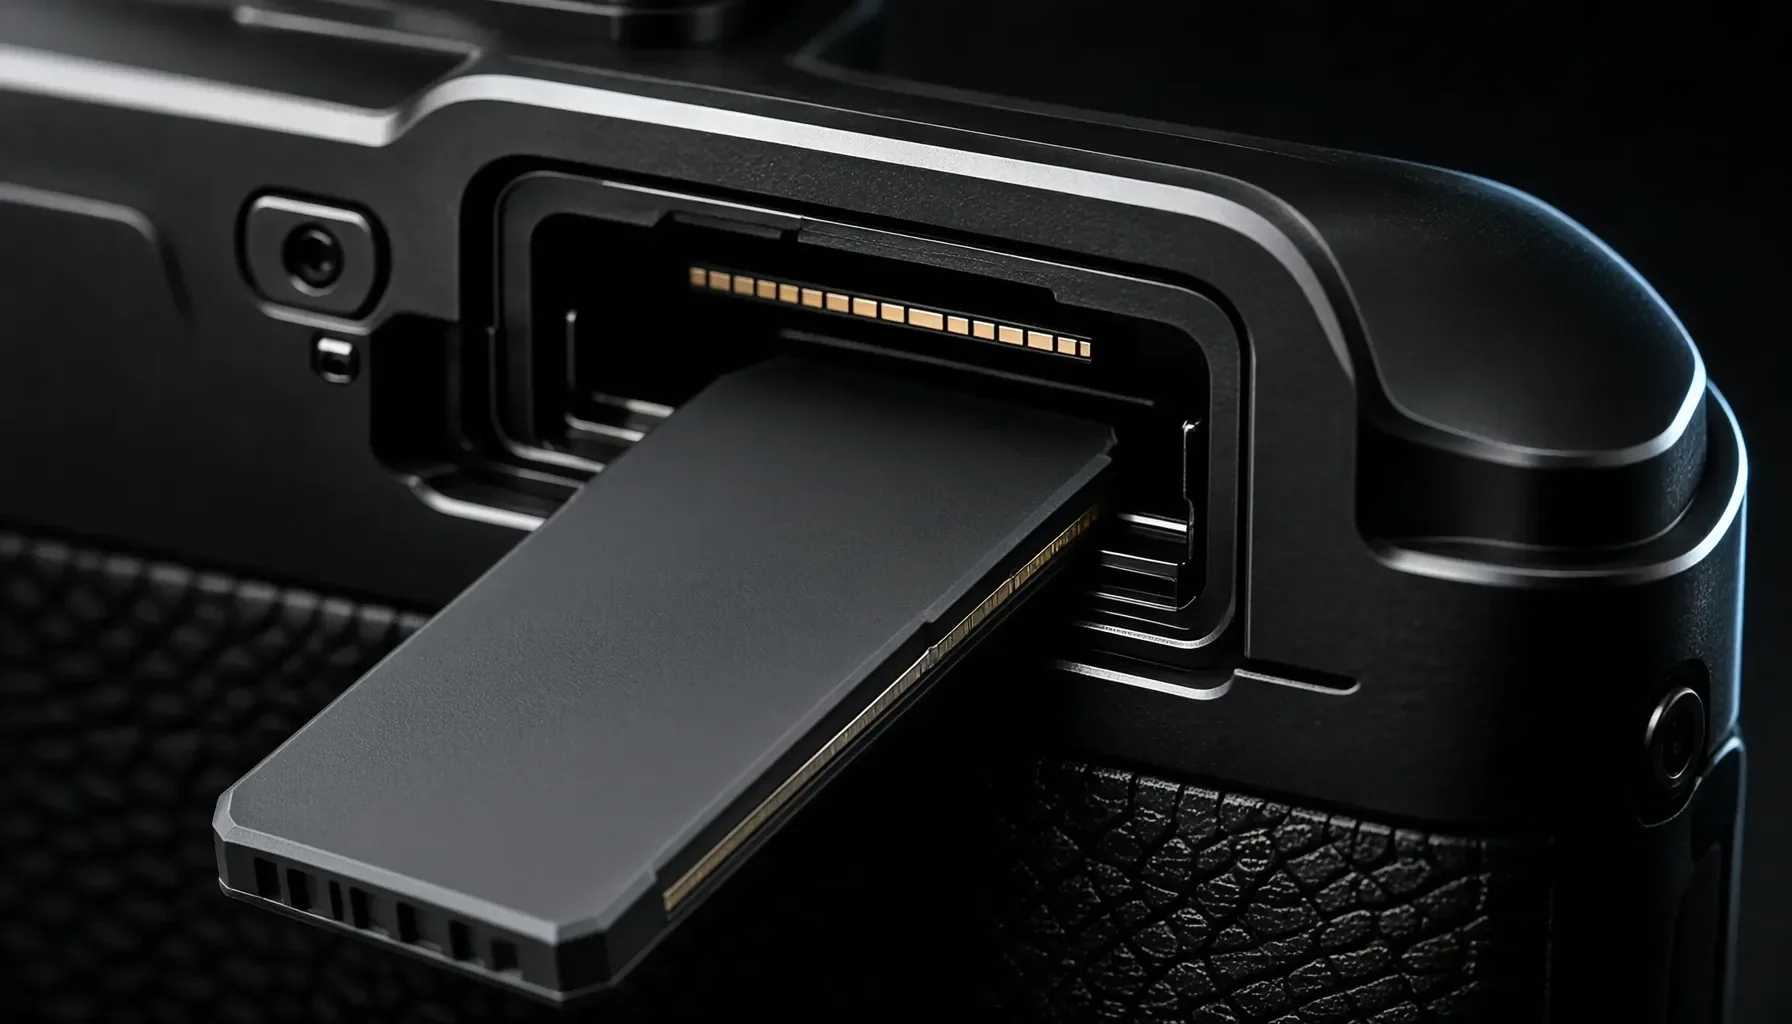
The memory-card method is the most direct way to load an .NP3 profile onto a Z6 III. NX Studio and Nikon Transfer Utility 2 provide computer-based alternatives, but the exact steps differ by software and connection method.
 Step-by-Step: How to Install .NP3 Files on Your Nikon Z6 III - Choose an import method and prepare the file
Compare the available methods
| Method | What you need | Main action | Best suited to |
|---|---|---|---|
| Memory card | A card formatted in the Z6 III, plus a card reader | Copy the .NP3 file to the card, then import it in-camera | Most users and one-off installs |
| NX Studio | NX Studio and access to the camera or its memory card | Import the file in the Custom Picture Control tool, then sync or export it | Users who prefer managing profiles on a computer |
| Nikon Transfer Utility 2 | The camera connected to a computer by USB | Drag the file into “Send to Camera” and choose the destination type | Users transferring directly by USB |
The memory-card method is a reliable starting point because it separates file copying from profile selection. You can verify that the file is on the card before opening the camera’s import menu.
Format the card in the camera first
Before using a card for profile transfer, format it in the Z6 III. Formatting erases card contents, so back up any photographs or files you want to keep before proceeding. Once formatted, remove the card and insert it into a computer’s card reader.
Copy the .NP3 file either to the root directory—the top level of the card—or to the CUSTOMPC folder inside the NIKON folder. If you use a folder, preserve the existing Nikon folder structure. Avoid renaming the file or putting it inside unrelated folders, as doing so can make it harder to locate during import.
Keep track of card capacity and file types
A memory card can store up to 297 Custom Picture Controls. Nikon’s file numbering ranges from 01 to 99 for each of the NCP, NP2 and NP3 types. That capacity is generous for most personal collections, but it is still useful to keep profile names and versions organized on your computer.
If you have several profiles to install, copy only the ones you intend to test first. A smaller selection makes it easier to identify the right profile in the camera and reduces the chance of choosing a similar-sounding recipe by mistake.
How to install .NP3 files on Nikon Z6 III
For the standard installation, copy the profile onto a camera-formatted card, return the card to the camera and use the camera menu to import it. If you prefer a computer workflow, NX Studio and Nikon Transfer Utility 2 can also transfer Custom Picture Controls.
Install from a memory card
- Format the memory card in the Z6 III. Back up its contents before formatting, because formatting erases stored data.
- Insert the card into a computer card reader.
- Copy the .NP3 file to the card’s root directory or to
NIKON/CUSTOMPC. Use the existingNIKONfolder if present. - Eject the card safely from the computer, then insert it into the camera.
- Open the camera’s Custom Picture Control import option and choose the .NP3 file from the card. Follow the on-screen prompts to complete the import.
- Select the imported profile under Photo Shooting Menu > Set Picture Control > Flexible Color. On firmware 2.01 or later, look for Imaging Recipe instead.
Nikon’s menu wording can differ slightly by firmware or language setting, so use the equivalent import and selection entries if the labels on your camera do not match these instructions exactly. For a more detailed walkthrough, see Film Recipe Hub’s guide to installing .NP3 files on the Nikon Z6 III.
Import with NX Studio
NX Studio offers a computer-based route for managing Custom Picture Controls. Connect the camera or insert its memory card into a reader, then open NX Studio and click the Custom Picture Control button in the toolbar.
Choose Import Custom Picture Control, then select either Import from memory card or Import from file, depending on where your .NP3 file is stored. After importing it into the software, sync or export the profile to the camera. If your goal is simply to load one downloaded file, the memory-card method may involve fewer steps; NX Studio is useful when you prefer to handle profile management on a computer.
Transfer with Nikon Transfer Utility 2
To use Nikon Transfer Utility 2, connect the Z6 III to the computer by USB and launch the application. Select the camera, then drag and drop the .NP3 file into the Send to Camera window.
When choosing the destination type, select Flexible Color Profile. This method sends the file through Nikon’s transfer utility rather than relying on a card reader. After transfer, check the camera’s Picture Control or Imaging Recipe menu to confirm the profile is available and select it before evaluating the look.
Check the result and avoid common installation problems
A successful import means the profile is available in the camera’s selection menu; it does not mean the profile is already applied to every image setting automatically. Select it, take a test photograph and check the result under the conditions where you plan to use it.
Confirm the profile is loaded and selected
After import, return to the Picture Control selection area and locate the profile. Select it explicitly. If you imported several files, check the profile name carefully rather than choosing by position alone.
Take a test frame and review it on the camera. For a useful comparison, photograph a scene with a range of colors and tones, then switch between profiles if needed. The point is not to judge a recipe by its name but to see how it renders your subject and lighting. You can revisit the camera menu to choose another profile without repeating the file transfer.
Troubleshoot a profile that does not appear
If the camera cannot locate the file or the profile is missing after import, work through these checks:
- Confirm the extension: Make sure the file is an .NP3 file, not a different file type or a web page downloaded in place of the profile.
- Check the folder location: Put the file in the card’s root directory or
NIKON/CUSTOMPC. - Recheck the card: Confirm that it was formatted in the camera and that the file copied successfully.
- Check the menu label: On firmware 2.01 or later, look for Imaging Recipe where earlier instructions may say Flexible Color.
- Try another supported transfer route: Use NX Studio or Nikon Transfer Utility 2 if the card workflow is not working.
These checks address the most common points where the process can go wrong: file type, storage location, transfer and menu naming.
Use the available sharpening controls thoughtfully
Custom Picture Controls also support the Sharpness Adjustment tool, including Quick sharp and Mid-range sharpening. The sharpening range for these files is expanded to −3 to 9.
Sharpening is separate from the basic task of importing a profile. If a downloaded recipe specifies sharpening adjustments, use those values as a starting point; otherwise, avoid changing several controls at once while you are testing. Keeping the profile and the scene consistent makes it easier to see whether the look suits your photographs.
Pick a workflow that fits your setup
There is no need to use all three transfer methods. For a single profile, the card route is often straightforward; for users who already manage camera profiles on a computer, NX Studio or Nikon Transfer Utility 2 may fit more naturally.
If you are new to Custom Picture Controls
Start with one .NP3 file and use the memory-card method. It gives you a simple way to check each stage: the file is copied to the card, the camera imports it, and the profile appears in the selection menu.
Before importing, review any sample photos and compatibility notes from the profile’s creator. Then take a test shot in the kind of light you expect to encounter. A daylight recipe is not automatically the best match for indoor tungsten lighting or a high-contrast scene, so testing in your own conditions is more useful than relying on a name alone.
If you already use Nikon software
Choose NX Studio if you want to import from a file or memory card through Nikon’s picture-control management tools. Choose Nikon Transfer Utility 2 if you prefer to connect the camera over USB and send the file directly to it, remembering to select Flexible Color Profile as the destination type.
If one method fails, it is reasonable to try another rather than repeatedly copying the same file in the same way. These are alternative workflows for transferring Custom Picture Controls; after transfer, you still need to check the camera menu and select the profile.
If you are organizing several looks
Keep your original .NP3 files together on your computer and note which profiles you have tested. The camera can store up to 297 Custom Picture Controls, but a large list can make selection less convenient. Import a manageable set first, then add more as you find looks that suit your photography.
Film Recipe Hub provides a community library of Nikon profiles with sample photos and creator credits. Browse profiles through the Nikon recipes section, and use the examples to decide what to try. Recipe files and settings are intended to support experimentation; they do not replace checking exposure, white balance or other camera choices for the scene.
FAQ
Can the Nikon Z6 III use .NP3 files?
Yes. The Nikon Z6 III supports .NP3 Custom Picture Control files. Once imported, a profile can be selected from the camera’s Picture Control area under Flexible Color, or under Imaging Recipe on firmware 2.01 or later. Check that the file you downloaded has the .NP3 extension and that the profile’s stated compatibility includes your camera before transferring it.
Where should I put an .NP3 file on the memory card?
Copy the file to the card’s root directory or to the CUSTOMPC folder inside the NIKON folder. Format the card in the camera before using it, and back up anything important first because formatting erases card contents. After copying, safely eject the card, return it to the Z6 III and use the camera’s import option to load the profile.
Can I install an .NP3 profile without a card reader?
Yes. Nikon NX Studio can import a Custom Picture Control from a file and then sync or export it to the camera. Nikon Transfer Utility 2 is another option: connect the Z6 III to the computer by USB, drag the file into Send to Camera, and choose Flexible Color Profile as the destination type. After either method, check the camera menu to confirm the profile is available.
Why can’t I find the imported profile in the camera menu?
First check that the file is an .NP3 file and was copied to the root directory or NIKON/CUSTOMPC before import. Confirm that the import completed, then look in the camera’s Picture Control selection area. Firmware 2.01 or later may label the relevant menu Imaging Recipe rather than Flexible Color, so an older walkthrough may use different wording. If necessary, try importing again with NX Studio or Nikon Transfer Utility 2.