Creating custom LUTs for Panasonic Lumix S5II means shaping a color look, saving it as a supported LUT file, and registering it in the camera for use while shooting. You can build a look in the Lumix Lab app with Magic LUT or load a compatible .VLT or .CUBE file from an SD card. The result is an in-camera look that can reduce editing time and help keep images consistent.
What Real-Time LUTs Do on the Lumix S5II
A LUT is a file of color adjustments that changes an image’s appearance. On the S5II, Real-Time LUT lets you apply a custom look during capture, rather than relying solely on a later editing step.
 How to Build and Install Custom Real-Time LUTs on the Lumix S5II - What Real-Time LUTs Do on the Lumix S5II
What happens when you apply a LUT
A LUT transforms color values to produce a particular look—for example, a muted palette, a warmer tone, or a more contrast-heavy image. The S5II’s Real-Time LUT feature brings that transformation into the camera workflow, so you can preview and capture with a chosen look in camera.
This is useful if you prefer finished-looking photos or video straight from the camera, or if you want to spend less time grading files afterward. It does not mean every LUT is suitable for every picture style or recording setup. Some creator-made LUTs are designed specifically for V-Log footage, so check the intended use before loading one.
The camera supports 2-point to 33-point 3D LUTs in .VLT and .CUBE formats. It can register up to 10 LUTs at a time. The default [Vlog_709] LUT is already registered, giving you a starting point when exploring the LUT Library.
When a custom look is useful
A custom LUT can help solve a specific visual problem or make a repeatable style easier to use. For street or travel photography, you might want a look that gives an overcast scene more color character. For a portfolio, a consistent palette—such as a soft, pastel direction—can help different images feel related.
LUTs can also simplify a fast workflow. If you regularly make images with a similar mood, applying the look in camera may mean less work later. But a LUT is not a substitute for good exposure or suitable light: a grade cannot reliably turn every scene into the same result. Think of it as one part of your image-making process, not a universal fix.
Two ways to create or add a LUT
The most direct way to make a look on a phone is Magic LUT in the free Lumix Lab app. It analyzes the colors and mood of a reference image, generates a LUT, and lets you adjust the result before saving it. This approach is useful if you want to start from a visual reference rather than build a grade from scratch.
Alternatively, load a compatible .VLT or .CUBE file from an SD card using the camera’s LUT Library. That route works for LUTs made elsewhere, including creator-made files. The two methods lead to the same practical goal—registering a LUT for in-camera use—but the creation process differs. For the app workflow, see this guide to creating custom LUTs for the Panasonic Lumix S5II.
S5II LUT Compatibility and Loading Reference
The key checks are file format, LUT range, filename, and intended use. Review these before transferring a file so you can avoid preventable loading problems and choose a look suited to your shooting setup.
 How to Build and Install Custom Real-Time LUTs on the Lumix S5II - S5II LUT Compatibility and Loading Reference
Useful compatibility details at a glance
| Item | Supported or recommended detail | Practical implication |
|---|---|---|
| Supported file formats | .VLT and .CUBE |
Use one of these formats for manual SD-card loading. |
| 3D LUT size | 2-point to 33-point | LUTs within this supported range are suitable for registration. |
| LUT slots | Up to 10 registered LUTs | Choose a manageable set for the looks you use most. |
| Default registered LUT | [Vlog_709] |
The camera includes a default LUT; you can still register custom ones. |
| Recommended LUT range | Full range | Panasonic recommends full-range LUT files for correct display and recording. |
| SD card file location | Root directory | Place the LUT at the top level of the card, not inside a folder. |
| FAT32 filename | 8 characters or fewer, excluding extension | Keep the name short when using FAT32 media. |
| exFAT filename | Up to 255 characters | The longer limit applies to exFAT cards. |
| Filename characters | Alphanumeric only | Avoid spaces and punctuation to meet the stated naming requirement. |
| LUT Library registration | Select a destination, then choose [Load] |
The file must be registered to the camera before use. |
Choose the right file and filename
Before copying a LUT, confirm that the extension is .VLT or .CUBE and that the file uses a supported 2-point to 33-point 3D LUT. Use a full-range LUT where possible, as recommended for correct display and recording. If you are downloading a creator’s LUT, check whether it is intended for V-Log rather than assuming it is a general-purpose look.
Filename rules depend on the SD card’s file system. For a FAT32 SD or SDHC card, the filename must be no more than eight characters before the extension; an example might be PASTEL01.CUBE. On exFAT SDXC media, filenames can be up to 255 characters. In either case, use alphanumeric characters only. Put the file in the card’s root directory, the top-level location visible when you open the card on a computer.
Know the difference between registration and creation
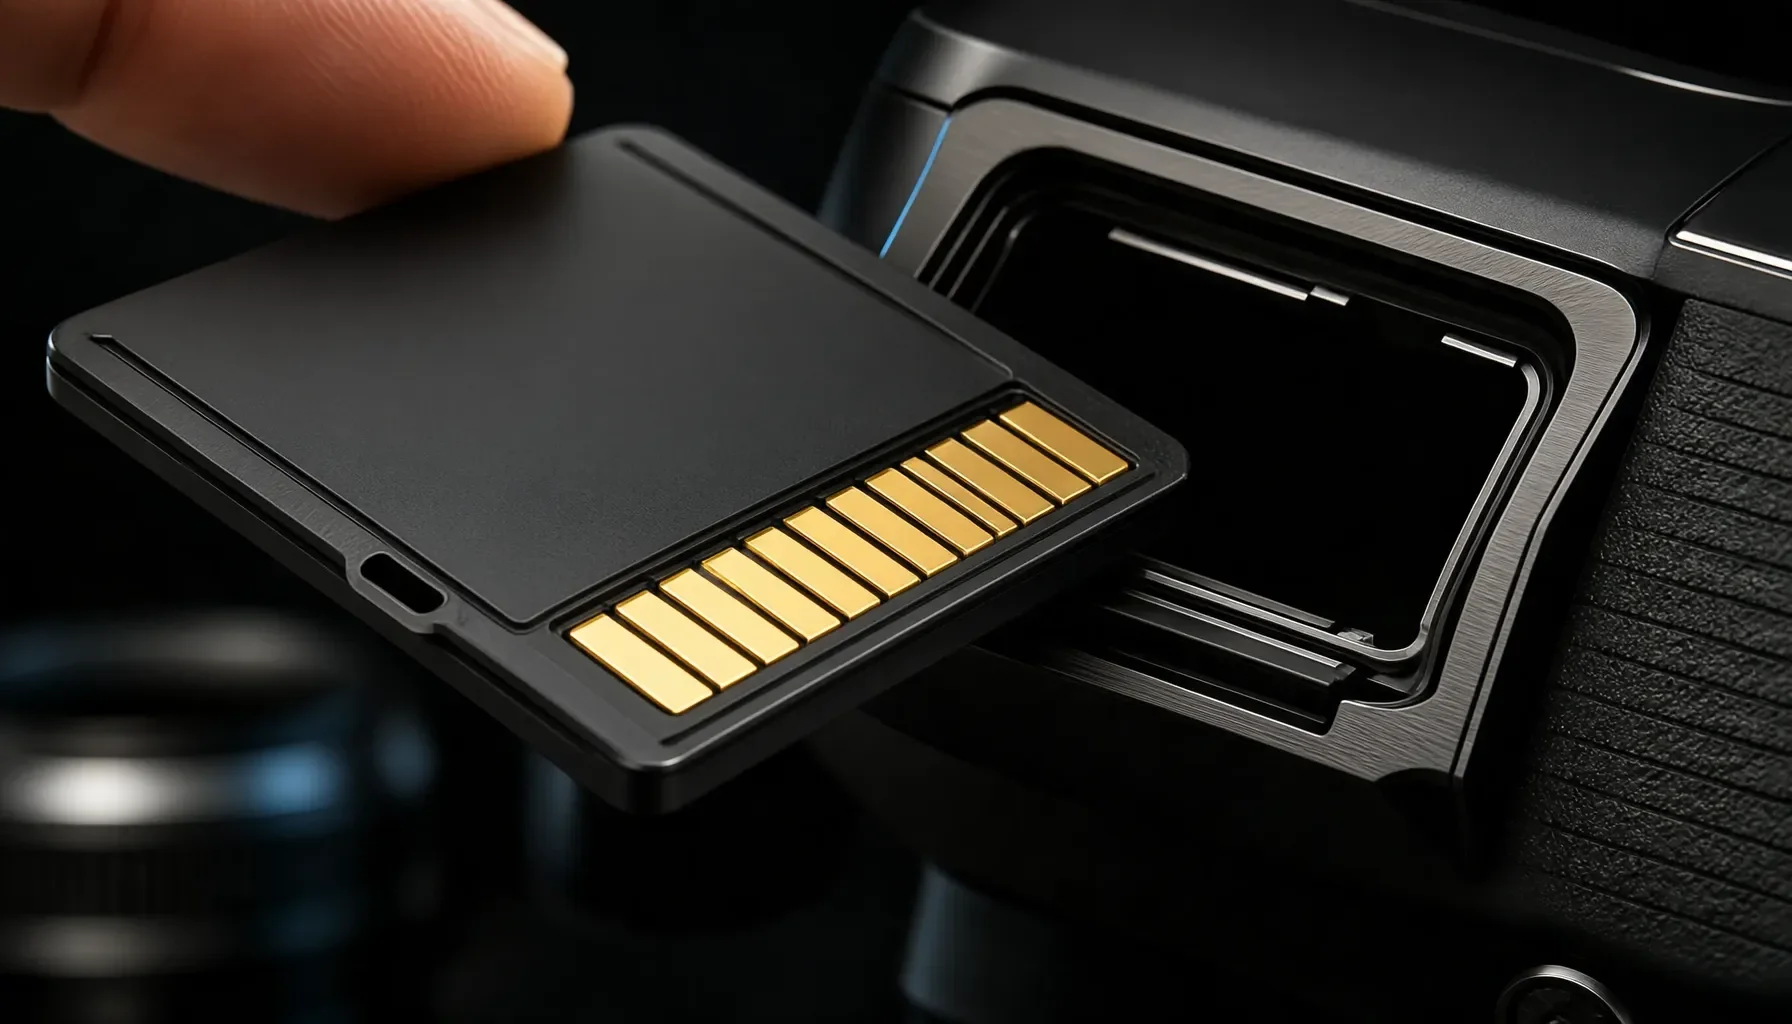
Copying a file to an SD card does not itself add the LUT to the camera. You still need to insert the card, open the camera’s [LUT Library] menu, choose a registration destination, select [Load], and choose the file from the card slot. Confirm the selection to register it.
The library holds up to 10 registered LUTs, so treat those slots as a working selection rather than a storage archive. Keep your original LUT files on your card or another storage location if you may want to register them again later. The manual method is detailed in this step-by-step S5II LUT installation guide.
Create and Install a LUT: Two Practical Workflows
Use Lumix Lab’s Magic LUT when you want to derive a look from a reference image. Use the SD-card method when you already have a compatible .VLT or .CUBE file to register.
Build a look with Magic LUT in Lumix Lab
Lumix Lab’s Magic LUT feature uses AI to analyze the palette and mood of a reference image and generate a custom LUT. You can then tune the result before saving it. The basic workflow is:
- Open the Lumix Lab app and select an image to edit.
- Tap the LUT cube icon and choose Magic LUT.
- Select a reference image from your phone’s library.
- Adjust the generated look with the available opacity, exposure, contrast, and saturation controls.
- Save the result as a custom LUT, give it a name, and choose a base Photo Style.
- Transfer the saved LUT to the camera for use with Real-Time LUT.
Choose a reference image for the qualities you actually want to borrow. For a soft travel look, for instance, pick an image whose color balance and mood match your goal rather than one that differs in every respect from your intended scenes. Fine-tuning lets you moderate the generated appearance; it is worth checking whether the look still suits the subject after adjustment.
Load a LUT from an SD card
For a LUT file made outside Lumix Lab, use the camera’s LUT Library:
- Copy the
.VLTor.CUBEfile to the root directory of an SD card. - Check the card’s file system and shorten the filename if needed. On FAT32, use eight characters or fewer before the extension; use only alphanumeric characters.
- Insert the SD card into the camera.
- Open [LUT Library] and choose a registration destination.
- Select [Load], then choose the desired file from the card slot.
- Confirm the selection to register the LUT in the camera.
The camera supports up to 10 registered LUTs. If the file does not appear, first check the extension, root-directory location, filename, and card slot selection. These are practical checks drawn from the loading requirements; they do not establish that every problem has the same cause.
Apply the look with the right expectations
After registration, select the intended LUT for your capture workflow and assess how it looks with the scene and base Photo Style. A LUT built for V-Log may not behave like a general-purpose creative look when used with a different input. Pay particular attention to creator notes about intended footage and avoid choosing a file based on its name alone.
Magic LUT saves a custom LUT locally on the mobile device; it does not automatically sync across multiple devices. Keep track of where your saved file lives and transfer it to the camera you plan to use. For a broader discussion of how LUTs fit into shooting workflows, see whether custom LUTs are worth using on the Lumix S5II for video.
Fine-Tune Your Results and Avoid Common Errors
A successful in-camera look depends on more than loading a file. Match the LUT to its intended input, test it under relevant lighting, and keep the library organized around the looks you actually use.
Make controlled adjustments
When building a Magic LUT, adjust opacity, exposure, contrast, and saturation with a clear goal in mind. If the generated look feels too strong, reduce its opacity rather than changing several controls at once. If the image seems too dark or too contrast-heavy, make a measured adjustment and compare the result with the reference and the original image.
Use a small set of reference images to judge whether a look works beyond one particular frame. A color grade that suits a warm indoor portrait may feel wrong on a cool, hazy street scene. This is especially important if you want to use one LUT for a portfolio or trip: consistency is useful, but the look should still suit the light and subject.
Avoid mismatched LUTs and loading mistakes
A common mistake is treating every LUT as interchangeable. Many creator-made LUTs—such as looks described as “Day for Night” or “Gritty Cinema”—are designed for V-Log footage. Check the creator’s intended input and use the LUT in the workflow it was made for.
For manual loading, place the file at the SD card’s root, use the correct extension, and follow the filename rules for the card format. Also confirm that the LUT is in the supported 2-point to 33-point 3D range and uses full range where recommended. If a file does not appear in the loading process, check those basics before changing other parts of your setup.
Test for consistency in real scenes
Test a new look in the conditions where you expect to use it. A travel LUT should be checked in the sort of overcast or hazy light that prompted you to create it; a signature palette should be evaluated across several subjects, not just the image used as a reference.
Film Recipe Hub’s practical approach to in-camera looks is to judge the result on actual sample images and check the exact compatibility notes before committing to a recipe. Apply the same discipline here: compare a few scenes, note which situations suit the LUT, and keep a more neutral option available. That helps you distinguish a useful repeatable look from a grade that works only in one image.
Choose a LUT Workflow for Your Shooting Style
The best method depends on whether you are starting with a visual reference, using a creator-made file, or trying to make a repeatable look for a particular type of shooting. Keep the camera’s 10 registered slots focused on looks that have a clear use.
For street and travel photographers
If your aim is to give overcast or hazy scenes a distinctive color treatment, Magic LUT offers a straightforward way to start from an image that expresses the mood you want. Tune the generated look with the available controls, then try it on different scenes before relying on it for a trip.
For a travel set, consider whether one LUT works across varied lighting or whether you need a small selection of distinct looks. Since the camera supports up to 10 registered LUTs, you can keep a curated set rather than registering every file you encounter. The aim is not to force every scene into a single palette, but to make your preferred starting points readily available.
For photographers building a signature palette
A recurring palette—such as a soft, pastel direction—can help images feel cohesive across a portfolio. Start with a reference image that demonstrates the color mood you want, generate a LUT with Magic LUT, and review it on several subjects before saving it as a regular choice.
Select the base Photo Style deliberately when saving the LUT. The saved custom LUT is associated with a selected base Photo Style, so keep a note of that choice if you want to reproduce the workflow later. Remember that Lumix Lab stores custom LUTs locally on the mobile device; they are not automatically shared between devices. Plan your transfer and backup habits accordingly.
For video shooters and busy workflows
If you want to reduce post-production work, in-camera LUTs may help you capture footage with a chosen look already applied. But first confirm whether a LUT is designed for V-Log and check its range and supported file format. A creator’s description and intended use matter more than a cinematic-sounding name.
For a busy shoot, register only the LUTs you expect to use and test them before relying on them for important footage. Real-Time LUT can make a color treatment part of capture, but it does not eliminate the need to choose appropriate exposure, light, and settings. A short test in representative conditions can show whether the look is suitable before it becomes part of a longer workflow.
FAQ
Can I create a custom LUT directly on the Lumix S5II?
The S5II can register and use compatible LUTs through its LUT Library, but the creation workflow described here uses the Lumix Lab smartphone app. Magic LUT analyzes a reference image, generates a look, and lets you adjust opacity, exposure, contrast, and saturation before saving it. You can then transfer that saved LUT to the camera. Alternatively, load a compatible .VLT or .CUBE file made elsewhere from an SD card.
Which LUT file formats does the S5II support?
The S5II supports .VLT and .CUBE files, with 2-point to 33-point 3D LUTs. Panasonic recommends using full-range LUT files for correct display and recording. If you are loading a creator-made file, also check whether it was designed for V-Log footage. Format compatibility alone does not guarantee that a LUT is appropriate for every recording setup or base Photo Style.
Why can’t I see my LUT when I try to load it?
Check that the file is in the SD card’s root directory, uses a supported .VLT or .CUBE extension, and has a filename allowed by the card format. FAT32 filenames must have eight characters or fewer before the extension; exFAT permits up to 255 characters. Use alphanumeric characters only. In the LUT Library, choose the registration destination and card slot containing the file, then select [Load].
Do custom LUTs created in Lumix Lab sync between phones?
No. Custom LUTs created in Lumix Lab are stored locally on the mobile device and are not automatically synchronized across multiple devices. If you use more than one phone or tablet, plan to transfer the LUT to the device or camera you need rather than expecting it to appear everywhere. After saving a custom look, transfer it to the S5II and register it through the camera’s LUT Library before relying on it for a shoot.