To learn how to build a custom film recipe from a reference photo, identify the image’s underlying mood—its color temperature, contrast, saturation, and texture—then recreate those qualities with your camera’s in-camera settings. Start with the closest base simulation or Picture Control, adjust tone and white balance, and test the result in the light where you plan to use it. The aim is a repeatable JPEG look, not a perfect copy of every pixel.
What a Custom Film Recipe Does—and What a Reference Can Tell You
A custom film recipe is a saved combination of in-camera image settings that gives JPEGs a consistent look. A reference photo helps you make deliberate choices about that look instead of adjusting settings at random.
 From Reference to Recipe: How to Build a Custom Film Recipe from a Reference Photo - What a Custom Film Recipe Does—and What a Reference Can Tell You
A recipe changes the camera’s JPEG rendering
Depending on the camera system, a recipe may use a Fujifilm Film Simulation, Nikon Picture Control, or Sony Creative Look as its foundation. Settings such as white balance, tone, color, sharpness, and grain then shape how the camera processes the image.
The result is designed to be usable straight out of camera, reducing or removing the need for editing in software. A recipe does not change the scene or guarantee that every photograph will match the reference exactly: lighting, exposure, subject, and sensor generation all affect the result.
Recipes are also specific to the camera’s processing options. Fujifilm, Nikon, and Sony offer different controls, and features such as Fujifilm Color Chrome FX Blue or Clarity may not be available on every model. Treat a recipe as a set of instructions for a compatible camera, not as a universal preset.
Read the mood before trying to copy the colors
A reference is most useful when you look past individual colors and ask what makes the image feel the way it does. Is it warm or cool? Soft or contrasty? Richly colored or muted? Are highlights bright and clean, or are shadows deep and prominent?
These observations suggest where to start:
- Warm or cool cast: consider white balance and its color shift.
- Soft or punchy contrast: consider highlight and shadow tone settings.
- Muted or vivid color: consider the base simulation and color or saturation.
- Visible texture: consider grain settings where the camera supports them.
- Strong blue tones or saturated colors: consider relevant color effects on supported Fujifilm models.
Do not assume a reference’s appearance comes from one setting. A warm image, for example, may owe its look to warm lighting, a white-balance shift, or both.
Set a practical goal, not a pixel-perfect target
A recipe should work across the situations you expect to photograph. One photograph can be a useful starting point, but it cannot show how the settings will behave in every light or with every subject.
Before adjusting the camera, decide what you want to preserve: perhaps warm skin tones, gentle contrast, restrained saturation, or a darker, more cinematic feel. That decision gives you a testable goal. It also helps you avoid chasing small differences in the reference that may come from exposure, lighting, or later editing rather than the camera settings themselves.
A Reference-to-Recipe Map for Camera Settings
The most useful workflow translates visible qualities in a reference into settings your camera actually offers. The table below links common visual clues to likely controls and explains what to check while testing.
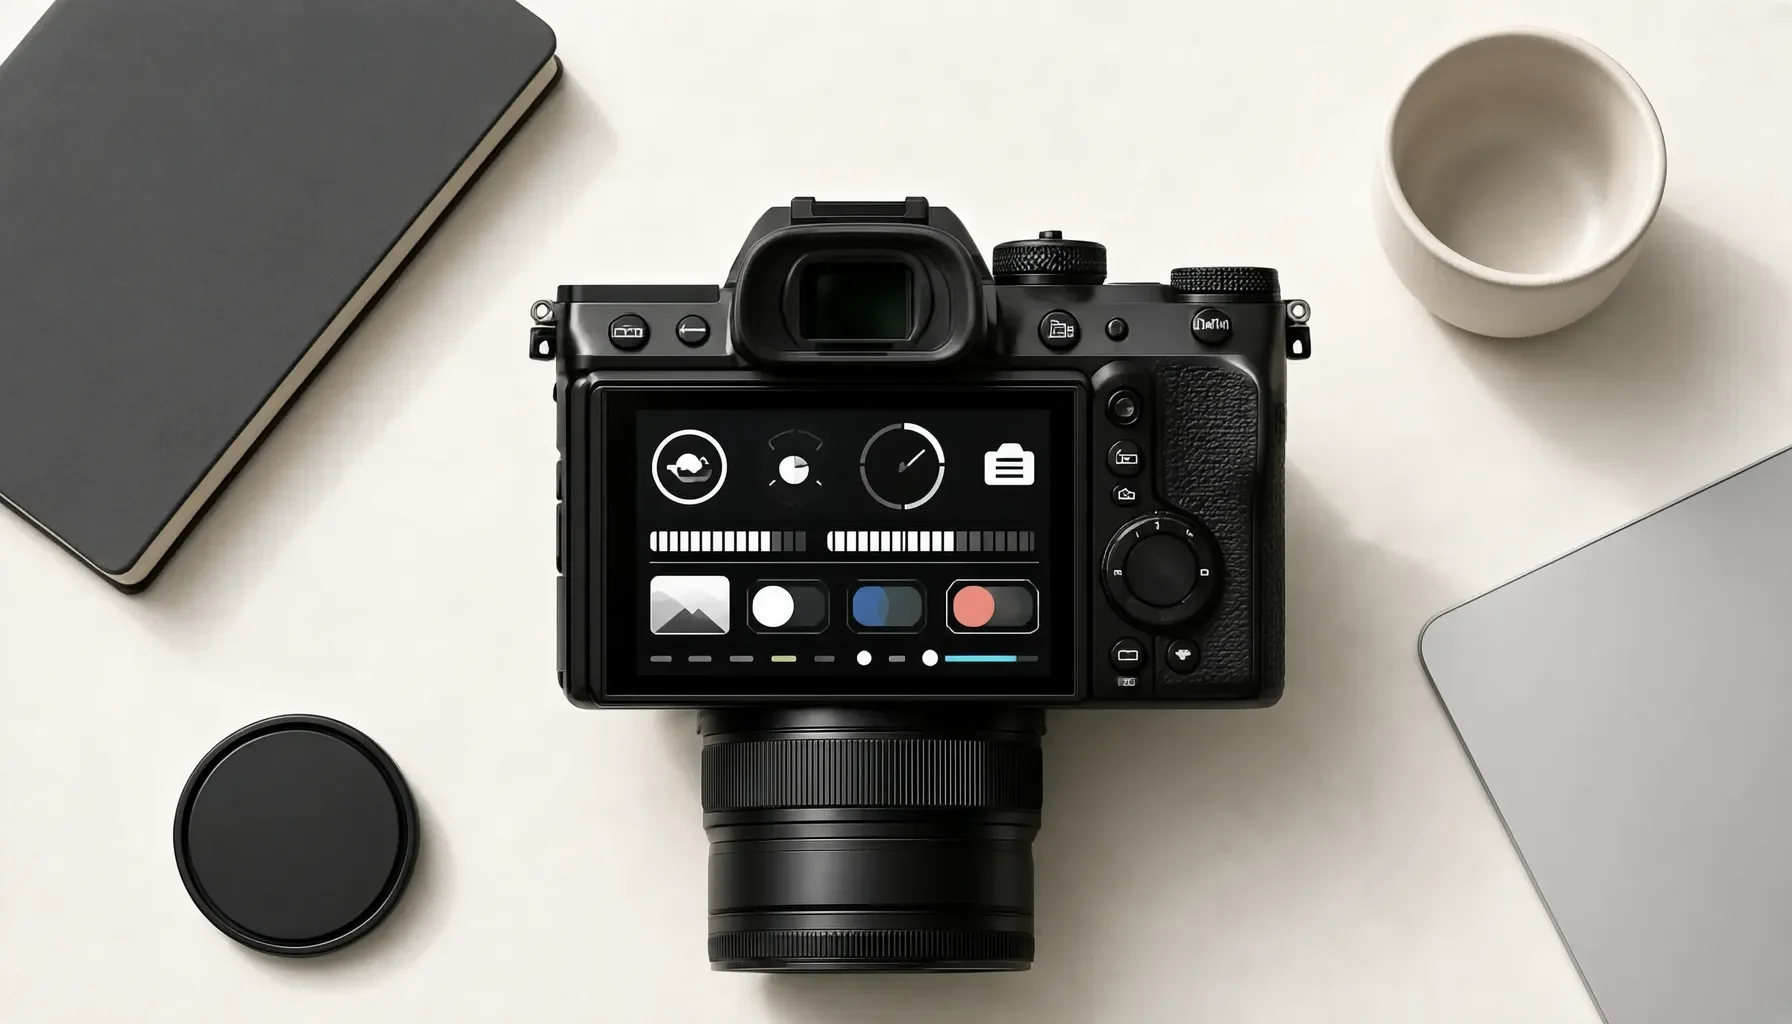 From Reference to Recipe: How to Build a Custom Film Recipe from a Reference Photo - A Reference-to-Recipe Map for Camera Settings
Match the quality, then choose the control
The same visual quality may be produced by different controls on different cameras. For example, Fujifilm offers Film Simulations and a tone curve, while Nikon Picture Controls provide adjustments such as contrast, clarity, saturation, and hue. Sony Creative Looks include settings for contrast, highlights, shadows, fade, saturation, sharpness, and clarity.
Use the table as a diagnostic guide, not as a promise that one control will produce an identical effect on every camera. Start with the setting that most directly relates to what you see, then evaluate the JPEG.
| What you notice in the reference | Settings to consider | What to check in a test JPEG |
|---|---|---|
| Warm, amber, or cool color cast | White balance; red/blue shift where supported | Whether neutral areas and skin look appropriately warm or cool |
| Soft overall contrast | Highlight and shadow settings; contrast | Whether bright and dark areas retain the gentle separation you want |
| Strong contrast | Tone curve or contrast controls | Whether shadows become too dark or highlights lose detail |
| Muted or vivid color | Base simulation or Picture Control; color or saturation | Whether important colors feel restrained or intense without looking unnatural |
| Fine or pronounced texture | Grain effect where available | Whether the grain suits the image size and subject |
| Strong blue tones or saturated colors | Color effects available on supported cameras | Whether blues and saturated areas retain the desired depth |
| Crisp or softened detail | Sharpness, clarity, and noise reduction where available | Whether edges look natural and fine detail remains pleasing |
| A look that changes too much between scenes | Base simulation, white balance, exposure, and lighting | Whether the recipe remains usable across your intended conditions |
Understand what the table cannot tell you
A reference image does not reveal its exact camera settings, processing history, or lighting conditions. Even if you know the camera model, the visible result is not enough to identify one definitive recipe. Use visual clues to form a starting hypothesis, then test it.
Likewise, values from an online recipe should not be copied blindly to a different camera. Controls and supported features vary by model and sensor generation. Confirm that your camera has the relevant settings before attempting to reproduce the look.
How to Build a Custom Film Recipe from a Reference Photo
Build the recipe in a deliberate order: choose the base rendering, establish dynamic range and contrast, set the color cast, and then refine color and detail. Save the result and compare test JPEGs before relying on it in a real shoot.
1. Select the closest base simulation or Picture Control
Start with the camera’s foundational rendering. On Fujifilm, choose the Film Simulation that best fits the reference’s color and contrast. On Nikon, choose a Picture Control; on Sony, begin with a Creative Look. The base matters because it establishes the color and contrast foundation that later adjustments modify.
Compare the reference’s overall character rather than fixating on one color. If it looks restrained, a highly vivid foundation may make it harder to reach the intended result. If it is punchy and saturated, a more subdued starting point may require more adjustment. Do not assume there is one correct base without considering the camera system and the image itself.
2. Set dynamic range and shape contrast
On Fujifilm, choose a Dynamic Range setting, such as DR100, DR200, or DR400, according to the highlight handling you want. Higher DR settings often require a higher minimum ISO, so check the camera’s requirements and consider the light in which you plan to shoot.
Next, use tone controls to match the reference’s contrast. Negative highlight or shadow values generally soften contrast; positive values increase it. Make one small change at a time and compare the JPEG. If the reference has gentle transitions, avoid making both highlights and shadows too forceful. If it has deep shadows, check that important details remain visible.
3. Set white balance and color shift
Choose a starting white balance—such as Auto or Daylight—and adjust the red/blue shift where your camera offers it. Use this step to reproduce a broad cast, not to correct every individual color. A reference made in golden-hour light may naturally appear warmer than a test shot made under overcast daylight.
Take a photograph of a familiar neutral or skin-toned subject under your intended lighting. If the entire image feels too cool or warm, adjust white balance or shift. If only one color looks wrong, consider whether the base simulation, lighting, or subject is responsible before changing the global color balance.
4. Fine-tune color, detail, and effects
Once the basic tone and color are close, refine secondary settings. Adjust color or saturation to bring the overall intensity toward the reference. Sharpness and noise reduction affect detail rendering; use them as finishing controls rather than trying to use them to fix a color or contrast mismatch.
Add grain or color effects only if they support the look and your camera provides them. Fujifilm parameters can include Grain Effect, Color Chrome Effect, and Color Chrome FX Blue. On Nikon, available Picture Control adjustments include sharpening, clarity, contrast, brightness, saturation, hue, filter effects, and toning. On Sony, Creative Look adjustments include contrast, highlights, shadows, fade, saturation, sharpness, sharpness range, and clarity.
5. Save, test, and compare
Save the configuration to a custom slot if your camera supports one. Fujifilm cameras may provide slots such as C1–C7; other systems have their own ways to save or select customized settings, which vary by model.
For testing, shoot RAW+JPEG so you can compare the recipe’s JPEG with the less-processed RAW data. Keep your framing and lighting consistent when comparing versions, and judge the JPEG for the result you actually want to use. For a more detailed walkthrough, see this guide to building a custom film recipe from a reference photo.
Refine the Look: Testing Tips and Common Mistakes
A recipe is only useful if it behaves well in the light and situations where you plan to use it. Test one change at a time, keep notes, and judge the camera JPEG under realistic conditions rather than expecting a single reference to define every setting.
Test in the light you expect to shoot
A recipe can look different under golden hour, indoor tungsten, overcast daylight, or harsh midday sun. White balance is especially sensitive to the lighting context, and a shift that works outdoors may not produce the same mood inside. Test in the conditions where you intend to use the recipe, and consider saving separate variations if your camera supports custom slots.
Include more than one kind of subject in your tests: a person, a neutral surface, and a scene with strong colors can reveal different problems. For example, a warm cast may suit a sunset landscape but make skin look too orange indoors. A contrast setting that gives a street scene the desired depth might bury detail in a darker portrait.
Avoid changing too many settings at once
If you change the base simulation, white balance, contrast, saturation, and sharpness in a single test, you will not know which adjustment helped. Establish the base first, then work through tone, color, and detail in sequence. Make small changes and keep a note of each version.
Other common mistakes include:
- Copying a recipe across camera generations without checking compatibility. Features and available ranges can differ.
- Using color or sharpness to solve a contrast problem. Diagnose the image quality first and adjust the relevant control.
- Treating one JPEG as proof of a universal result. Lighting and subjects change how a recipe appears.
- Judging the RAW file as if it were the finished recipe. The in-camera JPEG is the result you are designing; RAW+JPEG is useful for comparison, not a replacement for JPEG evaluation.
Use a reference as evidence, not a settings sheet
Suppose your reference is a warm street photograph with subdued colors and soft contrast. Start with a base that appears compatible, then test a warm white-balance shift and gentle highlight and shadow settings. Keep saturation restrained if the colors feel muted. Check the result on a person as well as the street: the same warmth may look pleasing on buildings but excessive on skin.
For a cool, high-contrast reference, begin from a more suitable base and adjust contrast and white balance deliberately. Inspect shadow detail before adding more contrast. These examples are starting methods, not fixed recipes: the right settings depend on your camera, lighting, and preferred interpretation.
Choose a Workflow That Fits Your Camera and Shooting Style
The best recipe-building process depends on what camera you use, how much control it provides, and how you want to work. Start with the controls your camera supports, then make the workflow as simple or detailed as your needs require.
If you are new to in-camera recipes
Keep the first version simple. Choose a base simulation or Picture Control, adjust the overall contrast, and make one white-balance decision. Take a few test photos in familiar light before adding effects or fine detail adjustments.
This makes it easier to understand cause and effect. If the first result is too cool or too contrasty, you can make a focused correction instead of rebuilding the recipe. Save versions when possible so you can compare a restrained look with a warmer or more contrasty variation.
If you want a consistent look across a project
Test the recipe in the lighting and subject conditions the project actually involves. A travel set might include bright daylight, interiors, and evening scenes; a portrait session may include both open shade and direct sun. Record the conditions alongside your notes so you can tell a recipe problem from a lighting difference.
Shoot RAW+JPEG while refining, and review the JPEG as the intended finished image. If a recipe is only successful in one specific setting, treat that as a limitation rather than assuming it will transfer unchanged. Custom slots, where available, can help you keep variations organized.
If you use different camera systems or want help getting started
Do not expect Fujifilm, Nikon, and Sony settings to translate one-to-one. The systems have different foundations and controls. Instead, map the reference’s qualities—contrast, cast, saturation, and texture—to the controls available on each camera, then test each version independently.
Film Recipe Hub’s library provides settings, sample photos, and downloadable files where available for several camera systems. For Nikon users, the free NP3 Generator can help create a Picture Control from a reference photo. Check compatibility before loading or recreating any recipe, and look for the original creator’s credit when using a community recipe. Building your own is also a practical way to learn why a look works, rather than relying on a list of settings without context.
FAQ
Can I reproduce a reference photo exactly with an in-camera recipe?
Usually, a recipe can imitate broad qualities—such as warm color, soft contrast, muted saturation, or grain—but it cannot guarantee an exact match. The reference may have been made in different light or modified after capture, and the camera’s sensor and processing controls affect the result. Use the image as a guide to mood and tonal relationships, then test the JPEG in your own lighting.
Which setting should I adjust first?
Choose the base Film Simulation, Picture Control, or Creative Look first because it establishes the foundation for subsequent adjustments. Then set dynamic range where available, shape contrast, and adjust white balance and color shift. Refine saturation, sharpness, noise reduction, and effects afterward. This order makes it easier to understand what each change contributes and reduces the risk of compensating for the wrong setting.
Should I shoot RAW+JPEG while building a recipe?
Yes. RAW+JPEG testing lets you compare the camera’s recipe JPEG with the RAW data while you refine the look. Evaluate the JPEG as the intended finished image, since that is the output the recipe is designed to create. Keep lighting and framing reasonably consistent when comparing versions, and take notes so you can connect each result to the settings you changed.
Can I use the same recipe on another camera model?
Not necessarily. Settings, supported effects, and available features can depend on the camera model and sensor generation. Check compatibility before trying to recreate or load a recipe, particularly if it uses controls such as Fujifilm Clarity or Color Chrome FX. When moving between systems, translate the look—its warmth, contrast, saturation, and texture—rather than copying setting names as if they were equivalent.