A Nikon Z6 III custom picture control for portraits can improve the look of JPEGs straight out of the camera by controlling sharpening, contrast, brightness, saturation, and hue. The best approach is not to apply aggressive “beauty” processing, but to build a profile that preserves complexion texture, keeps highlights controlled, and gives skin tones a consistent starting point for delivery or further editing in NX Studio.
What a Portrait Picture Control Actually Changes
A Nikon Picture Control is an in-camera image-processing profile, not a lens effect or a replacement for exposure and lighting technique. It influences how the Z6 III renders JPEG files and can also provide a starting point when processing RAW files in Nikon NX Studio.
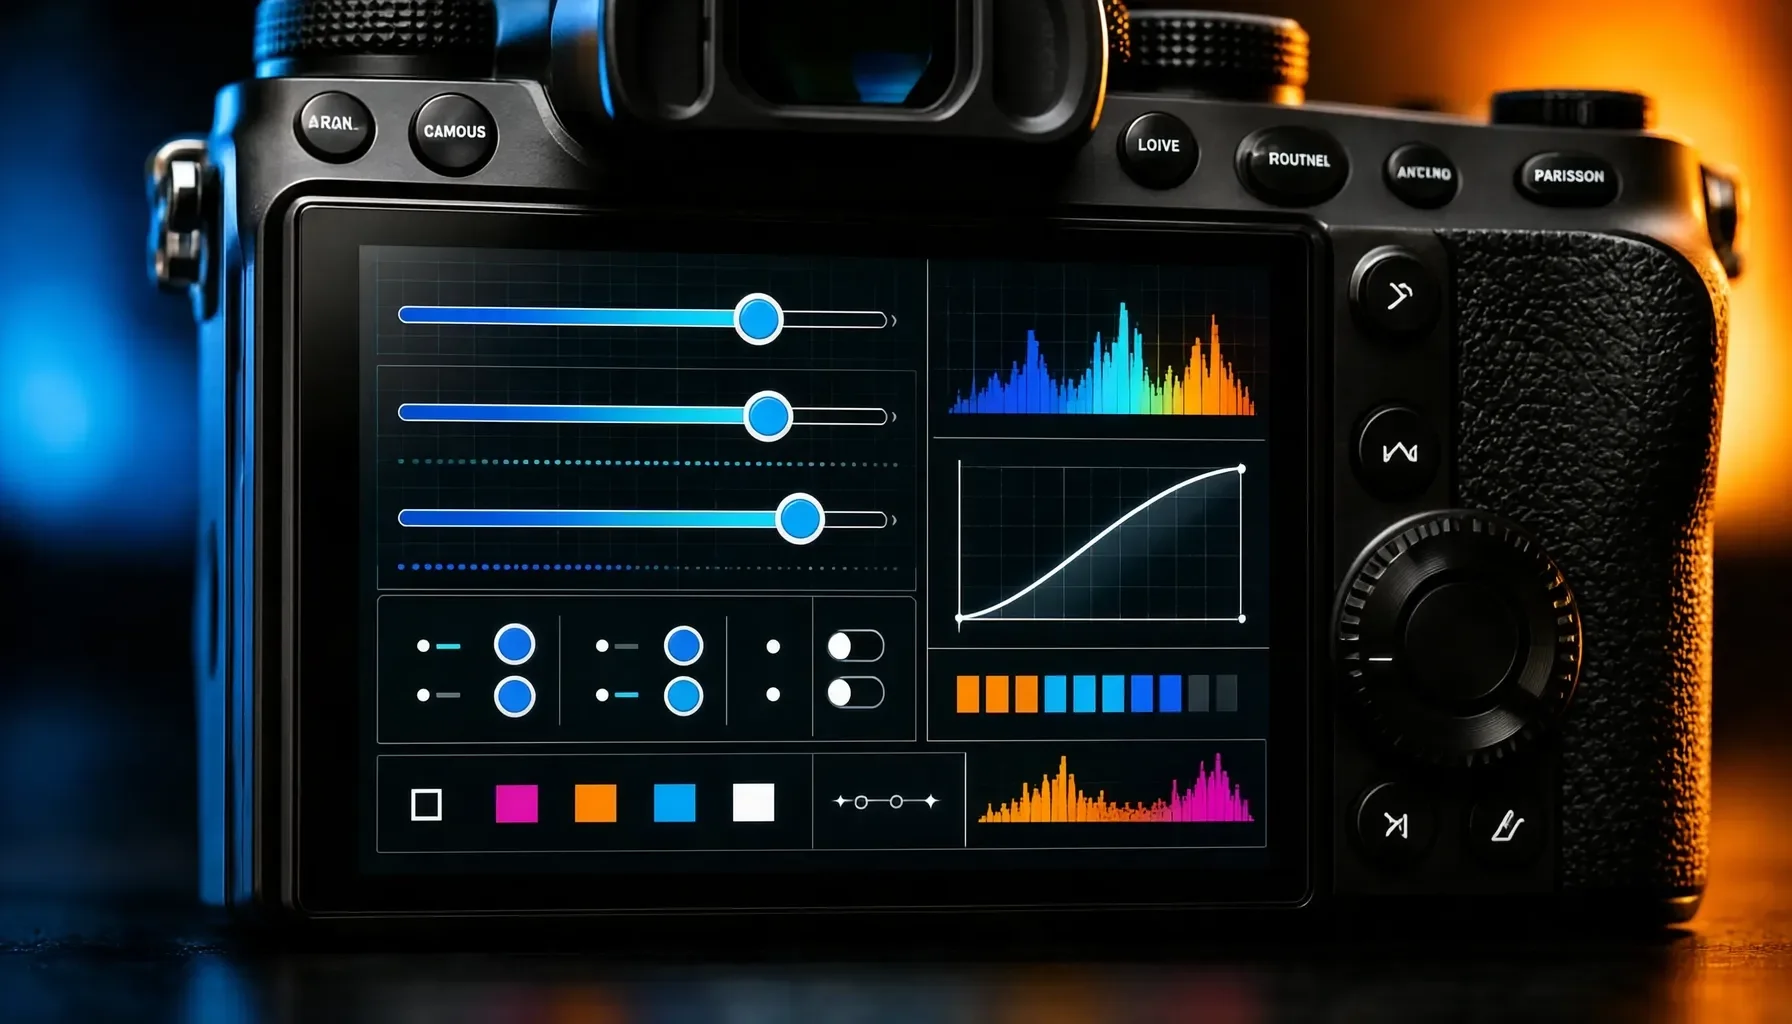 The Best Nikon Z6 III Custom Picture Control for Portraits - What a Portrait Picture Control Actually Changes
Picture Controls versus skin softening
Picture Controls adjust the overall rendering of an image. Their parameters include sharpening, mid-range sharpening, clarity, contrast, brightness, saturation, and hue, depending on the profile and available controls. These adjustments affect the subject, background, clothing, and color relationships together.
The Z6 III also includes a dedicated [Skin softening] feature in the photo shooting menu. It offers three intensity levels:
- [High]
- [Normal]
- [Low]
This is separate from Picture Control customization. A portrait setup might use a restrained custom Picture Control for color and tonal balance while applying skin softening only when the situation calls for it. Using both at strong settings can make faces look less natural, particularly when fine skin texture is an important part of the portrait.
Built-in Portrait and Rich Tone Portrait profiles
The Z6 III includes two portrait-specific built-in options with different priorities.
[Portrait] is designed to smooth complexions while producing natural-looking results. It is the sensible starting point when you want a realistic JPEG without building a profile from scratch.
[Rich Tone Portrait] produces more vivid results than the standard [Portrait] profile while retaining highlight detail and complexion texture. It can be useful for environmental portraits, colorful clothing, or scenes where the standard Portrait profile looks too restrained.
Neither profile is automatically best for every face or lighting condition. Soft window light, direct sunlight, flash, and warm indoor lighting can all respond differently to contrast, saturation, and sharpening.
Why a custom profile can be worthwhile
A custom profile is useful when you repeatedly photograph similar subjects or want a dependable straight-out-of-camera look. For example, a photographer shooting family portraits may prefer gentle detail rendering and moderate color, while an editorial photographer may want more vivid clothing and stronger separation from the background.
Custom Picture Controls can be created directly in the Z6 III menu through [Manage Picture Control]. They can also be created in NX Studio and imported using a memory card. Compatible custom profiles can be saved and shared as files, typically in .NP3 or .NCP format, although compatibility should always be checked before transferring a file between cameras.
The Best Starting Settings for Portrait Work
There is no single universal numerical recipe for every portrait, because the appropriate rendering depends on light, complexion, wardrobe, and the intended output. The table below separates the Z6 III’s built-in portrait options, adjustable controls, and shooting settings that support a flattering result.
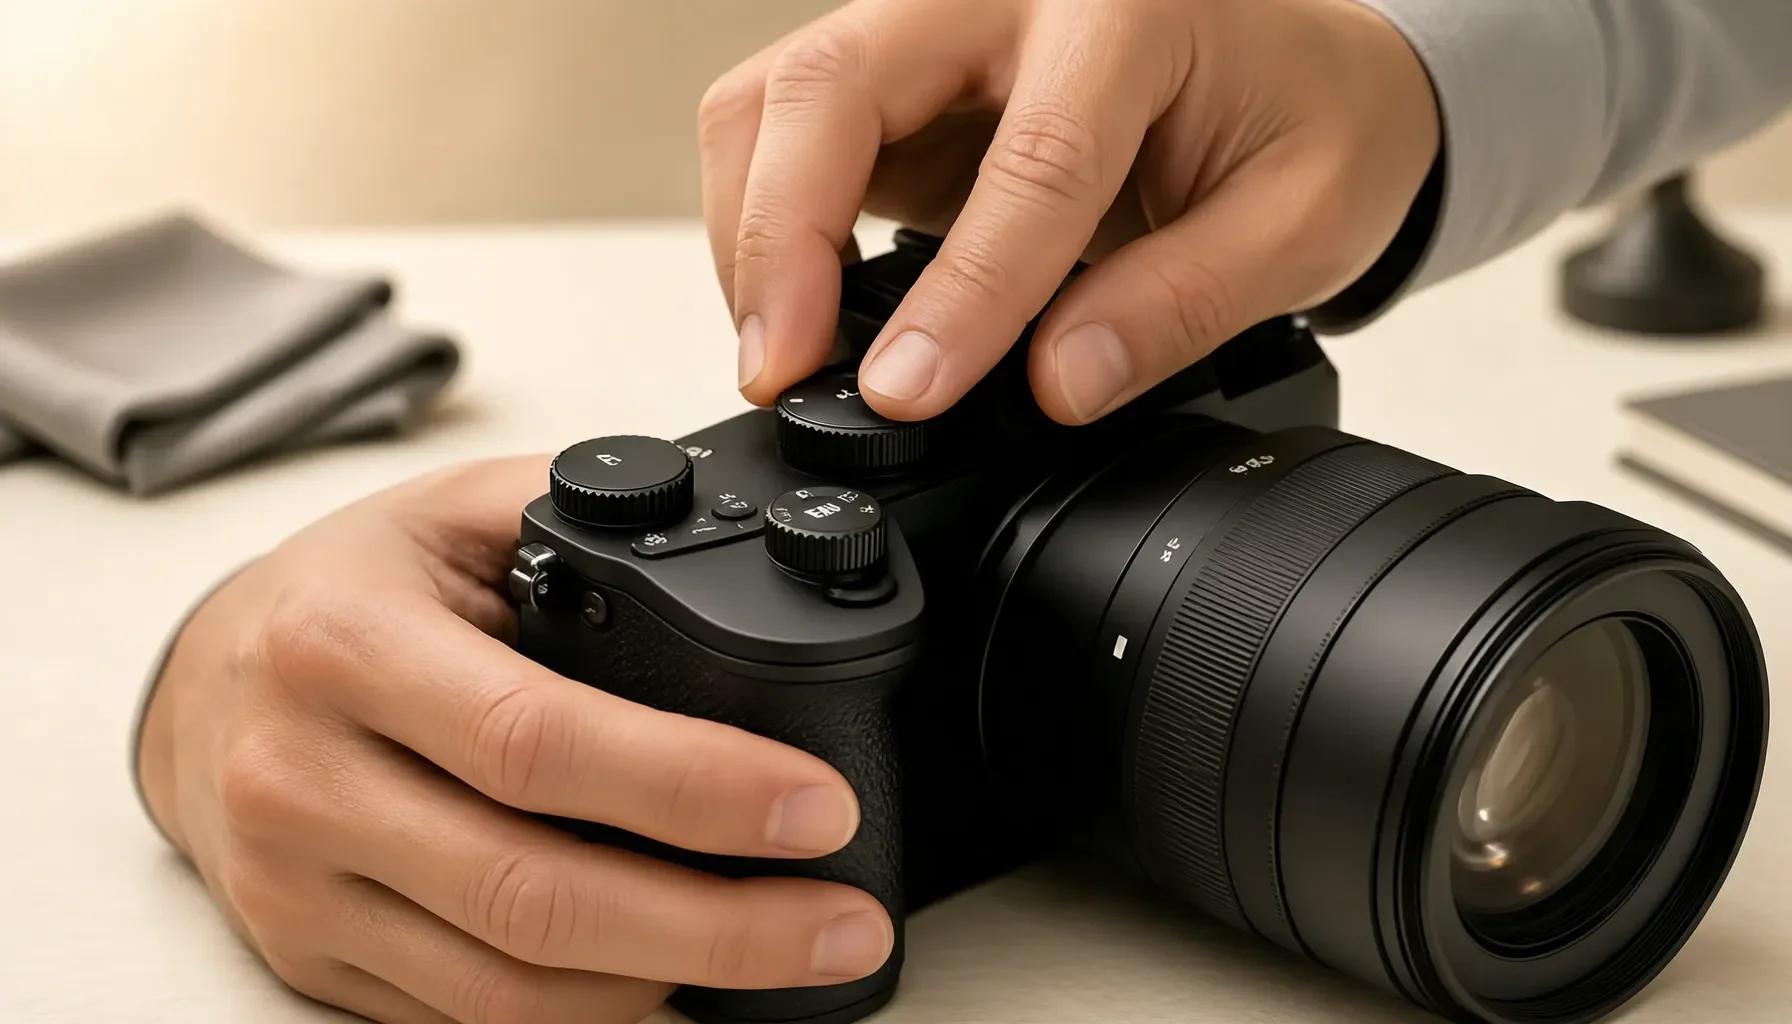 The Best Nikon Z6 III Custom Picture Control for Portraits - The Best Starting Settings for Portrait Work
A practical portrait reference table
| Camera setting or feature | Recommended starting point | Why it matters for portraits |
|---|---|---|
| Picture Control | [Portrait] | Provides natural-looking complexion rendering and is a reliable baseline |
| Alternative Picture Control | [Rich Tone Portrait] | Adds more vivid results while retaining highlight detail and complexion texture |
| Skin softening | [Low], [Normal], or [High] according to the subject and scene | Applies dedicated complexion softening separately from the Picture Control |
| Quick sharp | Adjust carefully rather than maximizing it | Simultaneously changes sharpening, mid-range sharpening, and clarity |
| Individual detail controls | Fine-tune in 0.25 increments | Allows more controlled adjustment than a broad overall change |
| Aperture | f/1.8–f/2.8 | Creates subject separation while helping keep the eyes sharp when focus is accurate |
| Autofocus mode | [AF-C] | Continues to adjust focus as the subject makes small movements |
| Subject detection | [Human Eye detection] | Helps maintain focus on the subject’s eyes |
| Shutter speed | 1/125s–1/250s | Reduces motion blur from normal subject movement |
| ISO | ISO 100–400 when practical | Helps maintain clean skin tones and low image noise |
| Stabilization | Use the camera’s in-body image stabilization for static subjects | Can support slower shutter speeds when the subject is not moving |
| Custom access | Add [Set Picture Control] and [Skin softening] to the [i] menu | Reduces menu navigation during a portrait session |
| Transfer format | Compatible .NP3 or .NCP file | Allows custom profiles to be shared or moved between compatible Nikon Z-series cameras |
Which profile should you choose first?
Start with [Portrait] when natural complexion rendering is the priority. It is particularly appropriate for headshots, family portraits, and close-up images where excessive contrast or saturation can distract from the face.
Try [Rich Tone Portrait] when the scene needs more color presence. It may suit outdoor portraits with foliage, warm clothing, or a colorful background, but inspect skin and bright areas carefully. A vivid profile can make the entire scene more energetic while also making overly warm or saturated light more obvious.
For a consistent workflow, photograph a short test sequence with both profiles under the same light. Compare the skin, eyes, hair, clothing, and brightest areas—not only the background. The profile that looks attractive on one face may not be the best choice for another.
How sharpening and clarity affect faces
Portrait detail needs balance. Too little definition can make eyes, hair, and clothing appear dull, while excessive sharpening or clarity can emphasize pores, fine lines, and uneven texture.
The Z6 III’s [Quick sharp] control adjusts Sharpening, Mid-range sharpening, and Clarity simultaneously. It is useful for making broad changes, but it should not be treated as a dedicated skin-retouching control. For a more deliberate result, enter the individual adjustment settings and change the relevant values separately.
The camera allows individual values to be adjusted in 0.25 increments, giving you more control than a large, abrupt change. Make small adjustments, then evaluate a face at actual display size. A portrait that looks crisp when zoomed in may look harsh when viewed normally.
How to Create and Save a Custom Portrait Profile
The Z6 III lets you modify an existing Picture Control in-camera or create custom profiles in NX Studio and transfer them by memory card. The in-camera method is fastest when you are already on location and need a practical adjustment immediately.
Modify a profile directly on the Z6 III
Use the following workflow to adjust a built-in profile:
- Open the photo shooting menu or video recording menu, depending on the mode you are configuring.
- Select [Set Picture Control].
- Highlight the profile you want to use, such as [Portrait] or [Rich Tone Portrait].
- Press the right arrow (2) to enter the adjustment settings.
- Use [Quick sharp] if you want to adjust sharpening, mid-range sharpening, and clarity together.
- For more precise control, select the individual parameters and adjust them with the sub-command dial.
- Make changes in 0.25 increments where available.
- Press [J] to save the changes.
A useful portrait workflow is to begin with [Portrait], make one change at a time, and test the result under the actual light you plan to use. Avoid changing several parameters at once unless you are deliberately building a distinctive look; otherwise, it becomes difficult to identify which adjustment helped or harmed the image.
Use Skin softening independently
The dedicated [Skin softening] option is found in the photo shooting menu and offers [High], [Normal], and [Low]. Select the intensity according to the subject, distance, light, and purpose of the portrait.
[Low] is the most conservative starting point when you want to preserve natural texture. [Normal] may be appropriate when the subject specifically wants a smoother appearance. [High] should be used with care because strong complexion smoothing can reduce the visible texture that makes a portrait feel realistic.
Skin softening does not replace good exposure or focus. The eyes still need accurate focus, and an overexposed face cannot be recovered simply by choosing a softer rendering.
Create and transfer profiles with NX Studio
For more controlled preparation, create a custom Picture Control in Nikon NX Studio, save it, and import it to the camera with a memory card. This is useful when you want to prepare several looks before a session or keep a consistent profile across compatible cameras.
Custom files are typically saved in .NP3 or .NCP format. Compatibility depends on the camera and profile, so confirm that the file is intended for the Z6 III or another compatible Nikon Z-series body before loading it.
Film Recipe Hub also maintains a community library of Nikon Picture Controls and provides browser-based tools such as an NP3 Generator and Picture Control Editor. These can help photographers move from a reference look to a custom profile, but the result should still be tested on real faces and under the intended lighting.
Portrait Settings That Make the Picture Control Work
A custom profile cannot compensate for missed focus, motion blur, or poor exposure. On the Z6 III, the most flattering in-camera results come from combining a restrained rendering profile with dependable autofocus, an appropriate shutter speed, and controlled light.
Use aperture, autofocus, and shutter speed together
For subject separation, begin around f/1.8–f/2.8 when your lens and working distance allow it. This range can blur distracting backgrounds while retaining enough depth of field to keep both eyes acceptably sharp when the subject is positioned appropriately.
Set autofocus to [AF-C] and use [Subject-detection AF] with Human Eye detection for moving or naturally shifting subjects. This is especially helpful for children, couples, and lifestyle portraits where the person may not remain perfectly still.
A shutter speed between 1/125s and 1/250s is a practical starting range for minimizing motion blur. In-body image stabilization can help when the subject is static, but stabilization does not freeze a moving person. If the subject is moving, shutter speed remains the more important control.
Keep exposure and ISO working for the skin
When light allows, keep ISO in the 100–400 range for clean skin tones and low noise. This is a starting recommendation rather than a rule; raising ISO is preferable to underexposing a portrait and then trying to recover it later.
Pay particular attention to bright foreheads, cheeks, and noses in direct or hard light. A vivid Picture Control can make an already bright or warm face appear more intense. Check the result on the camera display and adjust exposure or lighting before trying to solve the problem through saturation or hue.
For static subjects in low light, IBIS may allow a slower shutter speed. However, the subject must remain still, and the photographer must hold the camera steadily. For people who are talking, breathing naturally, or changing expression, staying near the recommended shutter range is usually safer.
Build a fast portrait-session workflow
The Z6 III’s [i] menu can be customized to provide immediate access to [Set Picture Control] and [Skin softening]. This small change is valuable during a session because it avoids repeated navigation through deeper menu structures.
A practical sequence is:
- Select [Portrait] or [Rich Tone Portrait].
- Confirm the skin-softening level.
- Set AF-C and Human Eye detection.
- Choose an aperture between f/1.8 and f/2.8 when suitable.
- Set a shutter speed between 1/125s and 1/250s.
- Keep ISO within 100–400 when practical.
- Take a short test series before the main portraits.
- Recheck skin, eyes, highlights, and background color.
If you want a ready-made starting point, compare the settings and sample images in this guide to the Nikon Z6 III custom picture control for portraits before deciding whether a downloadable profile suits your camera and lighting.
Common Mistakes and Better Real-World Choices
Portrait Picture Controls work best when they support the subject rather than becoming the most noticeable part of the image. The most common problems come from using too much sharpening, assuming skin softening fixes exposure, or treating one profile as universally flattering.
Mistake: making every face too sharp
Increasing sharpening, mid-range sharpening, and clarity can produce crisp eyes and hair, but the same changes may emphasize pores and fine lines. This is particularly visible in close portraits, side lighting, and high-resolution files viewed at large size.
Use [Quick sharp] conservatively, then inspect the result at normal viewing size. If the eyes need more presence but the skin looks harsh, adjust individual controls rather than raising every detail parameter together. A lower-detail rendering can often look more flattering while still preserving recognizable eyes and hair.
Mistake: relying on skin softening to repair bad light
Skin softening is not a substitute for flattering illumination. Strong overhead light, direct midday sun, or an overexposed face can create tonal problems that a complexion setting cannot correct.
Use [Low] as a cautious starting point when the subject wants a natural appearance. Move to [Normal] or [High] only when the intended look and subject preferences justify it. Always check whether smoothing is reducing meaningful texture around the eyes, lips, and hairline.
Mistake: choosing vivid color without checking skin
[Rich Tone Portrait] can give a portrait more energy, but vivid rendering affects the whole frame. Red clothing, warm interiors, autumn foliage, and colored light can all become stronger.
For an outdoor environmental portrait, Rich Tone Portrait may work well when the scene benefits from stronger color. For a close headshot under warm light, [Portrait] may produce a more controlled result. Take test frames in the same lighting rather than choosing based only on the profile name.
A real-use example: a family session
For a family session with movement and changing expressions, use [Portrait] as the initial Picture Control, AF-C with Human Eye detection, and a shutter speed between 1/125s and 1/250s. Choose an aperture around f/2.8 if several people need to remain sharp, then keep ISO as low as practical.
If the family prefers a smoother JPEG, test [Low] skin softening first. Add [Normal] only after checking that eyes, hair, and facial texture still look natural. The goal is a consistent set of photographs, not a visibly processed face.
A real-use example: an environmental portrait
For a portrait with colorful surroundings, [Rich Tone Portrait] may be a useful starting point. Use f/1.8–f/2.8 to separate the person from the environment, but check the eyes carefully because shallow depth of field leaves less room for focus error.
If the background is already vivid, avoid increasing detail and color simply because the scene looks flat on the camera screen. The subject’s complexion should remain the visual priority. A restrained custom adjustment usually produces a more flexible file than an extreme look.
Choosing the Right Approach for Your Situation
The best Z6 III portrait setup depends on whether you need natural JPEGs, a repeatable creative look, fast delivery, or a flexible RAW workflow. Start with the simplest profile that solves the actual problem, then customize only what you can evaluate confidently.
If you are new to the Z6 III
Begin with [Portrait] rather than immediately downloading or building a complex profile. Learn how the camera renders faces under your most common light, then test [Rich Tone Portrait] for scenes that need more vivid color.
Save one modified version after making small changes. This creates a dependable baseline while preserving the original built-in options for comparison. Also customize the [i] menu so that Picture Control and Skin softening are easy to reach during a session.
If you deliver JPEGs straight out of camera
Prioritize consistency over dramatic color. Use a profile that produces acceptable skin in the lighting you normally encounter, and test the complete workflow—including transfer, viewing, and delivery—before an important shoot.
Keep sharpening and clarity restrained for close portraits. If a client wants a smoother appearance, adjust Skin softening deliberately rather than hiding excessive detail settings inside the Picture Control. Record which profile and intensity level you used so the look can be repeated.
If you shoot RAW and edit in NX Studio
Picture Control remains useful as a starting point for JPEG previews and for the initial appearance of RAW files in NX Studio. It can help you judge whether the overall direction is natural, vivid, warm, or restrained before making further adjustments.
A custom profile is especially useful when you want a consistent visual reference across a session. Remember that the Picture Control does not replace exposure judgment, focus accuracy, or thoughtful lighting. It establishes a rendering direction; it does not correct every technical problem.
If you share profiles between Nikon cameras
Check compatibility before loading an .NP3 or .NCP file. A custom Picture Control intended for one Nikon Z-series camera may not behave identically on another body, even when the file can be transferred.
Keep a record of the profile’s source, intended camera, and the conditions in which it was tested. Film Recipe Hub credits the original creators of community recipes and provides downloadable Nikon profiles where available, but every file should be evaluated with your own camera, lens, subjects, and lighting.
FAQ
What is the best Nikon Z6 III Picture Control for natural portraits?
The built-in [Portrait] profile is the most appropriate starting point for natural-looking portraits because it is designed to smooth complexions while retaining a realistic appearance. It is not automatically ideal for every lighting condition, so test it with your usual lens, light, and subjects. If you want more vivid color while retaining highlight detail and complexion texture, compare it with [Rich Tone Portrait] before creating a custom version.
Should I use [Portrait] or [Rich Tone Portrait]?
Choose [Portrait] when controlled, natural complexion rendering is the priority. Choose [Rich Tone Portrait] when the scene benefits from more vivid color, such as an environmental portrait with colorful clothing or surroundings. Rich Tone Portrait also aims to retain highlight detail and complexion texture, but its stronger rendering can make warm light or saturated backgrounds more prominent. Compare both profiles in the same lighting before deciding.
Can I soften skin without changing the Picture Control?
Yes. The Nikon Z6 III has a separate [Skin softening] feature in the photo shooting menu with [High], [Normal], and [Low] levels. This allows you to keep the Picture Control focused on color and overall tonal rendering while applying complexion smoothing independently. Start with [Low] when you want to preserve natural texture, and check the eyes, hair, and facial detail before choosing a stronger level.
Can I install a custom portrait Picture Control on the Z6 III?
Compatible custom Picture Controls can be created in-camera through [Manage Picture Control] or prepared in Nikon NX Studio and imported with a memory card. They are typically shared as .NP3 or .NCP files. Confirm compatibility before transferring a file between Nikon Z-series cameras. After installation, test the profile on real subjects because the same settings can look different under daylight, flash, warm indoor light, and colored illumination.