For Gen Z street photography, the best in-camera color profile is the one that gives you a distinctive film-like look while keeping skin, highlights, and changing street light manageable. Fujifilm’s film simulations are a popular reference point, but Nikon Picture Controls and Sony Creative Looks can also produce characterful JPEGs straight from the camera. The key is choosing a look for the light and scene—not chasing an exact film match.
What makes a street profile feel filmic?
A filmic street profile is a repeatable combination of color, contrast, highlight behavior, and texture that suits the scene and can be applied in-camera. It is not a guarantee of film fidelity: camera profiles have different controls and color responses, and in-camera systems may lack the fine-grained adjustments needed to reproduce a film stock exactly.
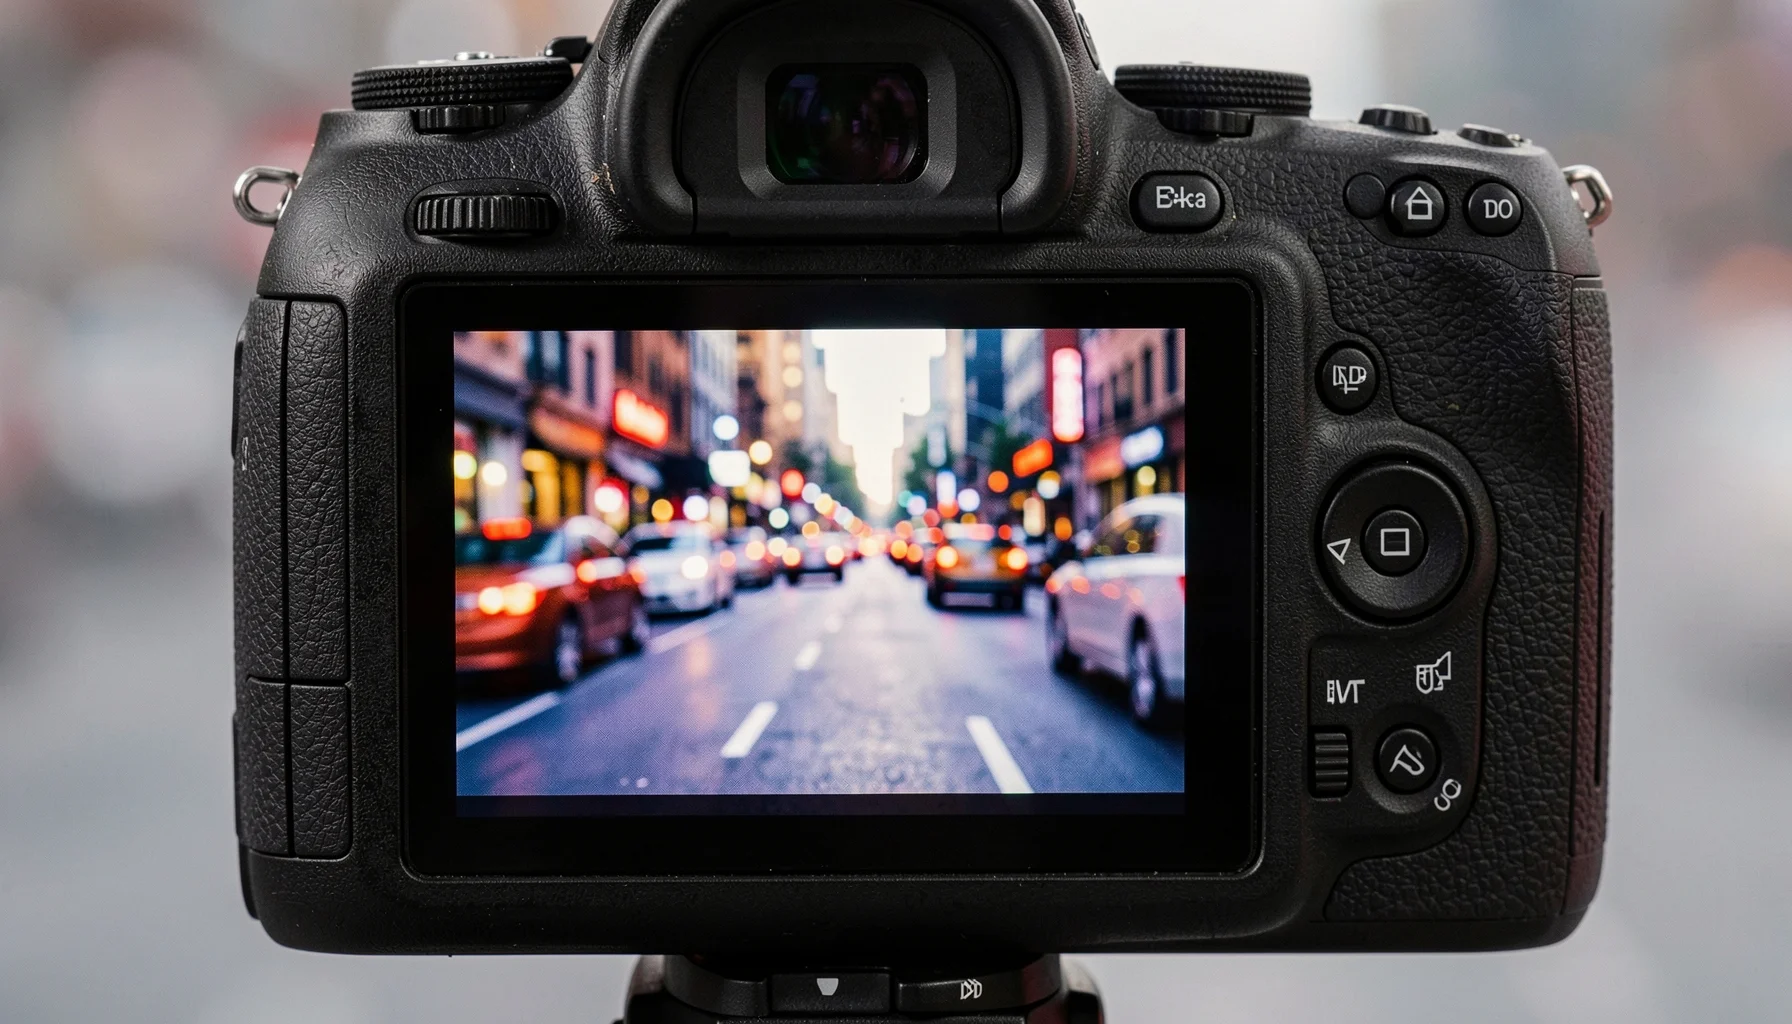 Best In-Camera Color Profiles for Gen Z Street Photography - What makes a street profile feel filmic?
Why Fujifilm’s look is a useful reference
The “Fujifilm Gen Z” trend reflects more than one simulation or preset. It points to a preference for recognizable color, direct JPEG workflows, and an image-making process that feels intentional without requiring extensive editing afterward. A film-inspired look can make an everyday street scene feel cohesive, whether the subject is a person in open shade, a storefront in bright sun, or a neon-lit evening corner.
Fujifilm simulations are a natural reference because they give photographers a built-in way to select different rendering styles. But the reference is a starting point—not a universal recipe. A look that works well for saturated signs may push skin tones too far in a different scene, while a softer rendering may suit portraits but flatten a high-contrast street.
Photographers on Nikon and Sony can pursue a similar overall mood with their own in-camera systems. The useful question is not “How do I make this camera identical to Fujifilm?” It is “Which available controls let me build the color and contrast I want?”
What a profile can—and cannot—control
Different camera systems expose different controls. Nikon Picture Controls provide a way to adjust the in-camera rendering and can be saved or loaded in supported formats such as .NP3 or .NCP. Sony offers Creative Looks for adjustments such as contrast, saturation, and sharpness, while Picture Profiles provide more advanced control over gamma curves, black levels, and color response.
Those options matter because street scenes change quickly. A practical profile should deliver a usable starting point without asking you to correct every frame later. However, in-camera tools do not offer every adjustment available in editing software. In particular, the absence of full HSL controls makes precise, independent changes to hue, saturation, and luminance difficult.
Think of recipes as film-like interpretations, not exact emulations. They can give a camera a consistent visual direction, but the outcome still depends on exposure, white balance, available light, and the camera’s own color science.
How to choose a look for the street
Start with the kinds of scenes you actually photograph. For people and mixed urban backgrounds, prioritize a look that keeps skin believable and highlights controlled. For graphic architecture, signs, and colorful storefronts, a stronger color response may help the subject stand out. For night scenes, judge the recipe under the artificial lighting you expect to encounter; daylight color balance may not translate.
A useful profile is one you can recognize and reproduce. Before adopting it, test the look in at least three conditions:
- Open shade, where cool color casts can affect skin and neutral surfaces.
- Direct sunlight, where bright highlights can become distracting.
- Mixed or artificial light, where white balance may shift the color mood.
Film Recipe Hub’s guide to best in-camera color profiles for Gen Z street photography offers another way to compare the visual direction of street-oriented looks. Use comparisons to identify a mood you like, then test the exact settings on your own camera.
Compare the systems by workflow, not by name
Nikon and Sony can both support film-inspired, straight-out-of-camera street photography, but they do so through different controls and file workflows. Compare what each system lets you adjust, how you save a look, and whether the result suits your JPEG workflow before trying to imitate a Fujifilm simulation by name.
 Best In-Camera Color Profiles for Gen Z Street Photography - Compare the systems by workflow, not by name
In-camera controls at a glance
The table below compares the relevant workflow mechanics—not equivalent film stocks or guaranteed color matches. Features and menu availability can vary by camera model, so confirm compatibility with your specific body before installing a file or following a camera-specific guide.
| System or tool | Primary in-camera role | Useful controls or workflow | Practical street-photography use |
|---|---|---|---|
| Fujifilm film simulations | Select an in-camera rendering style | Choose a simulation and build a recipe around the desired scene and look | Use as a reference for direct JPEG color and a consistent aesthetic |
| Nikon Picture Controls | Shape the camera’s in-camera rendering | Use compatible Picture Controls; downloadable files may use .NP3 or .NCP formats | Build a repeatable Nikon look without relying on extensive editing |
| Sony Creative Looks | Make quick rendering adjustments | Adjustments include contrast, saturation, and sharpness; recipes may use Contrast, Highlights, Shadows, Fade, Saturation, and Color Filter values | Tune a look for street scenes while keeping the workflow in-camera |
| Sony Picture Profiles | Provide more advanced image-rendering control | Adjustments can include gamma curves, black levels, and color response | Explore a more technical route to a chosen color response |
| Lightroom profiles and adjustments | Shape an image after capture | Apply a profile, then use tone curves and grain adjustments | Refine files when an in-camera recipe does not provide enough control |
Why the controls are not interchangeable
The names of controls may sound familiar across brands, but a setting on one camera does not necessarily produce the same visual result on another. A recipe built for Sony Creative Looks cannot be assumed to transfer directly to Nikon Picture Controls, and the same named film reference does not guarantee matching color between systems.
This is especially important when trying to recreate the feeling of a Fujifilm simulation. The achievable result depends on what the destination camera allows you to adjust. Sony Creative Looks provide a quick path for contrast, saturation, and sharpness; Sony Picture Profiles allow deeper control over gamma, black levels, and color response. Nikon photographers work with Picture Controls and the settings supported by their camera and chosen profile.
The practical comparison is therefore about workflow and control, not a contest to identify a perfect substitute. Ask whether the camera can store the look, whether the controls address the parts of the image you care about, and whether the result works across the light you photograph most.
When post-processing still makes sense
An in-camera workflow reduces editing, but it does not mean every image must remain untouched. If you need precise color separation or a more exact film-inspired treatment, desktop editing can offer controls that in-camera tools lack. The Lightroom workflow described by Fstoppers recommends applying a Fuji-inspired profile first, then managing dynamic range with tone curves and adding grain through the Effects panel. Grain should add texture without smearing detail.
That approach differs from a strict straight-out-of-camera workflow: it requires editing after capture. It can still be useful when you want to develop a look for a particular project, or when a camera’s built-in adjustments do not provide enough control. For photographers who want to stay in-camera, the more practical strategy is to treat each recipe as a useful interpretation and choose one that performs consistently.
Build and test a recipe before taking it to the street
A reliable street recipe starts with a clear visual goal, uses controls supported by your camera, and is tested under the light you expect to encounter. Save or document the settings, then review a small set of sample JPEGs before relying on the look for an important walk or project.
A practical setup workflow
Use these steps to create a repeatable starting point without assuming that one brand’s settings will transfer to another.
- Define the intended mood. Decide whether you want restrained color, more vivid urban detail, or a particular film-like atmosphere. Describe the result in visual terms rather than starting with a stock name.
- Choose the camera’s relevant tool. On Nikon, work with a compatible Picture Control. On Sony, decide whether Creative Looks or Picture Profiles better fit the level of control you need.
- Start from a supported recipe. Use settings confirmed for your camera model. Do not copy values from a different system as if they were interchangeable.
- Set a white-balance approach. For Sony, pairing Kelvin white balance with the Color Filter can provide more precise color control than relying on Auto White Balance alone. Test the result in the lighting you expect to shoot.
- Photograph a varied test scene. Include a person, a neutral surface, colored objects, and bright highlights. This helps reveal whether skin, color, and highlight behavior remain usable together.
- Review and refine one variable at a time. Change a supported control, take another test, and compare. Adjusting several controls at once makes it harder to learn what caused the difference.
- Save or record the final setup. Keep a note of the camera model and settings, and confirm the profile remains selected before heading out.
Nikon: build around Picture Controls
Nikon photographers looking for a Fujifilm-inspired result should treat Picture Controls as the native starting point, not as a conversion layer that guarantees Fujifilm color science. A compatible Picture Control can establish an in-camera rendering, and supported files may be loaded in .NP3 or .NCP formats. Check that the file and installation instructions match your camera before using them.
A browser-based tool can help with the practical side of this workflow. Film Recipe Hub’s NP3 Generator turns a reference photo into a Nikon Picture Control, while its Picture Control Editor and Lightroom-to-Nikon converter support related tasks. These tools do not remove the need to test a profile on your camera: the reference image, lighting, and camera response all affect whether the result fits your street work.
For Nikon Z shooters, including Zf and Z fc users, compatibility should be checked against the specific body and file type. Keep the test process simple: install a supported profile, photograph varied subjects, and judge the JPEGs in the conditions where you plan to use them.
Sony: choose the right level of control
Sony users can start with Creative Looks when they want a quick in-camera adjustment to contrast, saturation, and sharpness. More detailed Creative Look recipes may specify Contrast, Highlights, Shadows, Fade, Saturation, and Color Filter values. Use only settings documented for the relevant camera and approach each recipe as a starting point rather than a universal preset.
For advanced control, Picture Profiles address gamma curves, black levels, and color response. This makes them a different workflow from Creative Looks, not simply a stronger version of the same tool. Choose based on the result you need and the controls you are prepared to test.
Exposure also affects the look. Sony sensors can render brighter than Fujifilm, and one cited recommendation is to try underexposing by 0.3–0.7 stops when aiming for a similar aesthetic. Treat that range as a test, not a fixed rule: check skin and shadow detail in your own scenes. The Sony Recipe Builder can help organize an in-camera recipe, but final judgment still comes from test images on your camera.
Solve common problems and plan for a repeatable look
A profile that looks appealing in one sample image may fail under different lighting, exposure, or subject matter. The most reliable way to improve a street recipe is to identify the specific failure—such as harsh highlights or an unwanted color cast—and adjust only what the camera’s system supports.
Common pitfalls and practical fixes
The colors look too strong. Saturated signs and clothing can dominate a frame when the recipe pushes color too far. On systems that provide the relevant control, test a less intense saturation setting; compare the result with skin and neutral surfaces in the same scene.
Highlights appear harsh. A bright sky or reflective shop window can overwhelm a street image. Revisit exposure and supported highlight or contrast controls, then test in direct sun. Avoid assuming that one exposure choice will suit both midday light and deep shade.
Skin tones shift under mixed light. Auto White Balance can respond differently as you move between daylight and artificial sources. On Sony, testing Kelvin white balance together with the Color Filter offers a more deliberate alternative. Evaluate actual portraits rather than relying on a neutral wall alone.
The recipe does not match its reference. A reference image may have been made in different light or with a different camera. Compare the direction of the look—contrast, warmth, color intensity—rather than expecting an exact match. In-camera systems lack the full HSL adjustments that can help isolate individual colors during editing.
The image looks flat or overly processed. Check whether the profile’s overall contrast and color suit the subject. If you move the file into Lightroom, apply the color profile first, then use tone curves to manage dynamic range; add grain carefully through the Effects panel so texture does not obscure detail.
Case examples: adapt the approach to the scene
A portrait beside a bright storefront: Prioritize skin and highlight control over maximum color. Photograph the subject in open shade and then in the brighter edge of the light. Compare the face, the sign, and the surrounding neutral details before deciding which version is more dependable.
A colorful evening street: Artificial light can change the apparent color of signs, skin, and walls. On Sony, test a fixed Kelvin white balance with the Color Filter rather than relying only on AWB. Make a second test with a different supported setting and compare the mood without treating either as a universal nighttime recipe.
A sunlit architectural scene: Strong contrast and saturated surfaces may suit a more vivid look, but bright highlights can distract from the geometry. Test exposure and the controls available on your camera, then judge whether the profile preserves enough detail and separation for the composition.
These examples are workflow scenarios, not recipes with invented numerical settings. Camera models expose different options, so use exact values only when they have been verified for your specific body.
A 2026 outlook: build consistency, not a brand imitation
In 2026, the useful strategic question for street photographers is how to make a chosen look repeatable across camera and lighting conditions. The growing interest in custom Sony Creative Look recipes inspired by Fujifilm simulations shows that photographers can seek a familiar color mood while still working with Sony’s native color science. That does not make the systems identical; it makes recipe-building a way to adapt an aesthetic to the camera you own.
Film Recipe Hub’s perspective is practical: a good profile should be understandable, compatible with the camera, and supported by real sample images and exact settings. The library covers Nikon, Fujifilm, Sony, Ricoh GR, Panasonic Lumix, and Canon workflows, as well as Lightroom presets and browser tools. Each recipe credits its original creator, helping photographers trace where a look came from rather than treating settings as anonymous magic.
For an organization or a group of photographers, the same principles apply: document the camera model, recipe, and conditions tested; keep a known-good baseline; and avoid assuming that a setting transfers across brands. Whether you are shooting alone or sharing a workflow, the goal is a look you can reproduce—not a claim that every camera can render the same film stock identically.
FAQ
Can Nikon or Sony really reproduce a Fujifilm look in-camera?
Nikon and Sony can create film-inspired JPEGs, but they cannot be assumed to reproduce a Fujifilm simulation exactly. Each camera system has its own color response and available controls. Nikon photographers can work with compatible Picture Controls, while Sony users can use Creative Looks or, for more advanced control, Picture Profiles. Treat Fujifilm as a visual reference, test the result on your camera, and aim for a similar mood rather than a guaranteed match.
Should I use Sony Creative Looks or Picture Profiles for street photography?
Choose Sony Creative Looks when you want quick in-camera adjustments to contrast, saturation, and sharpness. Choose Picture Profiles when you need more advanced control over gamma curves, black levels, and color response. They serve different purposes, so neither is automatically better for every street photographer. Start with the simpler workflow that fits your goal, test it under your usual lighting, and move to Picture Profiles if you need the additional controls.
Why might a Sony recipe look brighter than a Fujifilm reference?
Sony images may render brighter than Fujifilm images, so exposure can affect whether a film-inspired recipe has the intended feel. A cited recommendation is to test underexposing by 0.3–0.7 stops when seeking a similar aesthetic. This is a starting range, not a universal exposure rule. Check the result on your specific camera, especially for shadow detail and skin, and adapt to the actual brightness and contrast of the scene.
Can in-camera recipes accurately emulate a film stock?
In-camera recipes can create a film-like interpretation, but exact emulation is difficult because camera controls do not provide every adjustment used in post-processing. In particular, the lack of full HSL controls limits precise changes to individual hues, saturation, and luminance. Lighting, exposure, white balance, and camera color science also affect the result. Use a recipe for a consistent aesthetic and choose editing tools when a project requires more precise color matching.
Browse Film Recipe Hub’s camera-specific recipes, use a compatible browser tool, or share a look that works for your street photography.